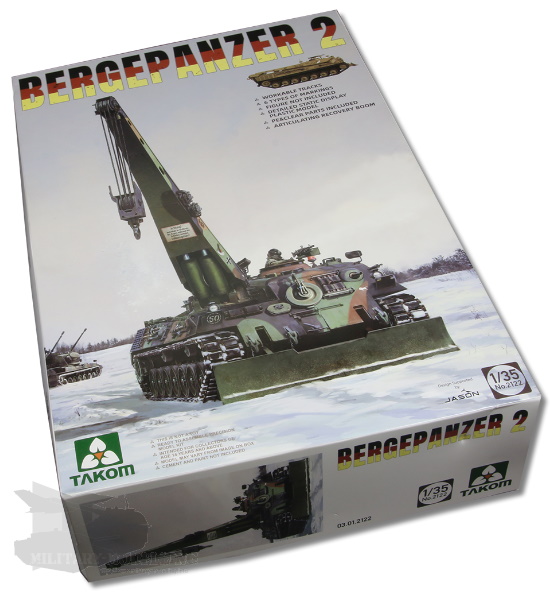
Takom kit number 2122
Scale: 1:35
Media: injection moulded plastic (including clear parts), photo-etch brass, braided copper wire, nylon string.
Review by: Marcus Jacob, militarymodelling.info
Reviewed in: September 2019
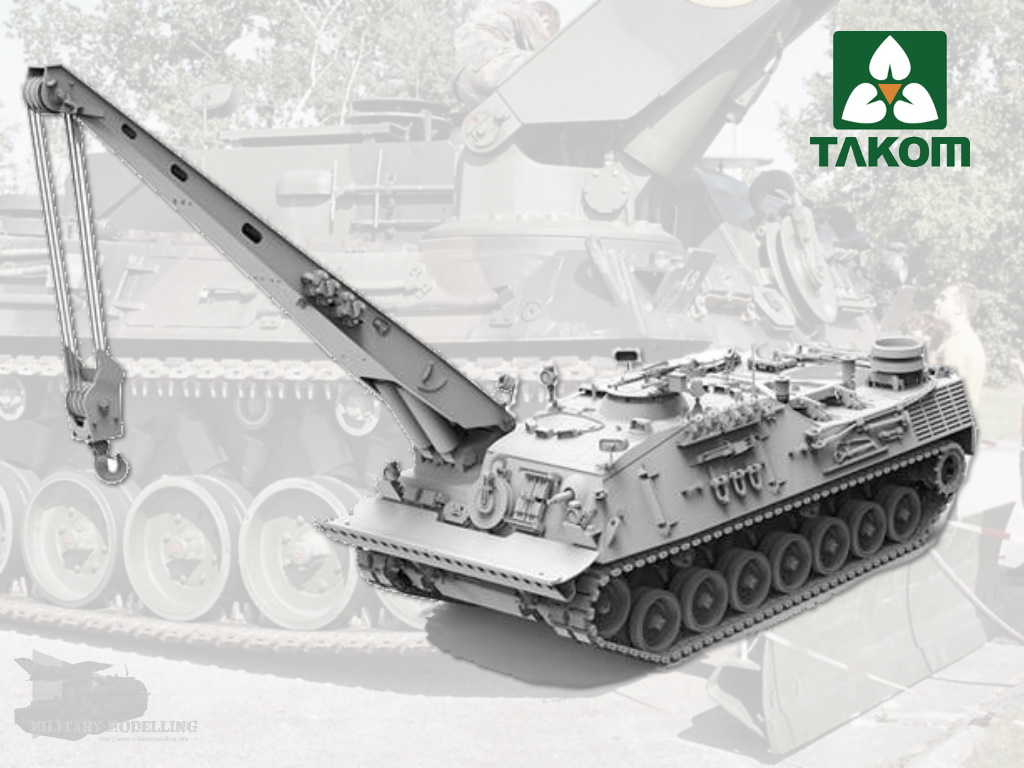
At the beginning of 2019, there was a surprise from Takom - the announcement of a Bergepanzer 2 in injection plastic. So far, this model had only been available in 1.35 from two small series manufacturers, Elite or Perfect Scale Modellbau. Now the kit is on the table and I am curious to see what Takom has to offer. Let us take a look ...
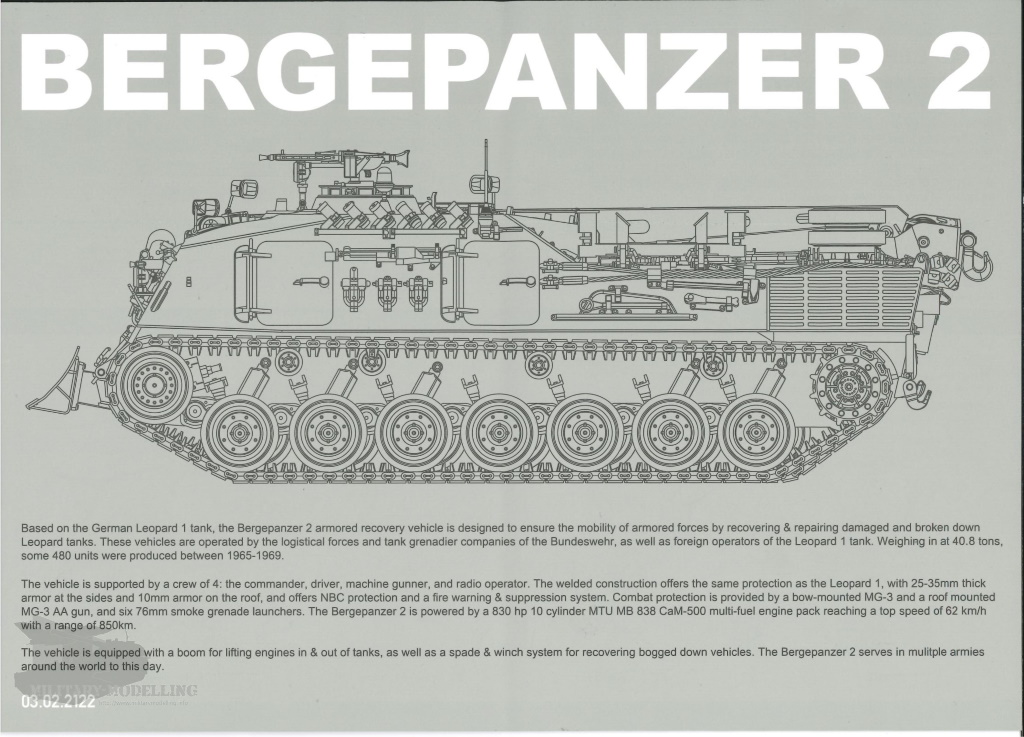
From the beginning, a recovery tank was planned as part the development of the Leopard 1 vehicle family. In 1961, the military-tactical demand had already been defined. In 1964, the first prototype was presented and Maschinenbau GmbH Kiel (MaK) took over the overall implementation of the Bergepanzerprojektes. On 9 September 1966, the first production Bergepanzer 2 (Standard) was handed over from Atlas-MaK.
The Bergepanzer 2 Standard was based on the hull and the suspension of the Leopard 1 MBT. About 75% of the assemblies of the MBT can be found here. The tank was powered by an MTU MB 838 CaM-500, a 10-cylinder diesel engine with 830 hp. The Bergepanzer 2 was the first to receive reinforced brake discs due to its increased weight. The main tools and the recovery equipment consisted of the main winch, swivelling crane (through 270 degrees) and a 3.25-metre 'dozer blade'. The blade was used almost exclusively as a ground support to stabilise the vehicle when using the crane. Standard features included an NBC protection ventilation system, vehicle heating and a fire alarm/suppression system. Two 7.62 mm MG3 machine guns were used as weapons, one in the bow and one for air defence on the commander's cupola.The recovery of damaged vehicles, or vehicles from minefields, plus changing powerpacks in the field, were major tasks for the recovery tank. With its crane, it was able to lift loads of up to 13 tonnes depending on the angle of attack of the crane. Transporting the powerpack was another task. For this purpose, a complete pack could be carried on the rear of the vehicle.
Altogether, the Bergepanzer had 4 crew members, though 3 was normal. These were the commander, the driver/operator, the mechanic/radio operator (and the bow machine gunner).
In addition to Germany, this armoured recovery vehicle was used in Australia, Belgium, Brazil, Canada, Chile, Denmark, Finland, Greece, Italy, the Netherlands, Norway, Poland and Turkey.
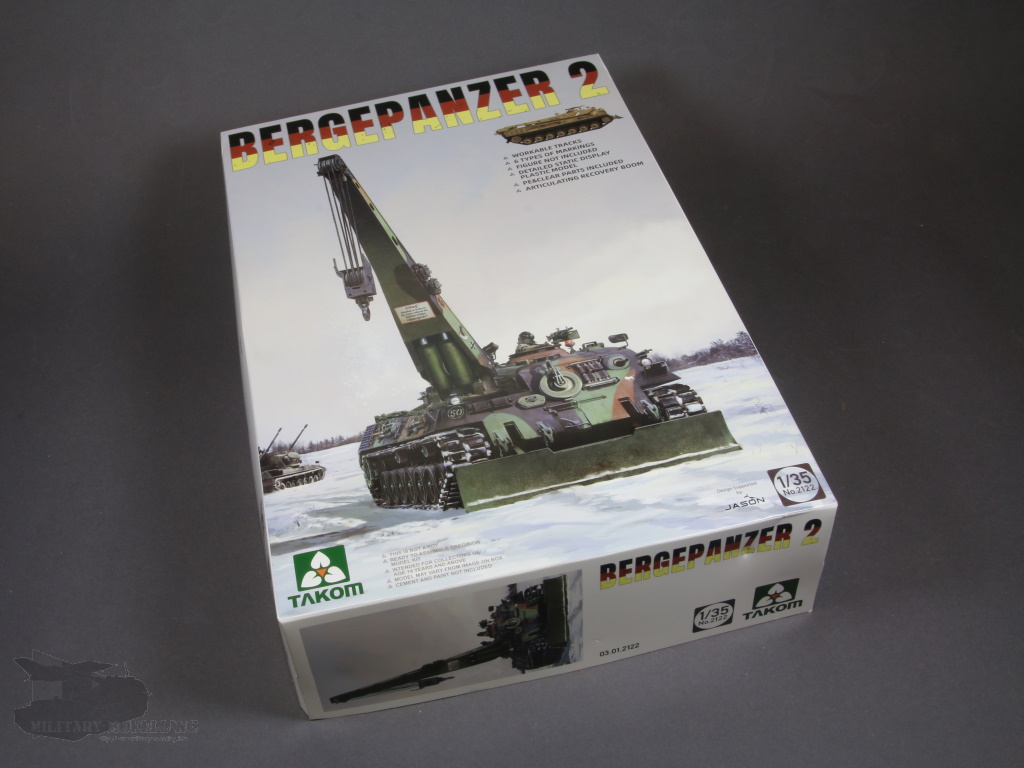
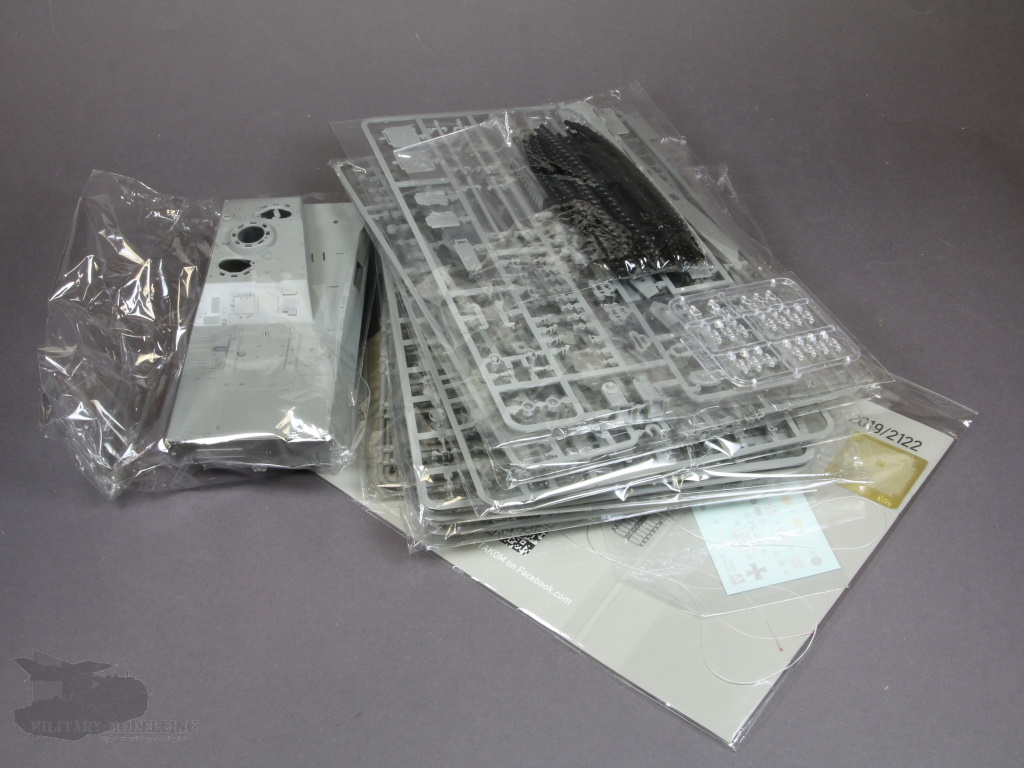
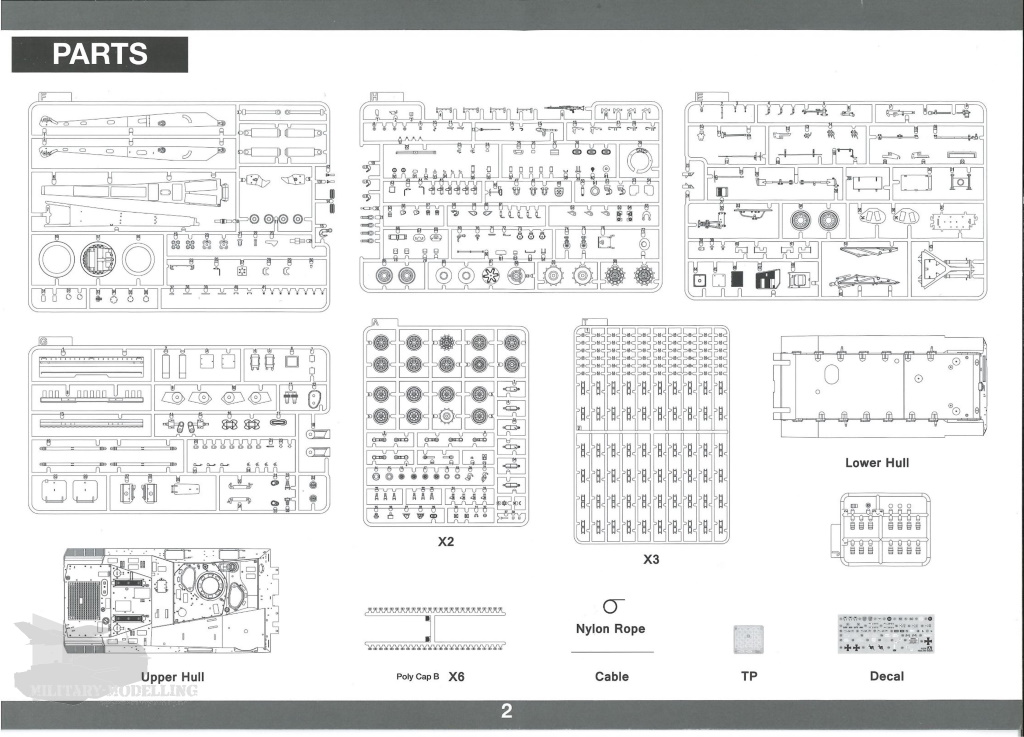
The Bergepanzer 2 from Takom comes in a sturdy, quite large box. On opening the box, there are nine grey plastic sprues as well as one of clear plastic in transparent bags. In addition, there are components for the hull as well as vinyl parts, copper wire, a simple photo-etch fret, a decal sheet and the instructions. At first sight, construction looks like it will be fun to build.
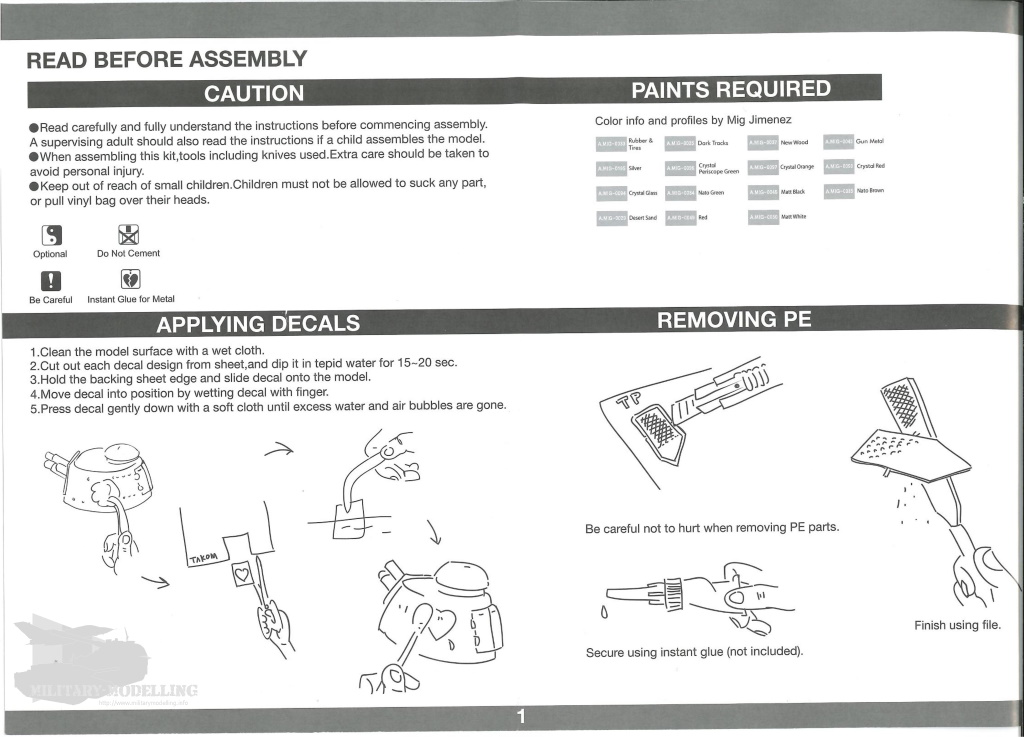
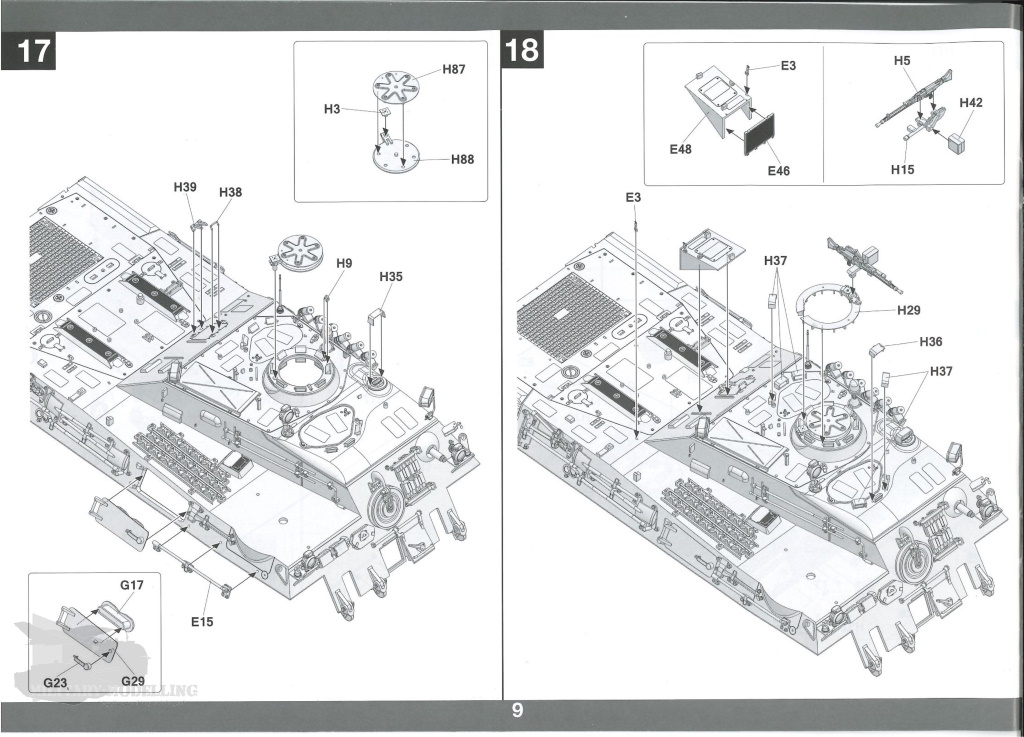
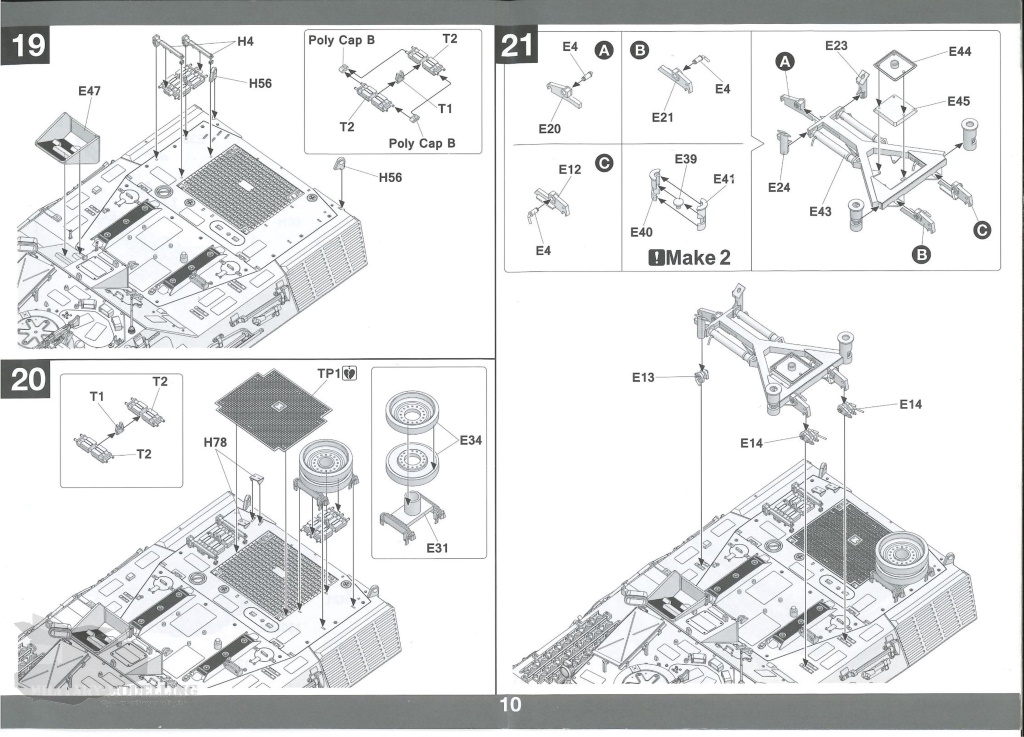
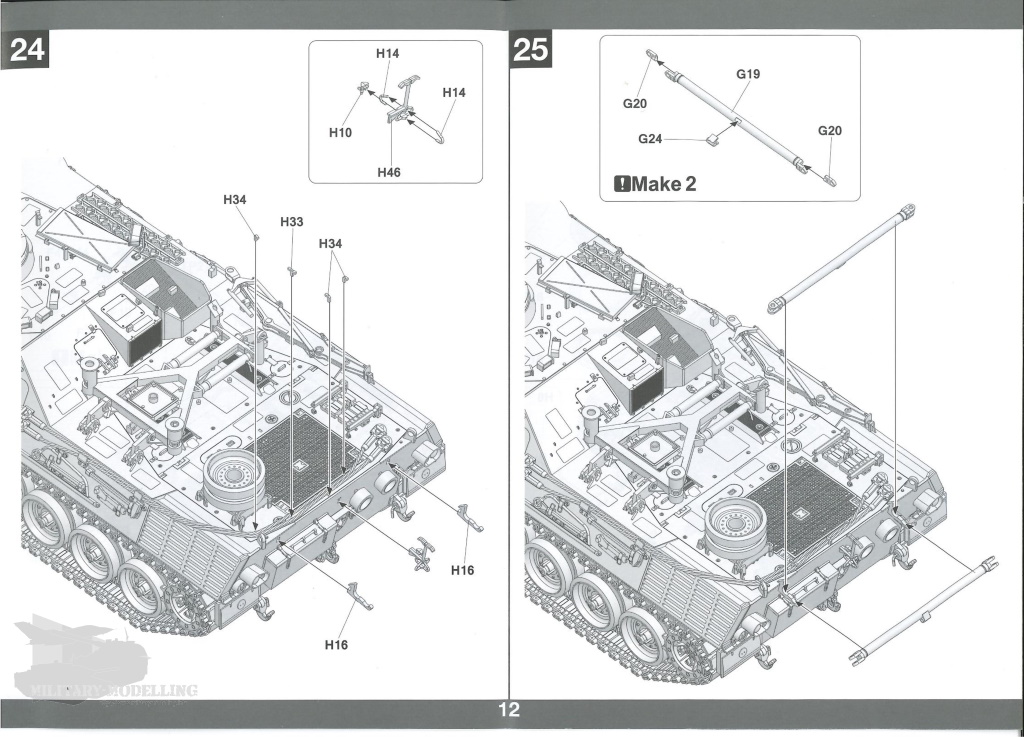
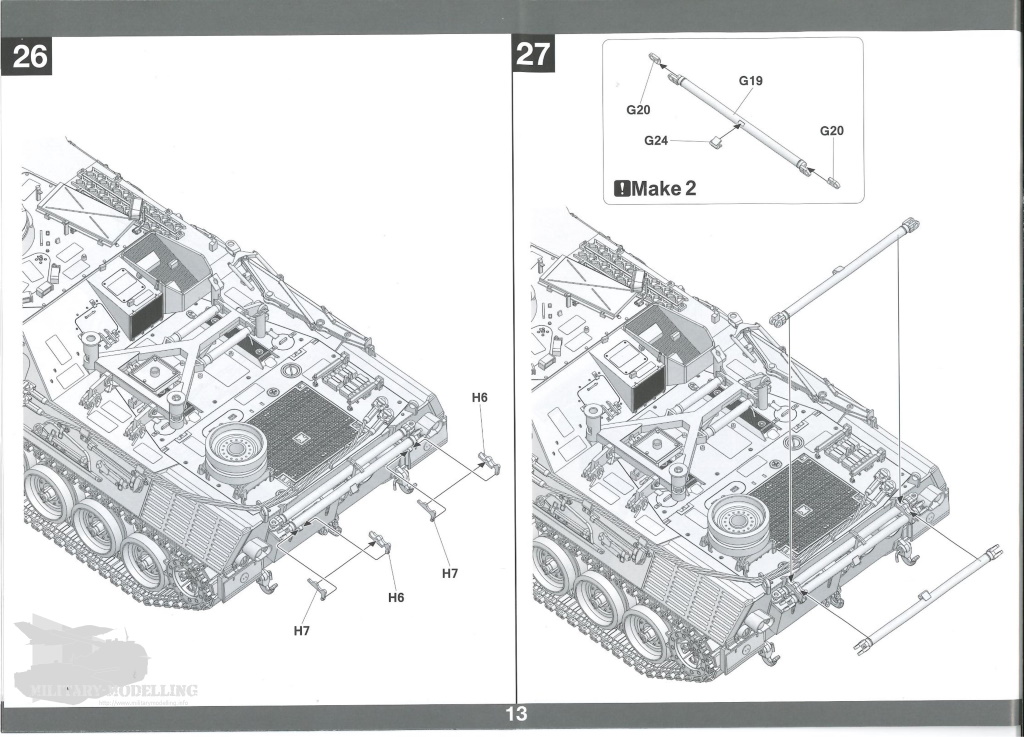
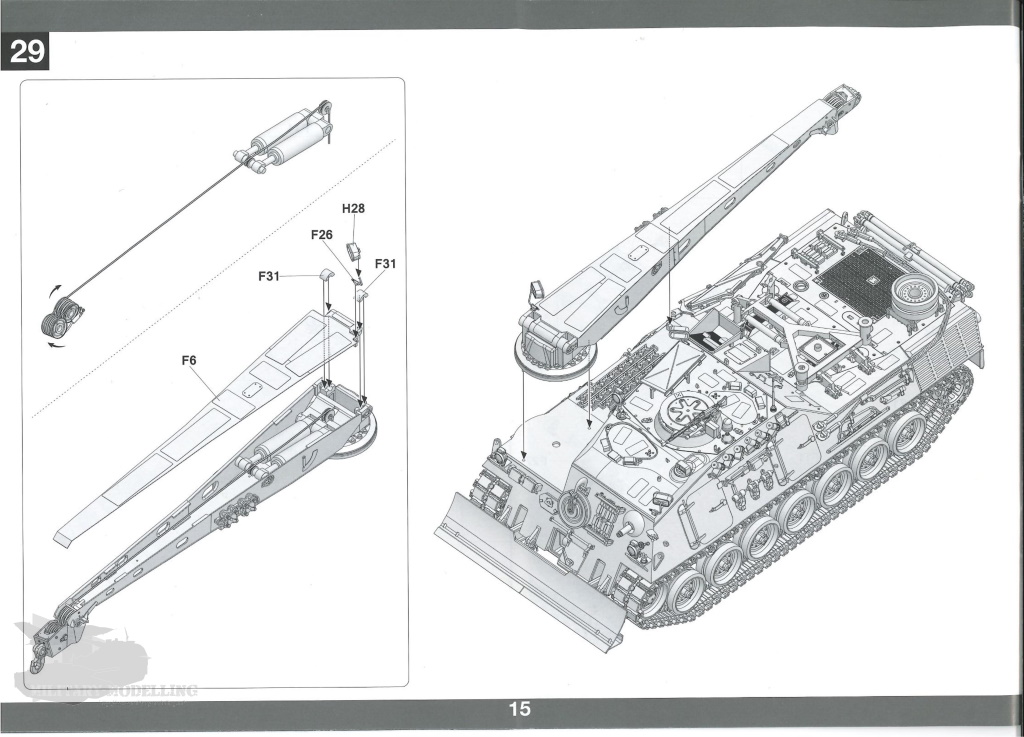
The instructions for the Bergepanzer 2 comes in the familiar A4 format. With 18 pages, there are 29 construction stages with clear 3D-exploded drawings to guide you through the build. On the last pages of the manual you will find six painting suggestions with the colour selection from AMMO by Mig. The individual construction stages are easily followed, but the crane boom requires special attention.


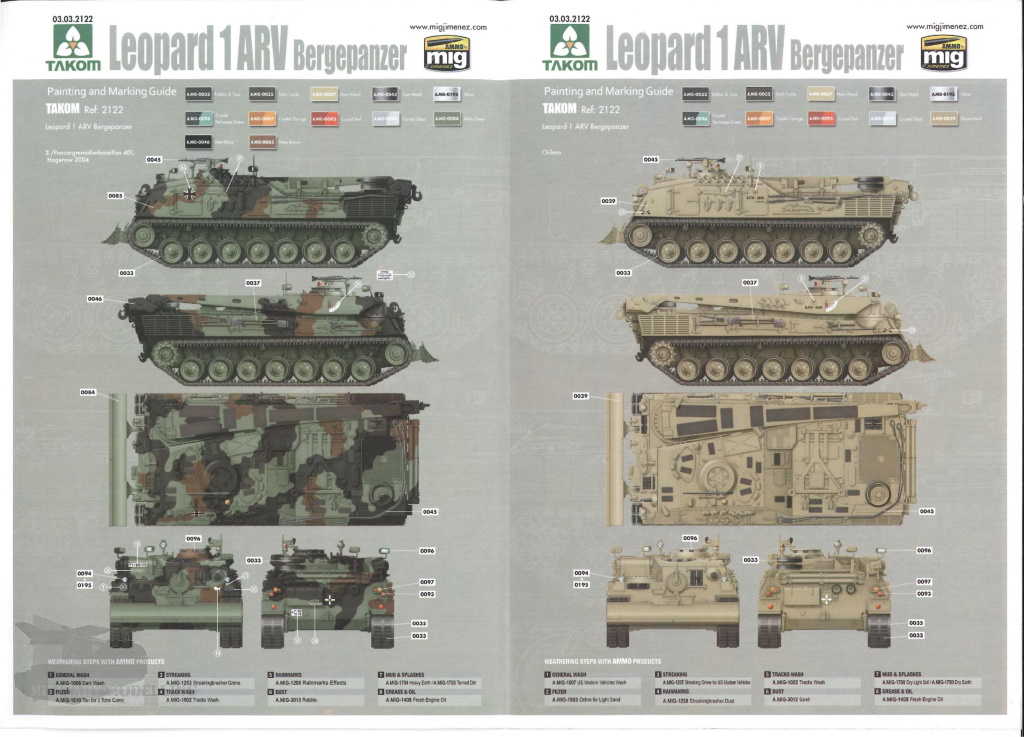
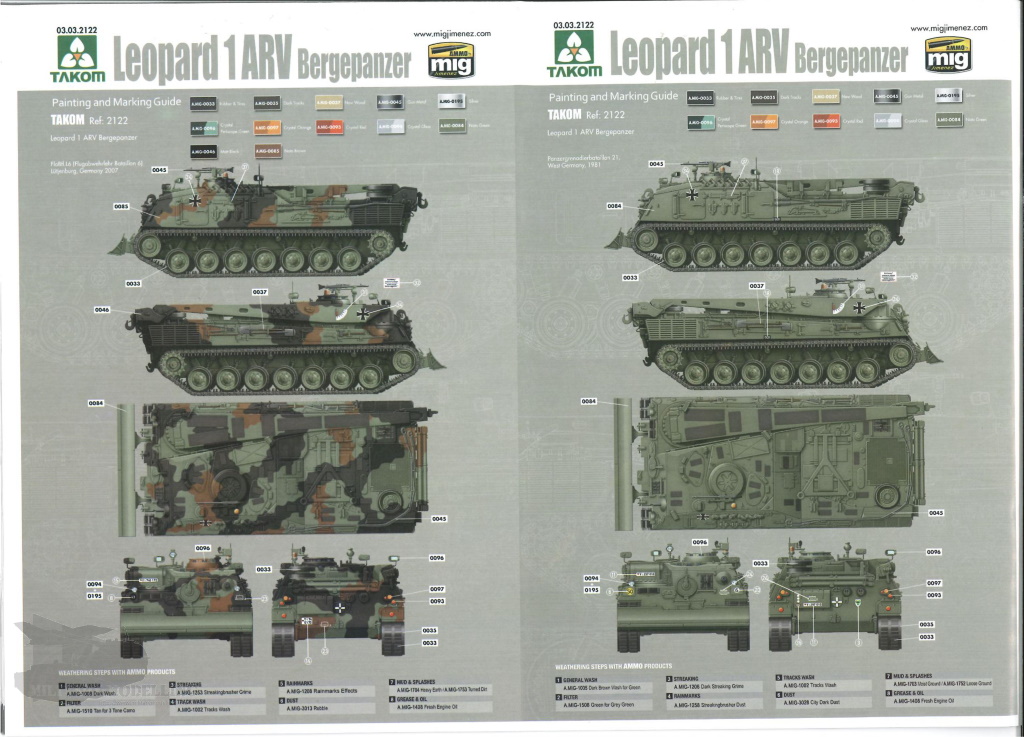

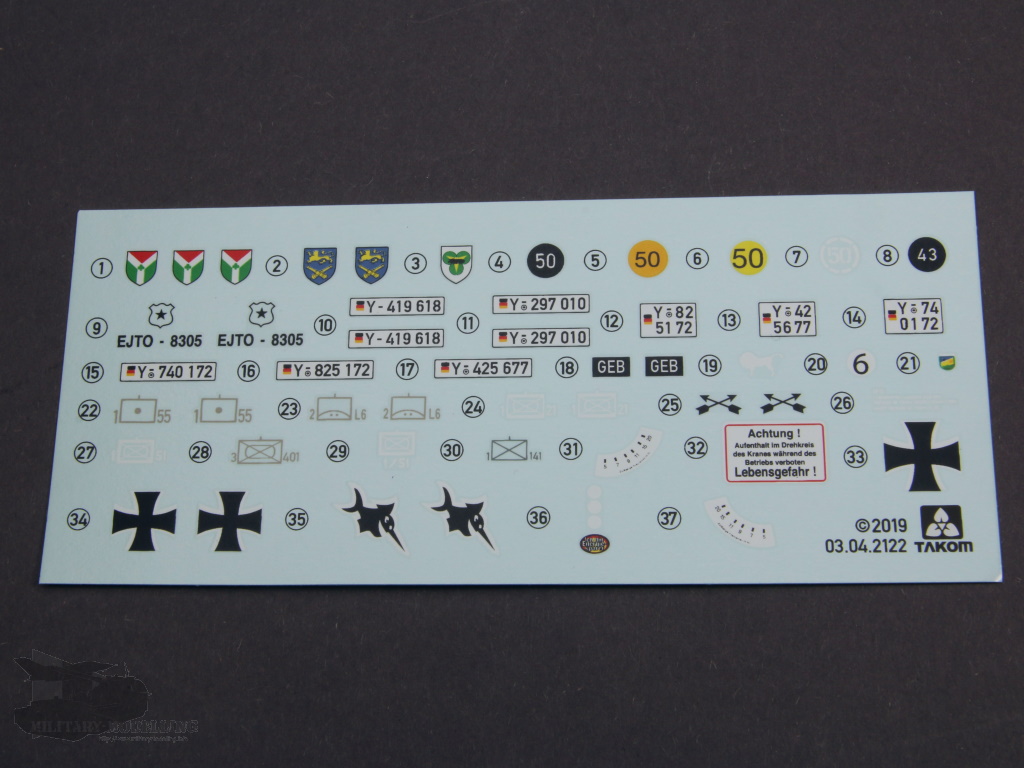
The decal sheet contains the necessary tactical signs, national insignia, MLC signs, vehicle registration numbers and markings. The printing is good and strong. The following versions are supplied:
Personally, I prefer the variant of the RakArtBtl 55, because I was once 'at home' there when it was still PzArtBtl 55.
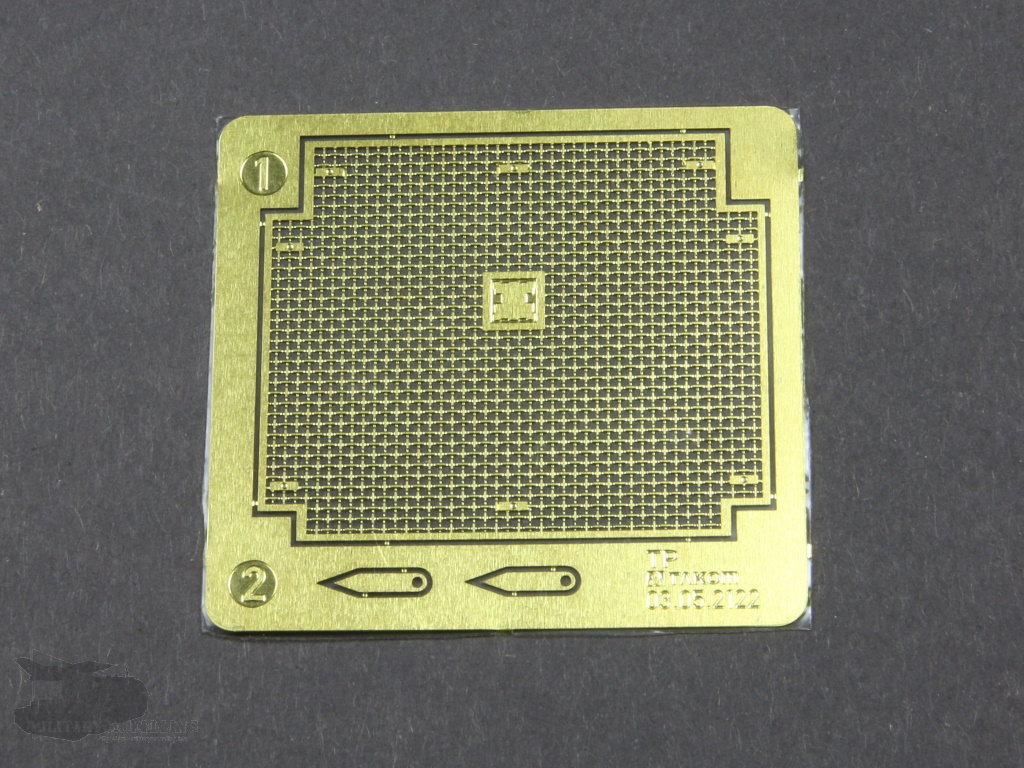
In addition to the components, Takom has also added a small brass photo-etch fret. This has a finely etched grille for the engine cover as well as the load indicator for the crane arm.
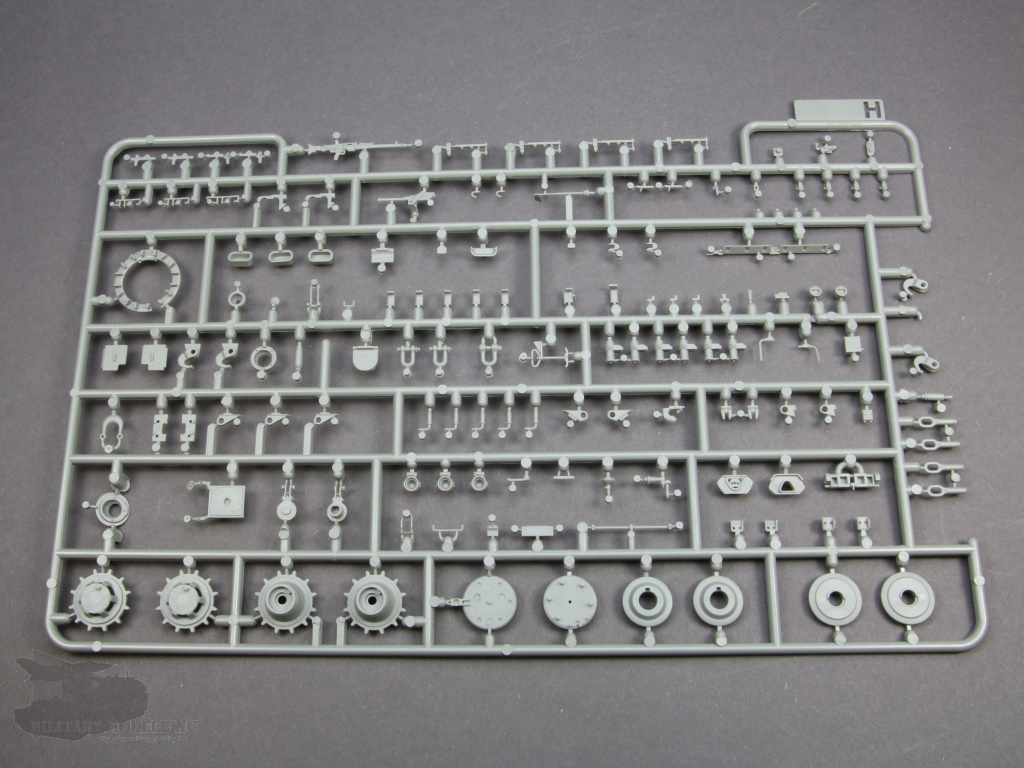
As already mentioned, the kit contains nine light grey plastic sprues as well as one made of clear plastic, plus the components for the upper and lower hull. The moulding is consistently described as the best. Ejector marks are mostly located in concealed places. Sprue gates are limited to the bare minimum and moulding seams are mostly, but not all, acceptable. Some of the sprues are already known from previous kits such as Takom's Leopard 1 and Gepard. The rest contain newly designed parts.

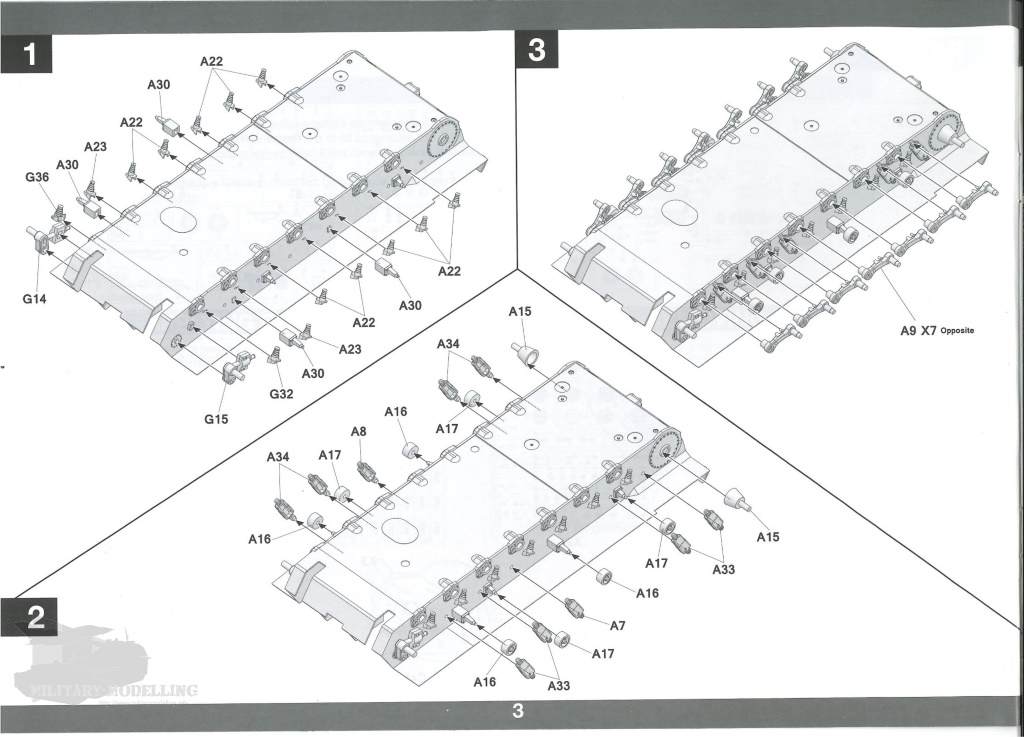
Let us take a closer look at the components and start with the suspension and the hull, as always. The lower hull of the Bergepanzer 2 is a large component. The rear hull is included as part of the lower hull which facilitates assembly.
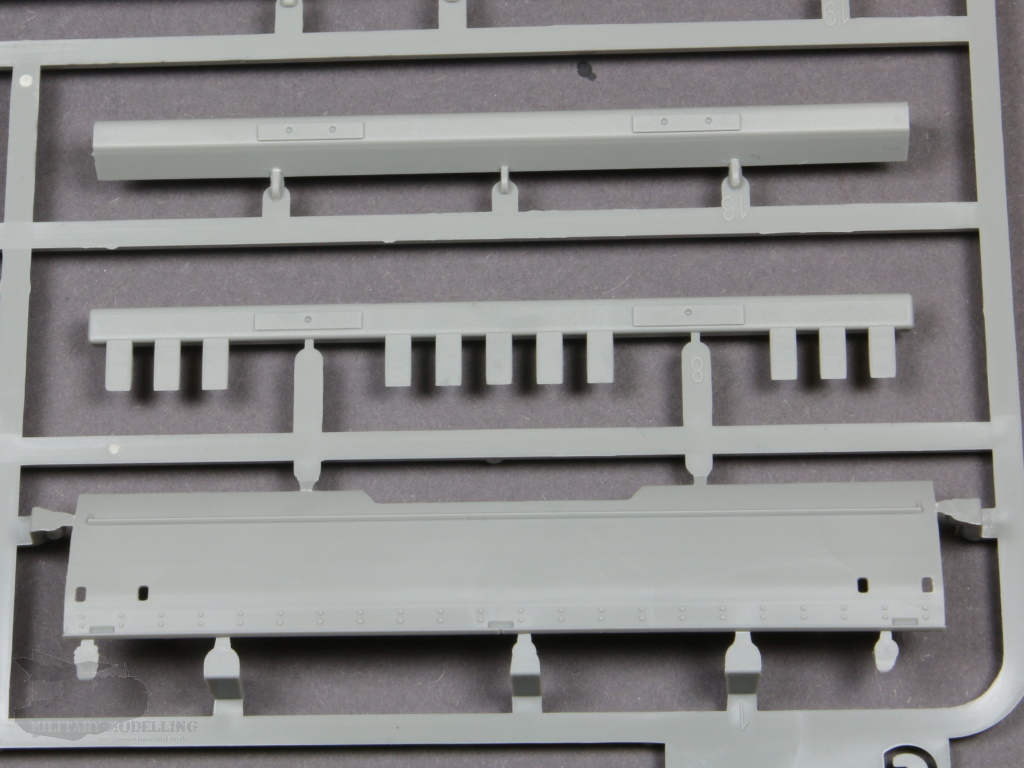
Striking, however, are the rear mud flaps. These are in one piece, folded up and quite thick. Very good alternatives are supplied by Leopard Workshop as an accessory (LW029). On the tub sides are the openings for the swing arms and the supports for the idlers. Conspicuous here are the finely detailed bolt connections of the swing arm mounts.
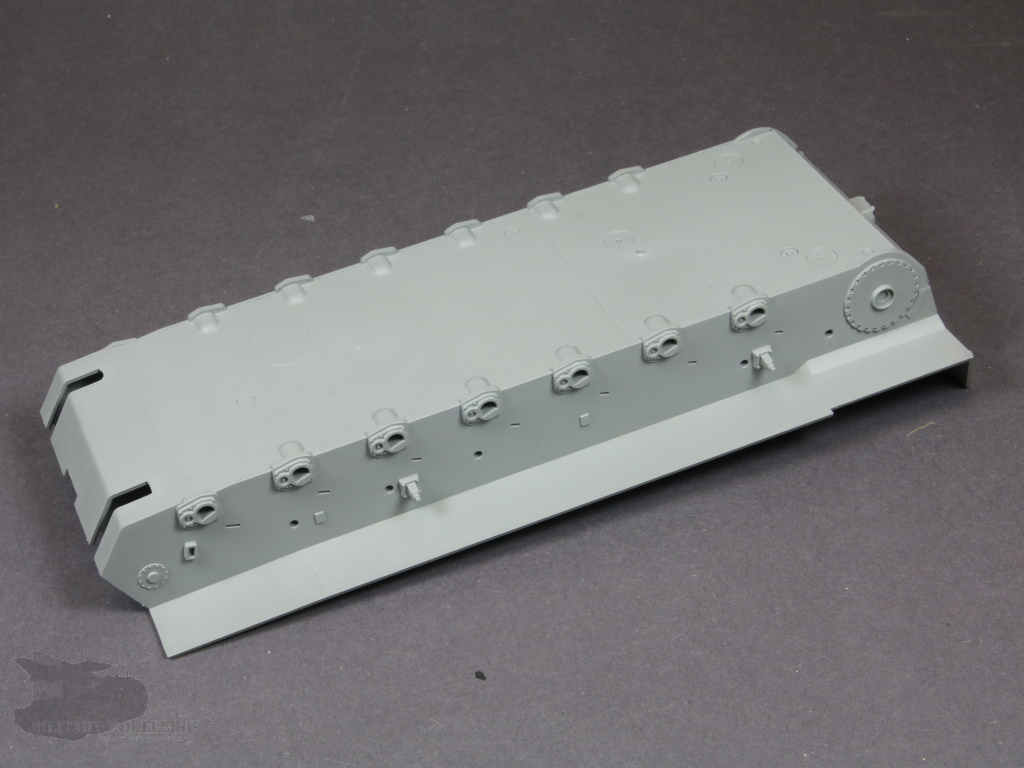
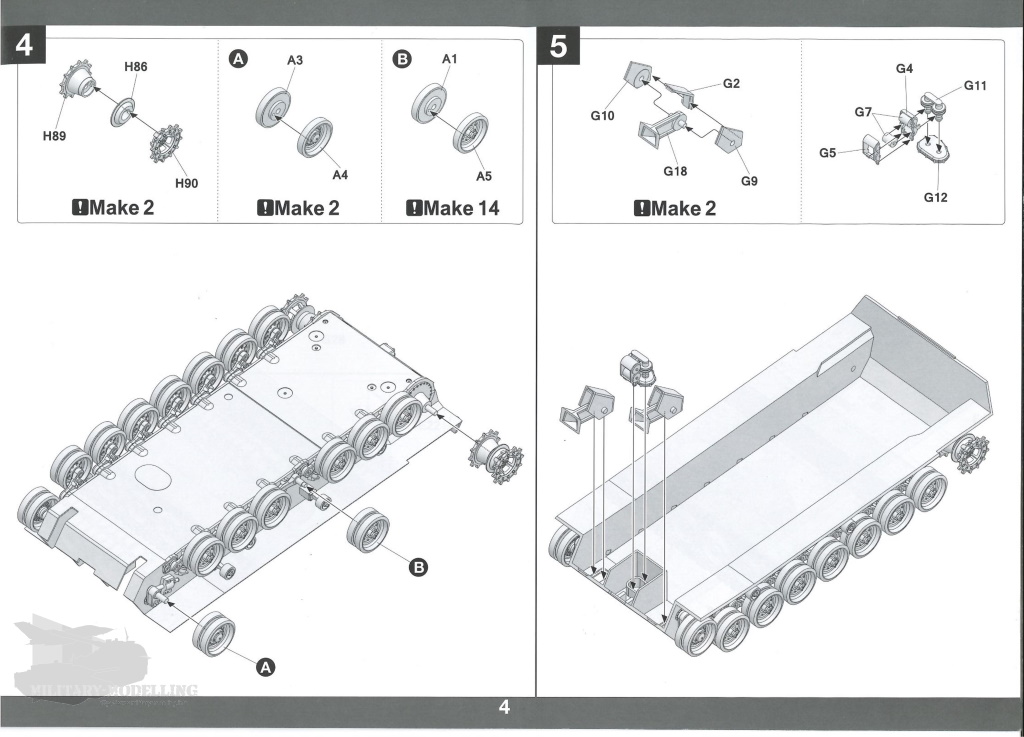
Individual swing arms are included with the kit. These are well formed and detailed. The front track tensioners are also convincing. A poseable suspension, as now offered by some manufacturers, is not possible here. But I do not need this.
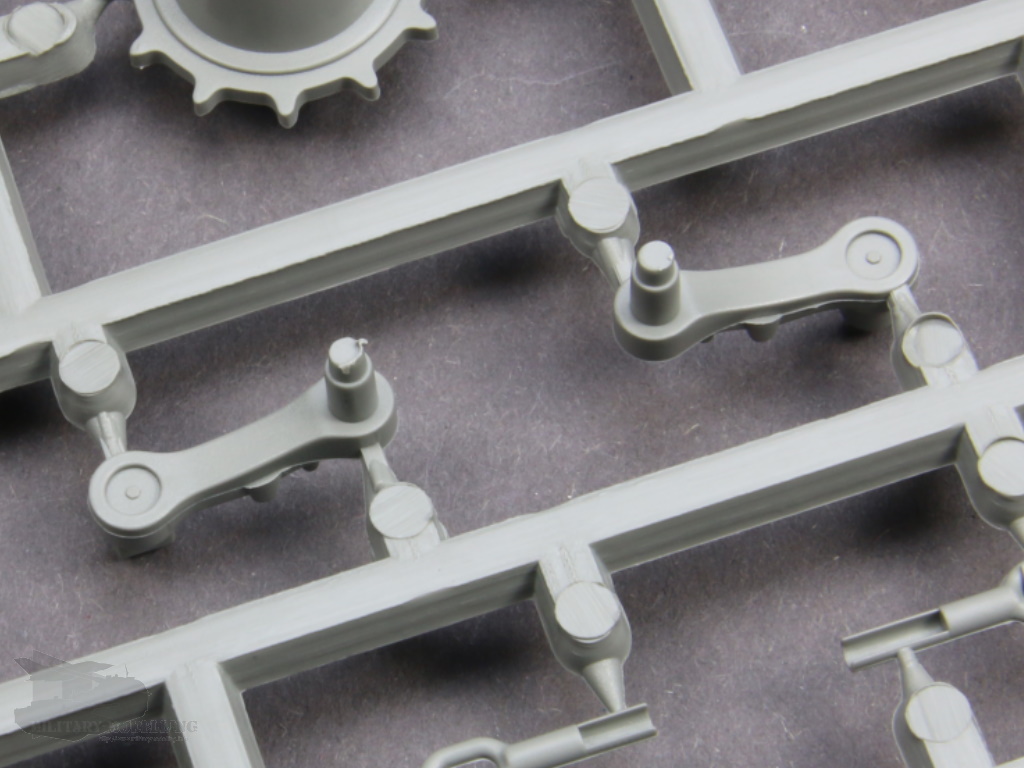
At the front of the hull are the openings for the attachment of the dozer blade and the main winch. The winch itself is buildable from multiple components, but its design is quite rudimentary.
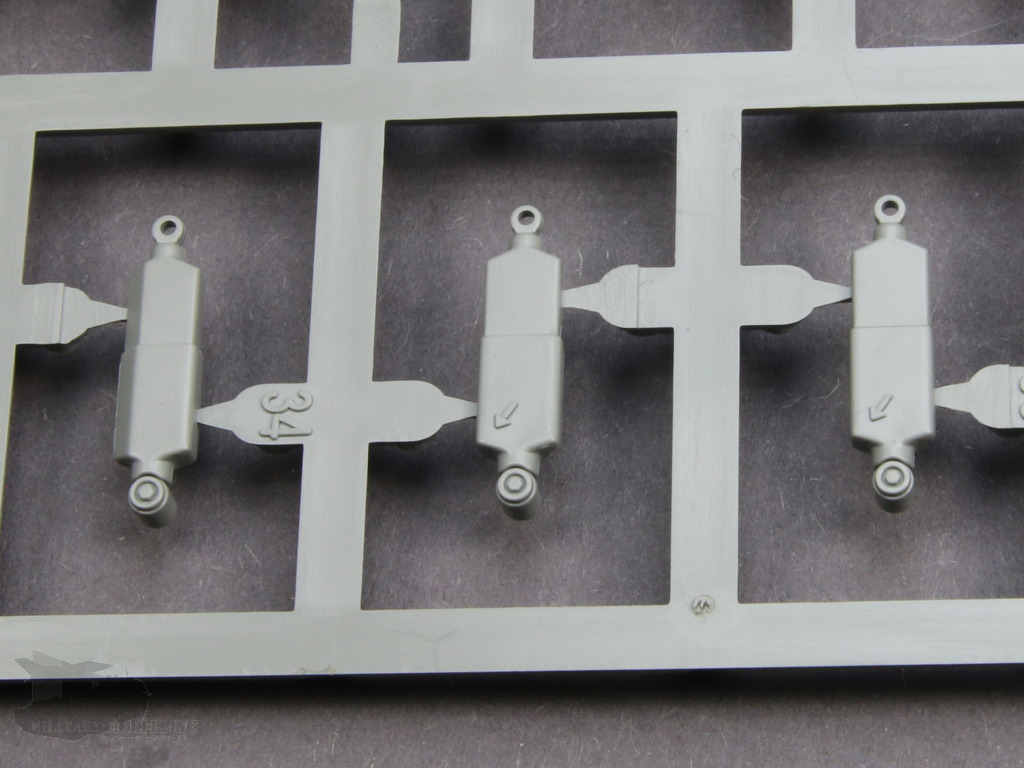
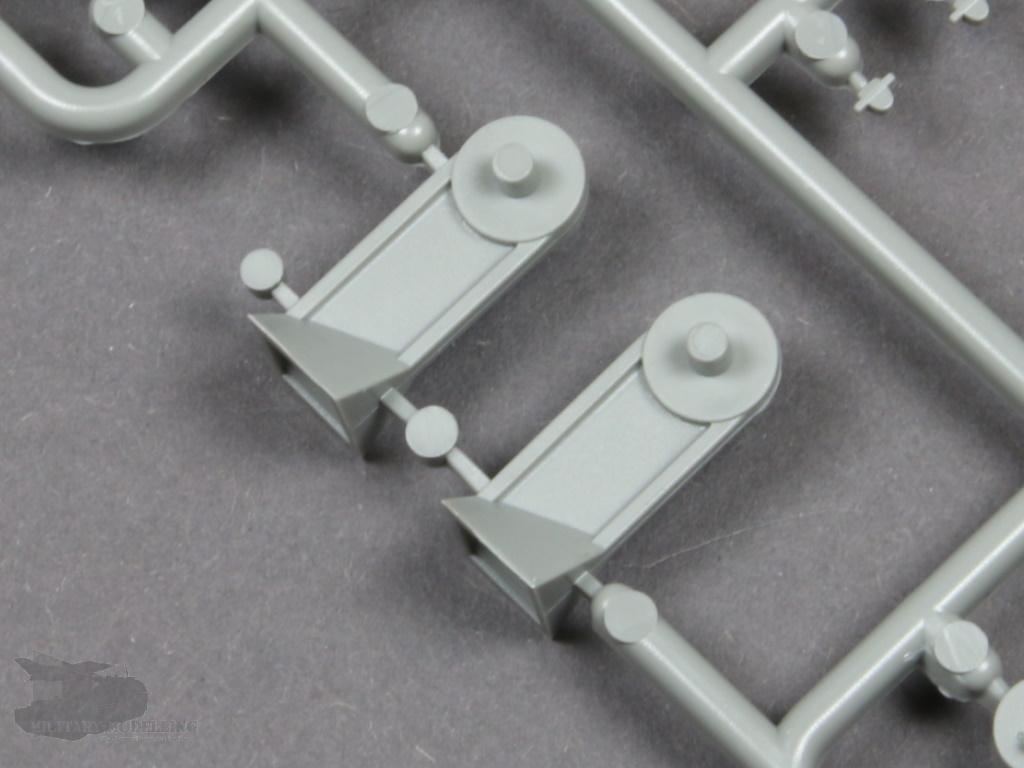
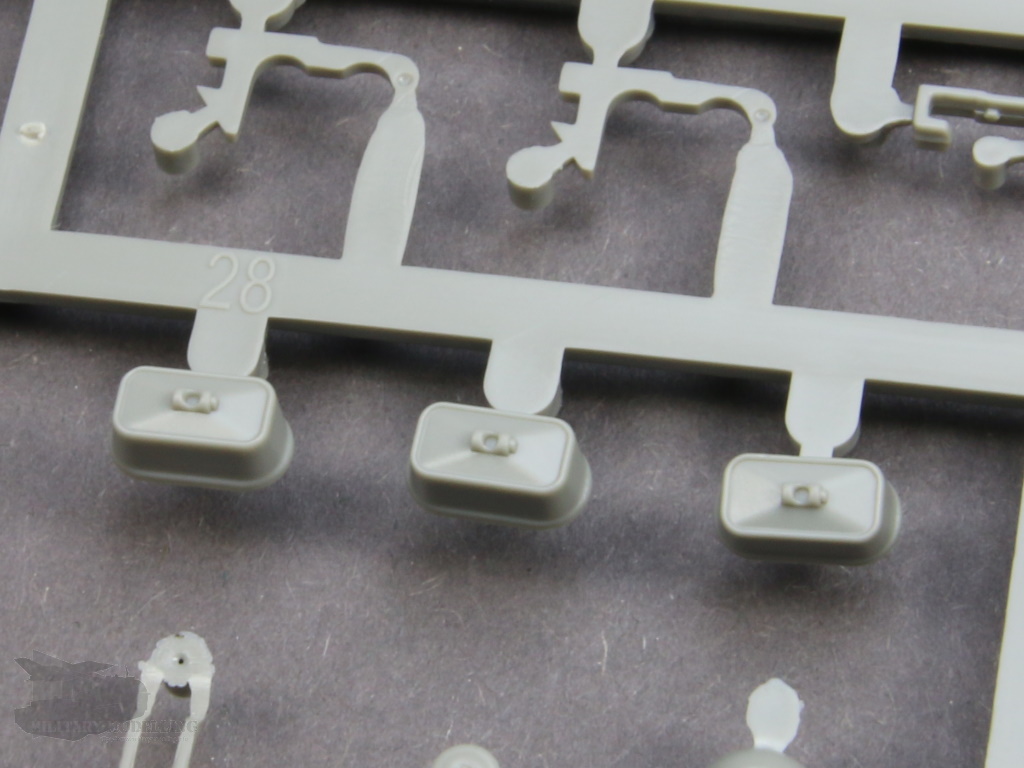
The shock absorbers of the Bergepanzer 2 make a good impression, at first glance. However, you then realise that the shape is not consistent, unfortunately. All shocks are identical on the Leopard 1/Bergepanzer 2, apart from the arrows which point in different directions on the right and left sides. If you want to have the correct details, please refer to the accessories of Leopard Workshop (LW010). The Leopard Club set also has much more accurate return rollers.
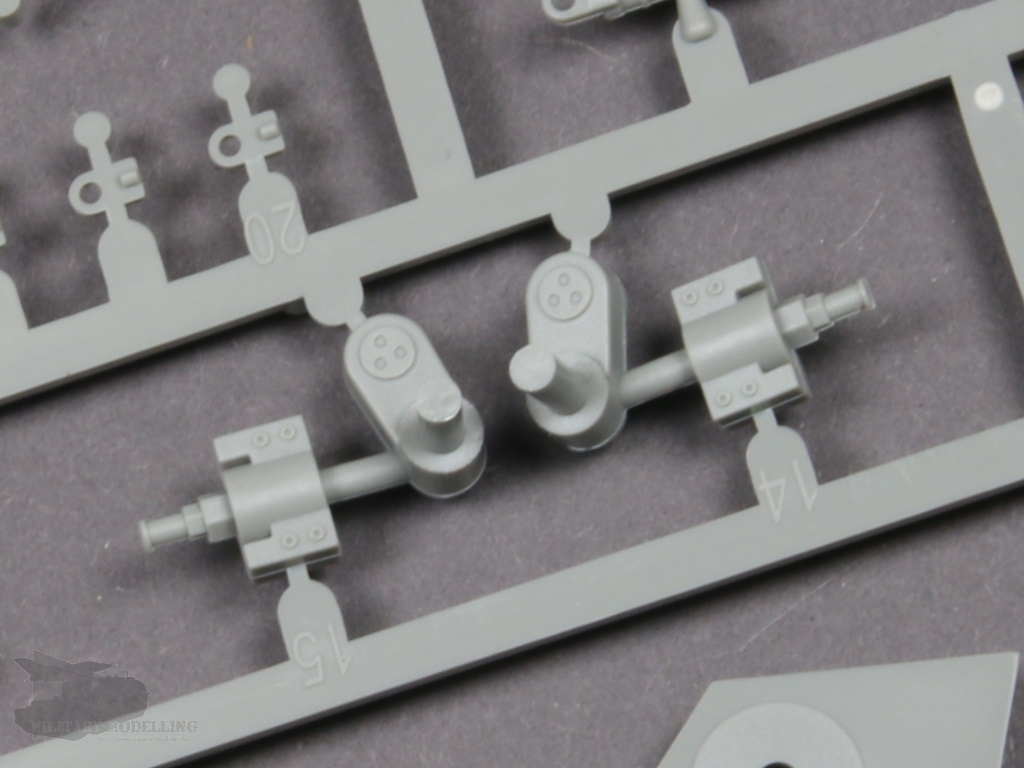
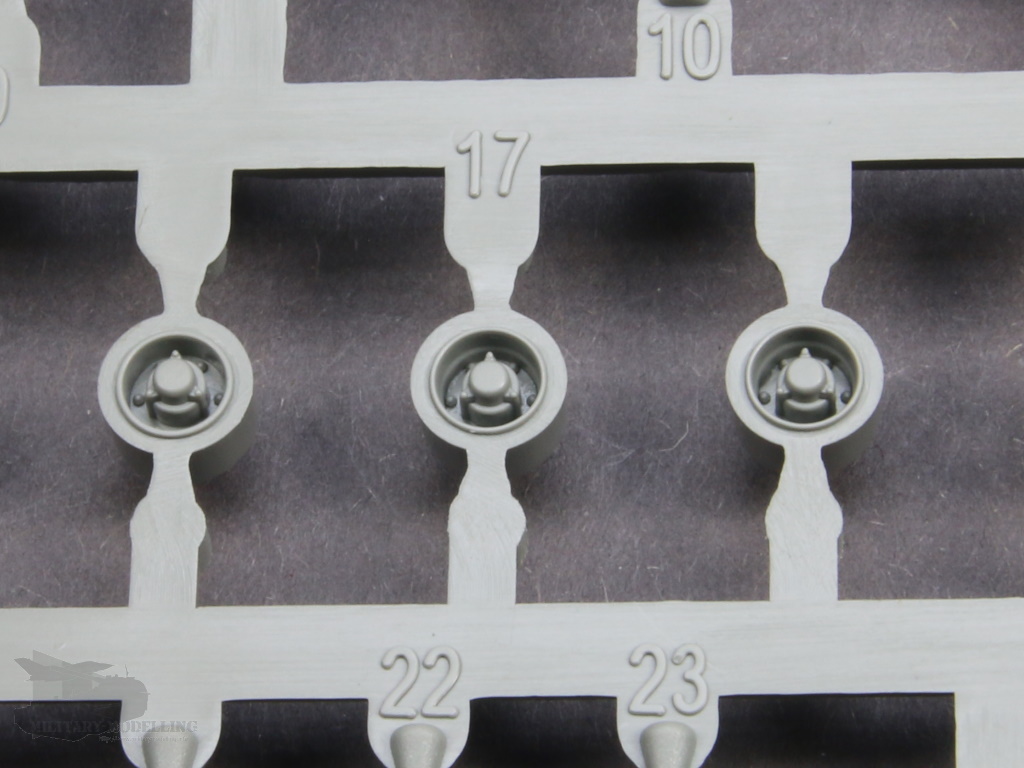
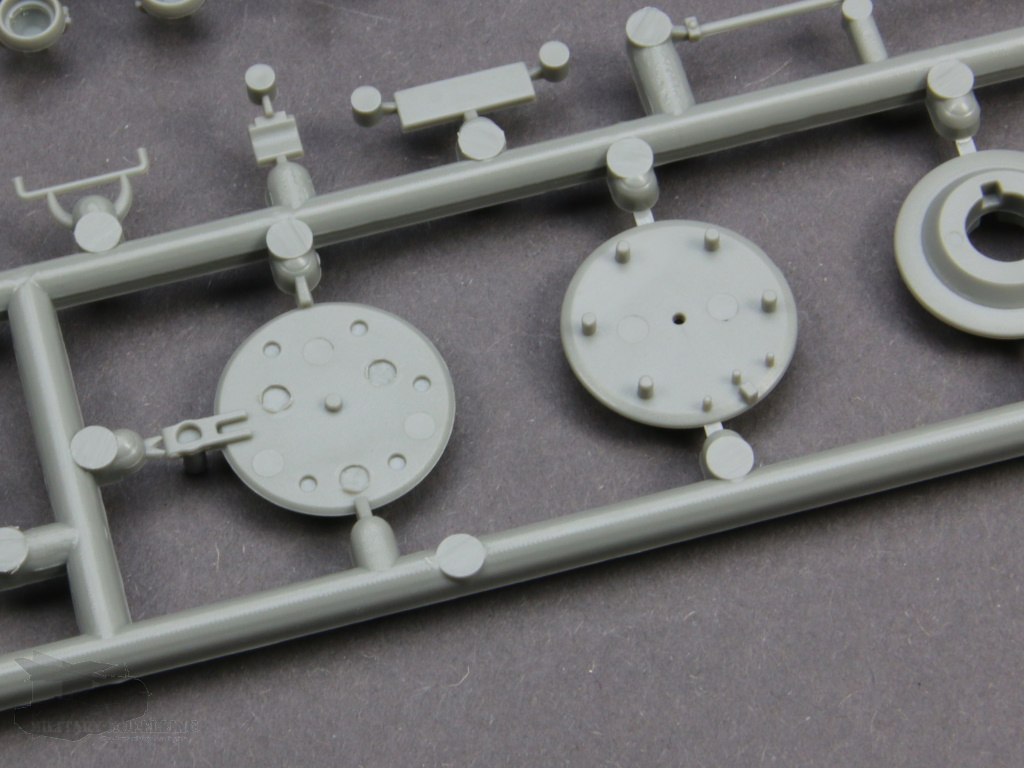
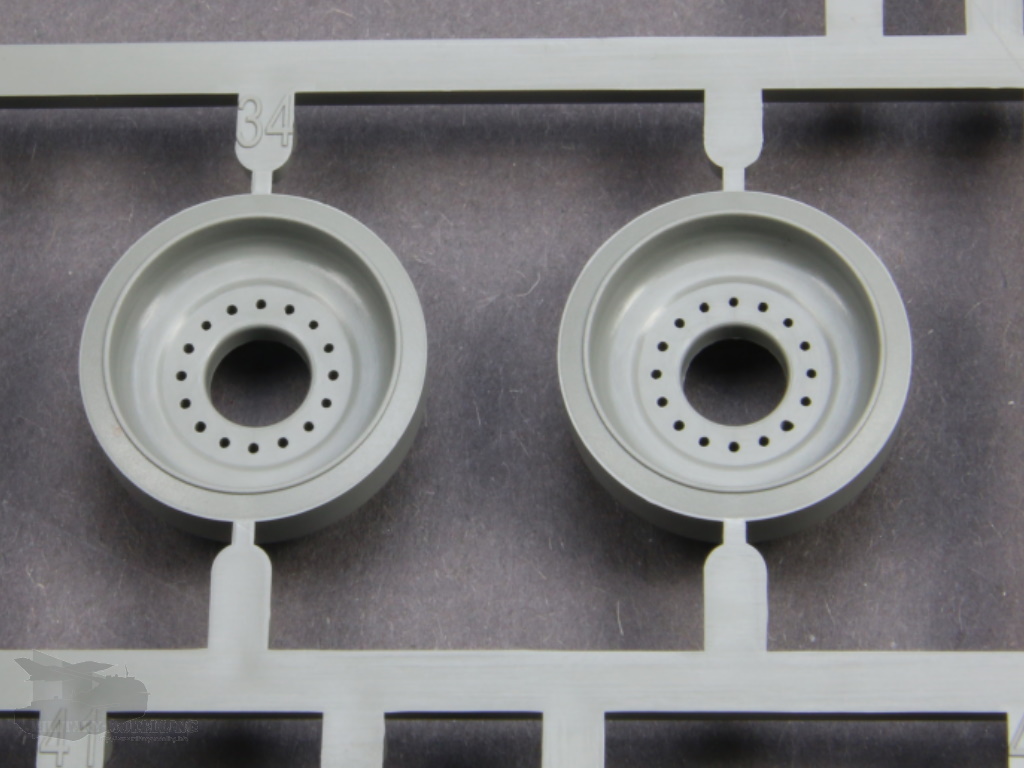
Be careful with the drive sprockets. Takom has added two extra sprockets to the kit. Both variants are great and convincing, but they differ in the number of bolts on the hubs. The sprockets with the 8 bolts are the right choice for early versions of the vehicle, but 15 bolts were used later on, from 1986 onwards.
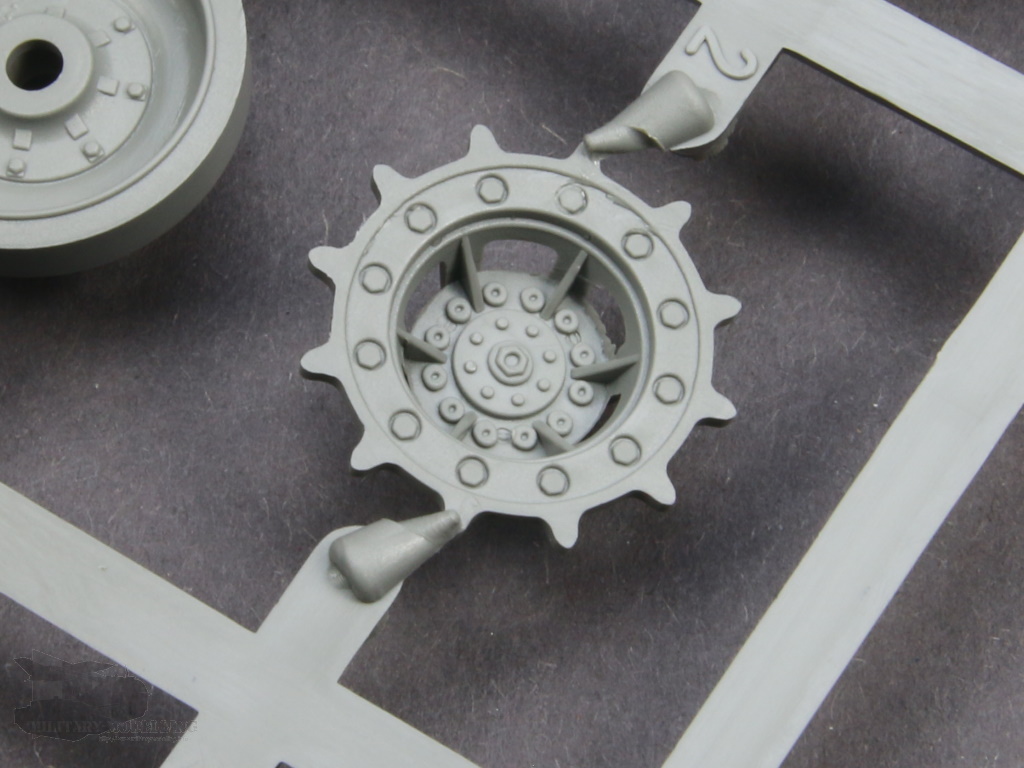
Hub with 8 bolts
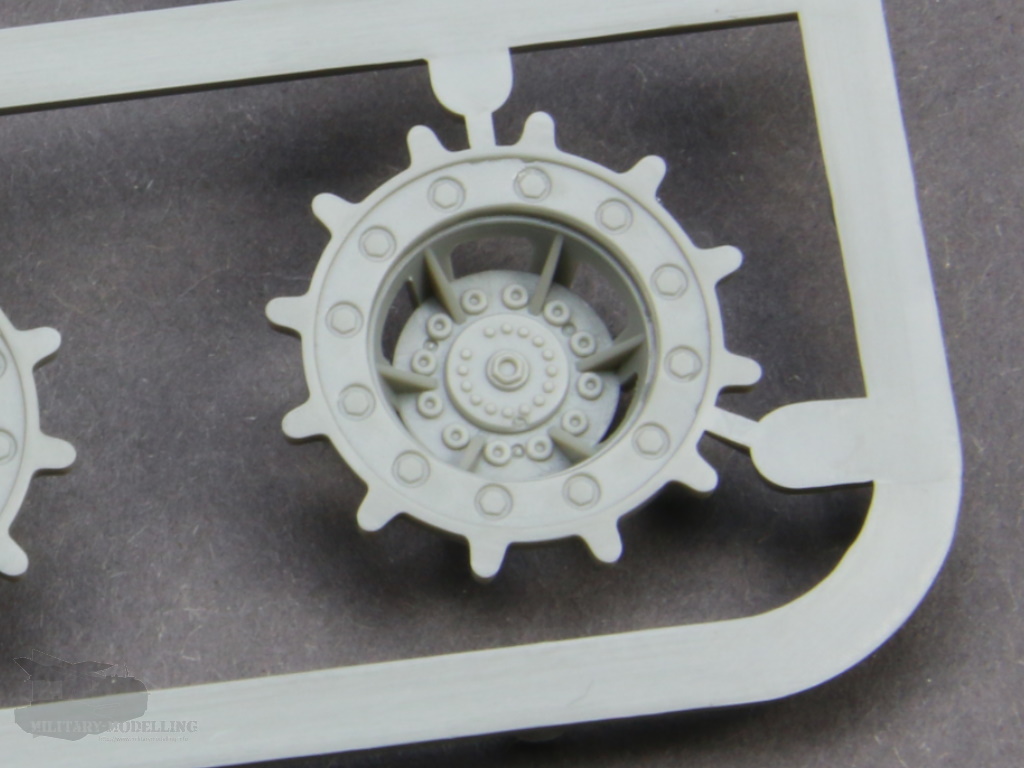
Hub with 15 bolts
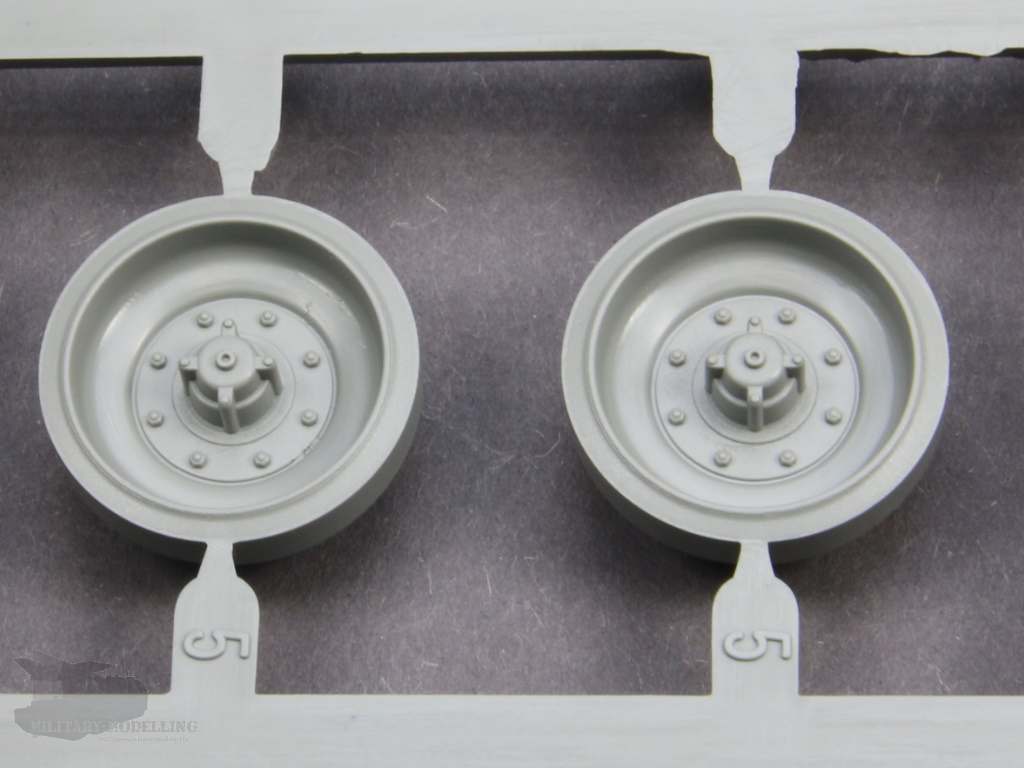
The road wheels in the kit are old acquaintances. As already mentioned, the sprues are identical to those in their Gepard kit, presented twice. The details of the components leave nothing to be desired, as the wheels are also detailed on the back, though not strictly accurately but close enough for most.
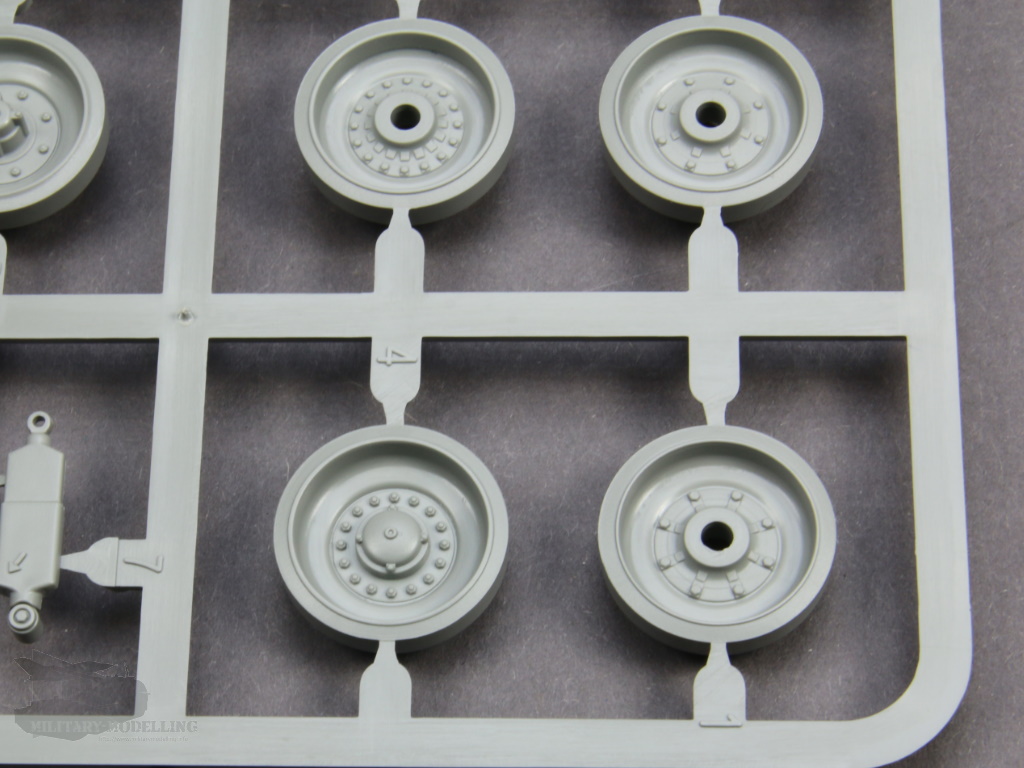
As mentioned above, the return rollers are not the greatest.
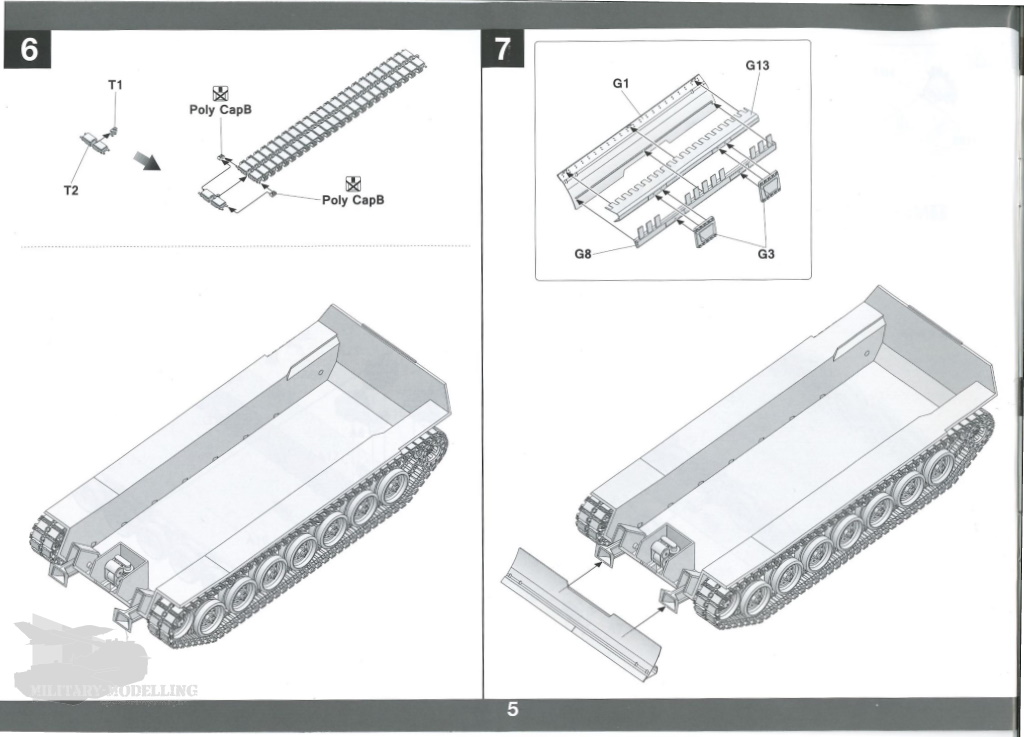
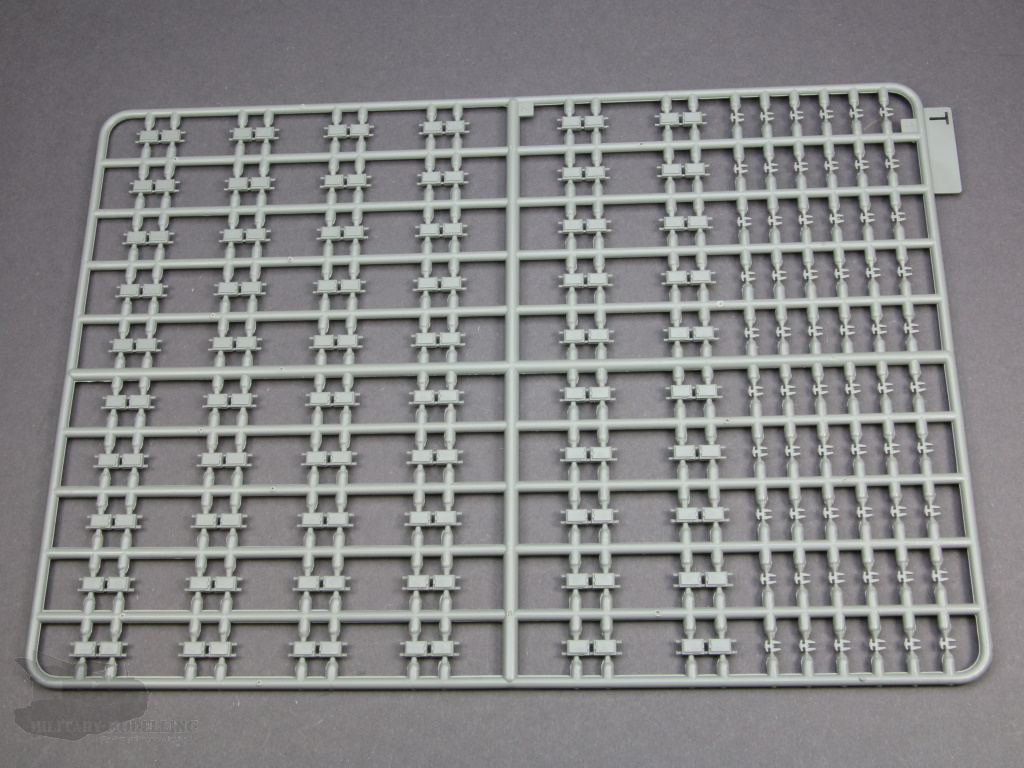
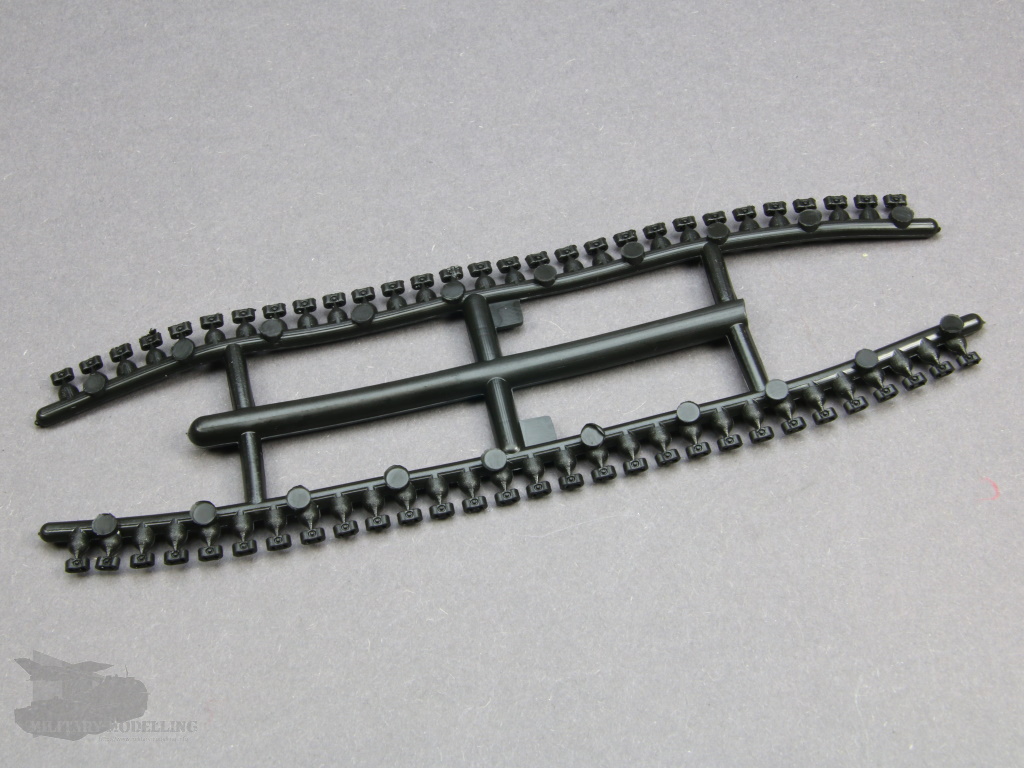
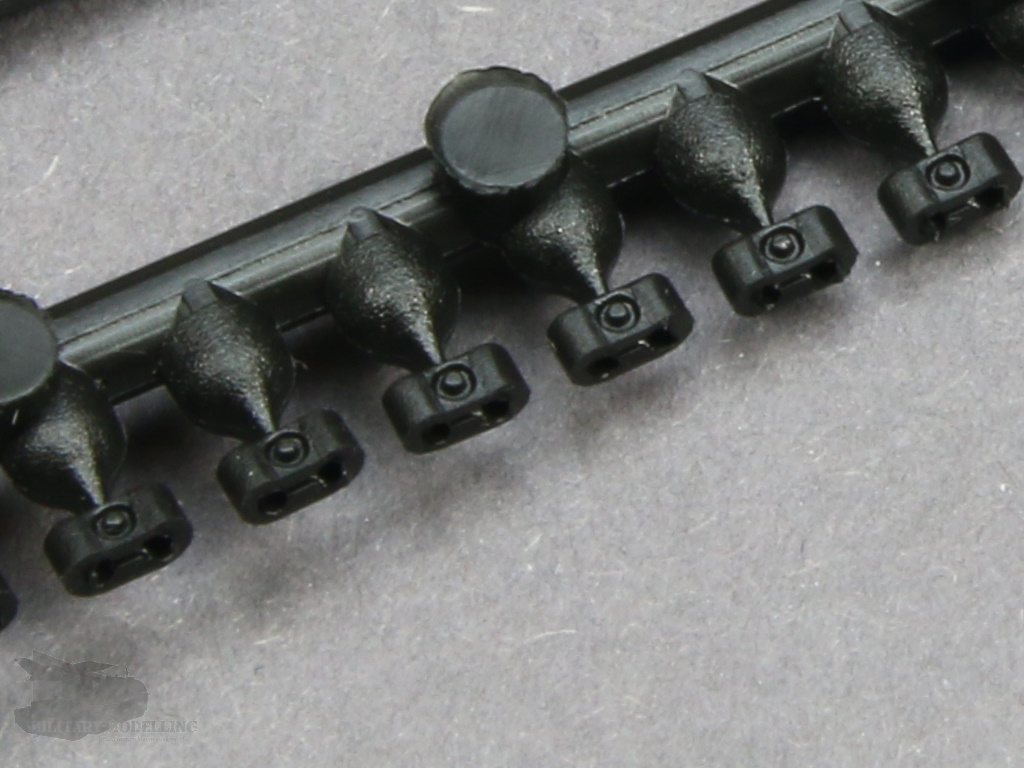
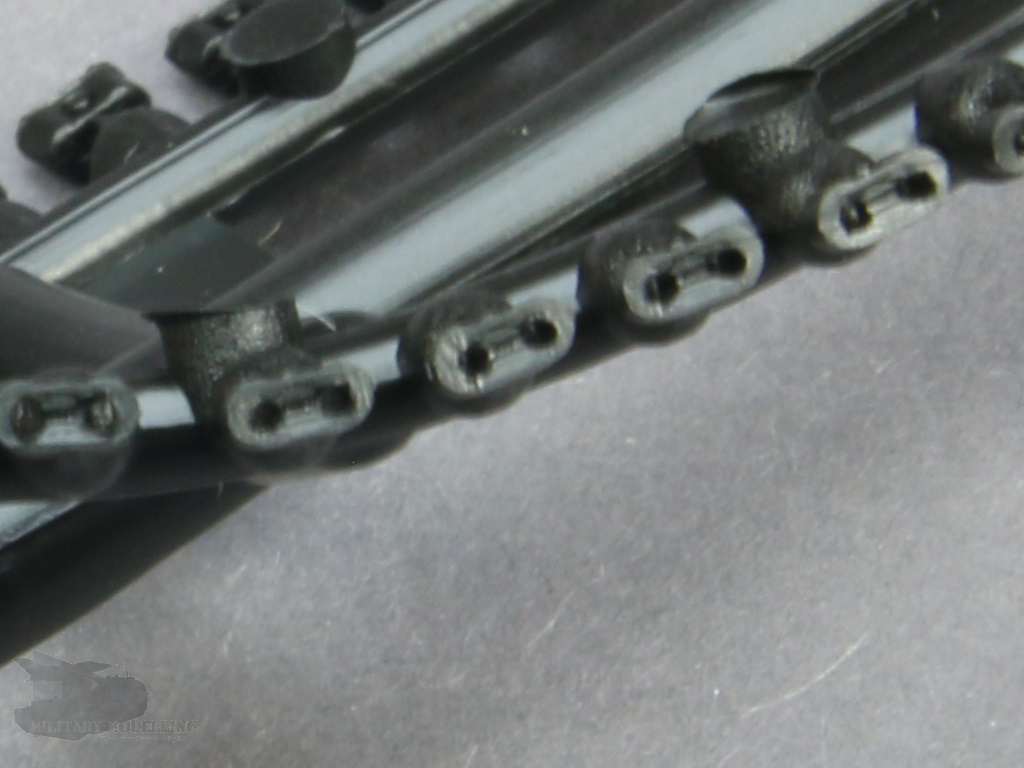
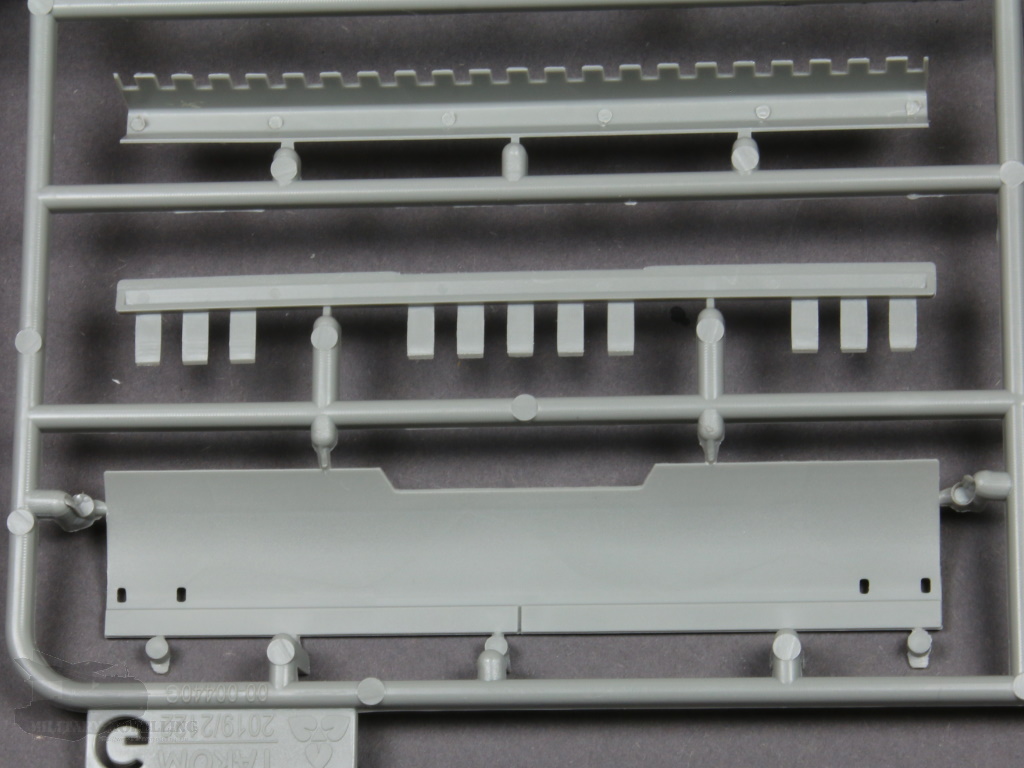
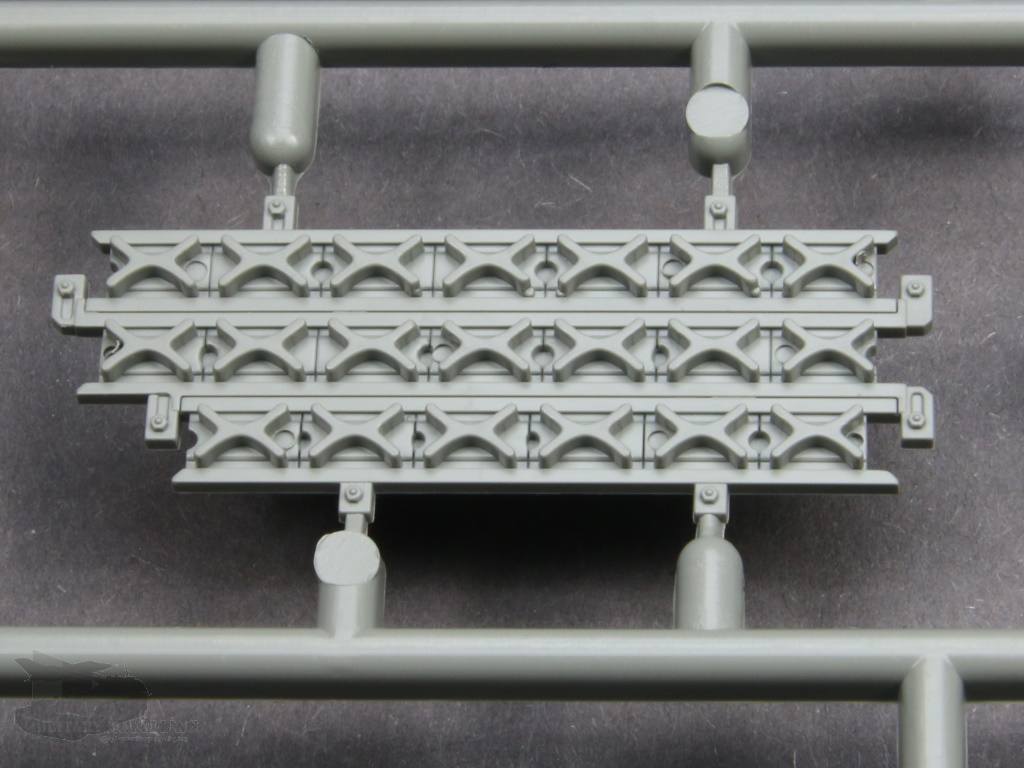
The tracks are, as in the Gepard, a single link track. On a total of three grey sprues come individual track links and central guide horns. Apart from the rubber inlays on the inside of the track body (too long), the components are well detailed. Disturbing are the four sprues of track end connectors which must be removed and press-fitted on. These are rubber vinyl mouldings. These tracks are the same as Orochi tracks which are reviewed here.
Here, my recommendation is to choose another track from another source (Meng, HKCW, Bronco, Friul). The problem is the poor adhesion of paint to the vinyl parts as well as the unnecessarily fiddly construction. But everyone has to decide for themselves.
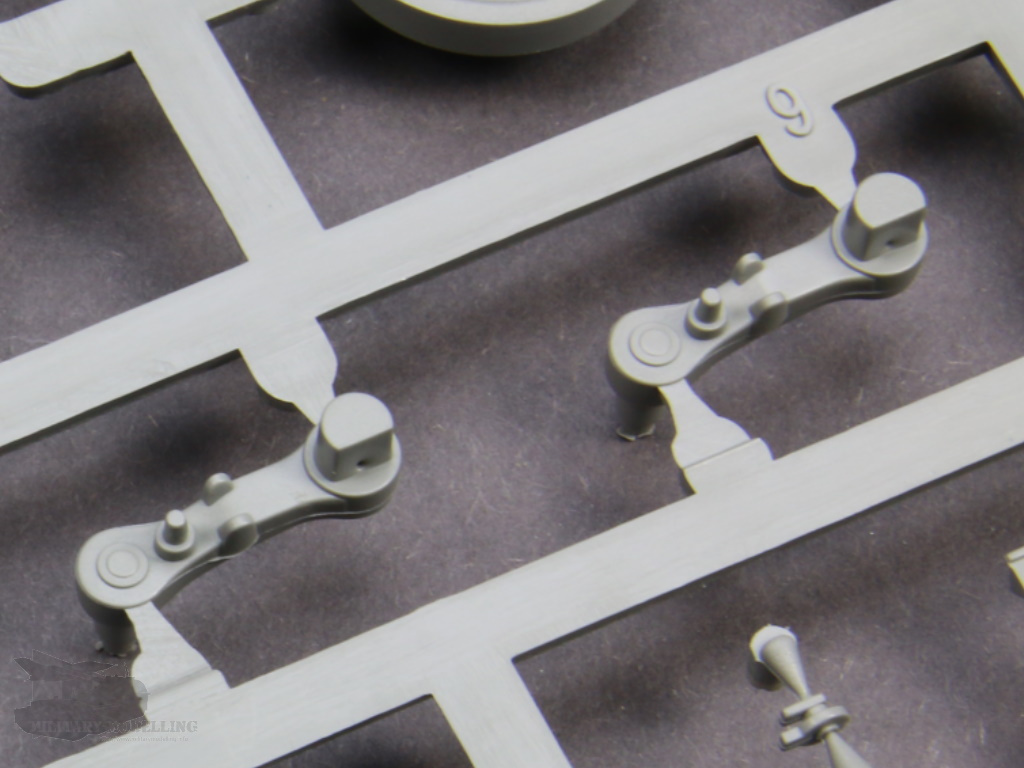
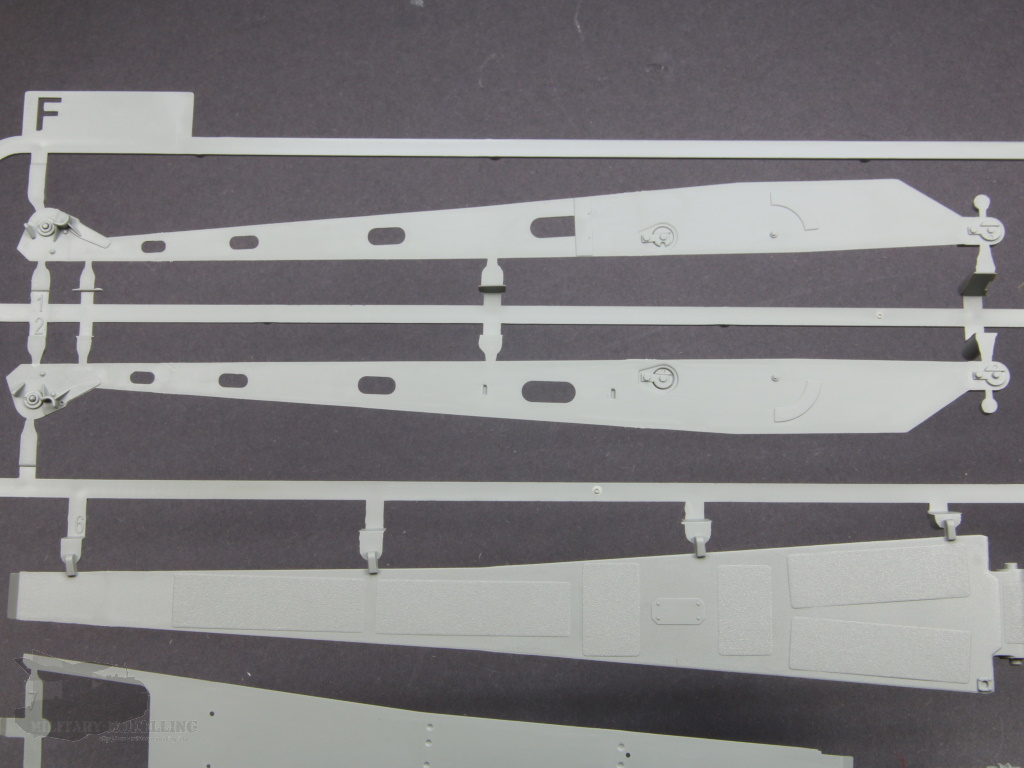
We continue with the distinctive blade on the front. This too is composed of several parts. The blade itself consists of three components plus the two support arms. The components themselves have convincing detail, as shown on the lower lip for its prototypical curvature and the rear reinforcements. The arms for installation in the lower tub fit perfectly into the openings in the hull and are accurate in shape and size. Attention is required for the orientation of these parts, so beware - look twice here! Basically, the blade can be built to be moveable.
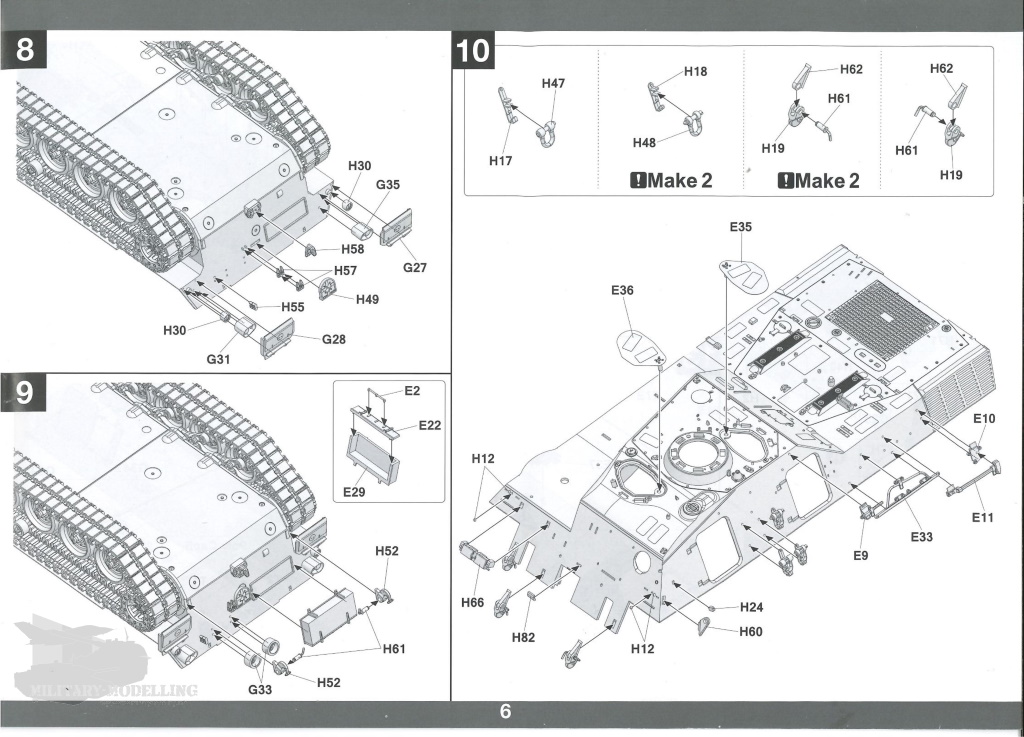
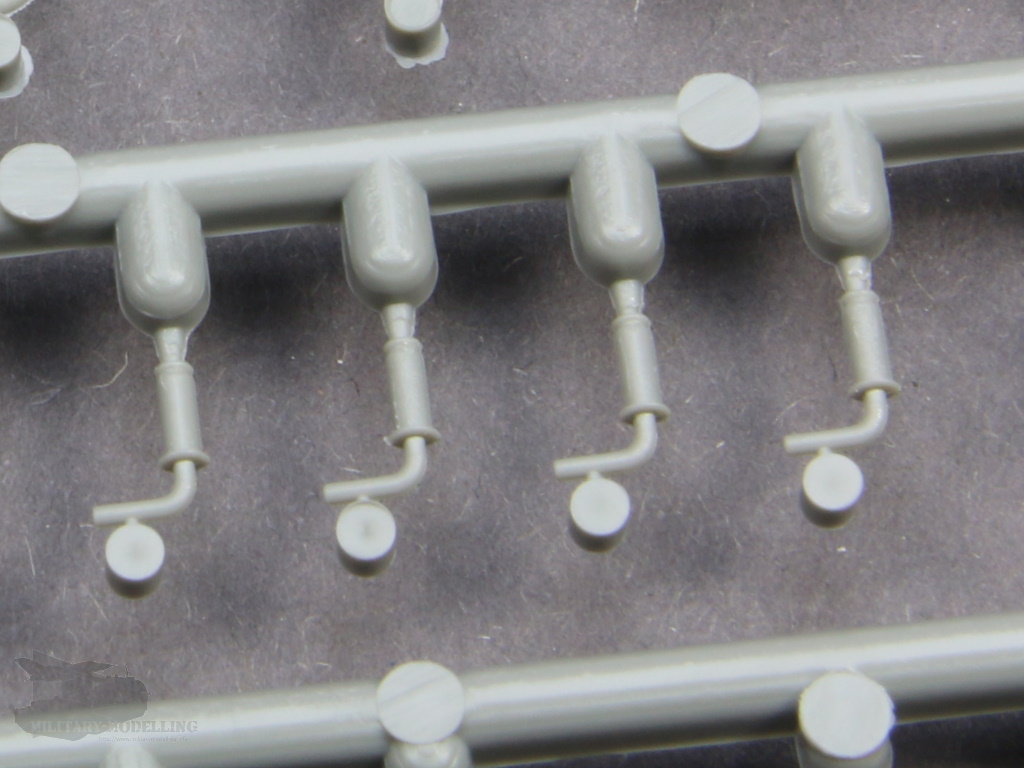
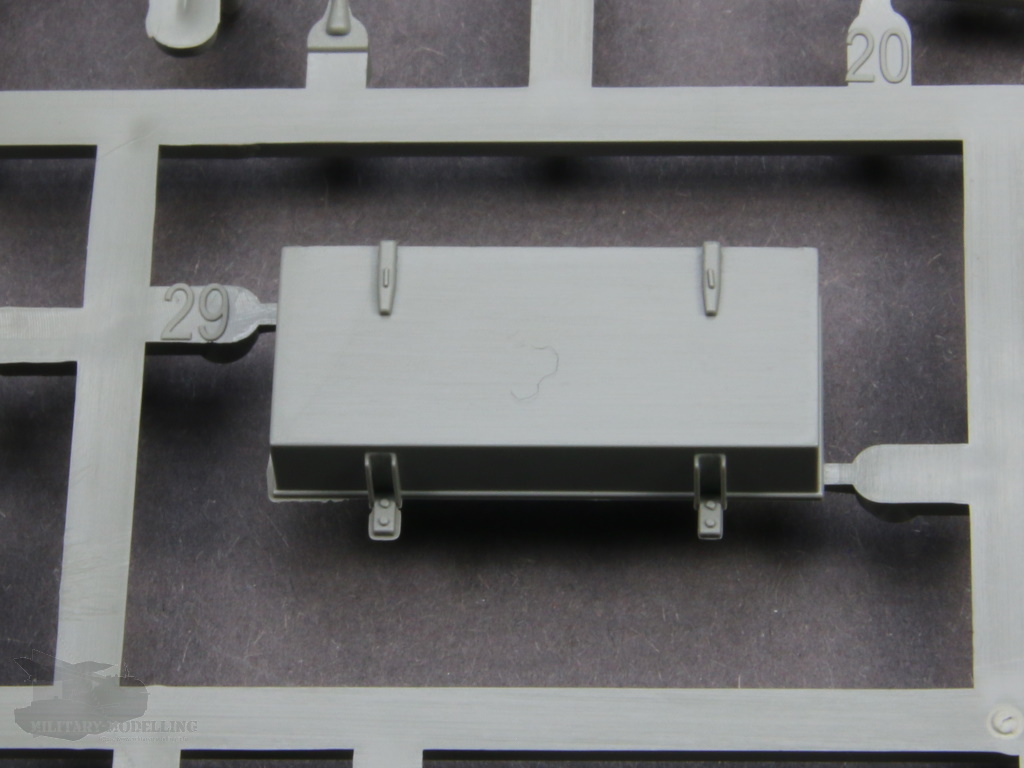
The towing eyes and hooks are one piece, though the pins are separate. Strange. Alternatively, use Leopard Workshop parts, maybe: LW025? The same applies to the front but you will need two sets as there are five on the ARV, not four! The distinctive toolbox at the rear, is well-done in three parts.
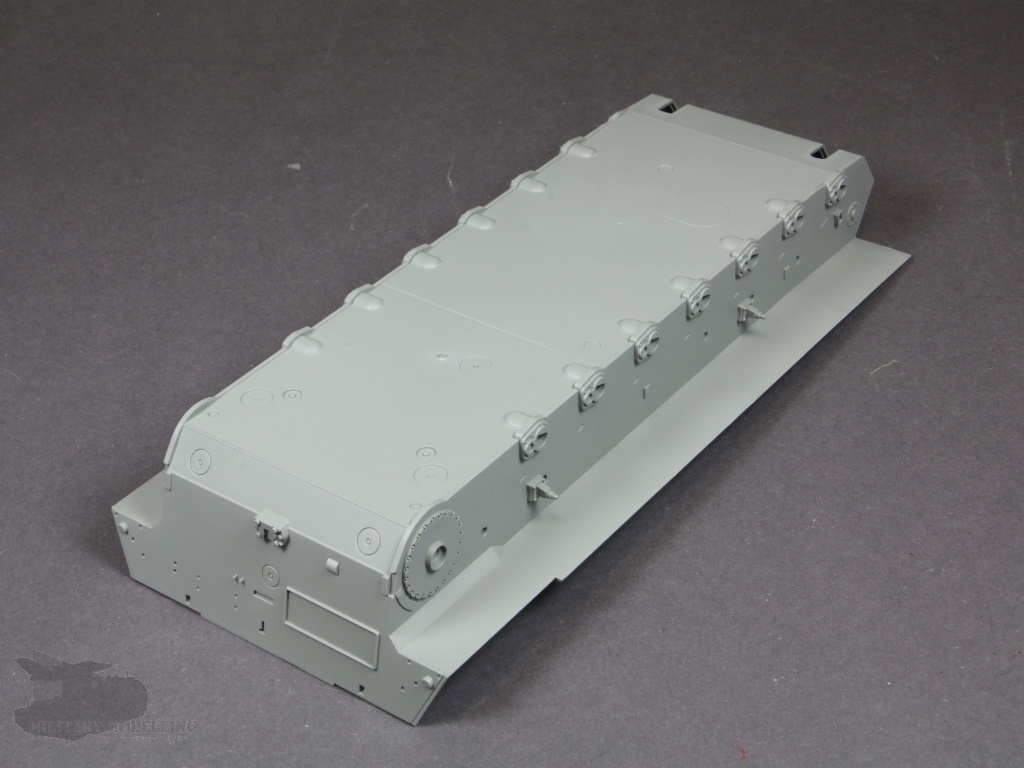
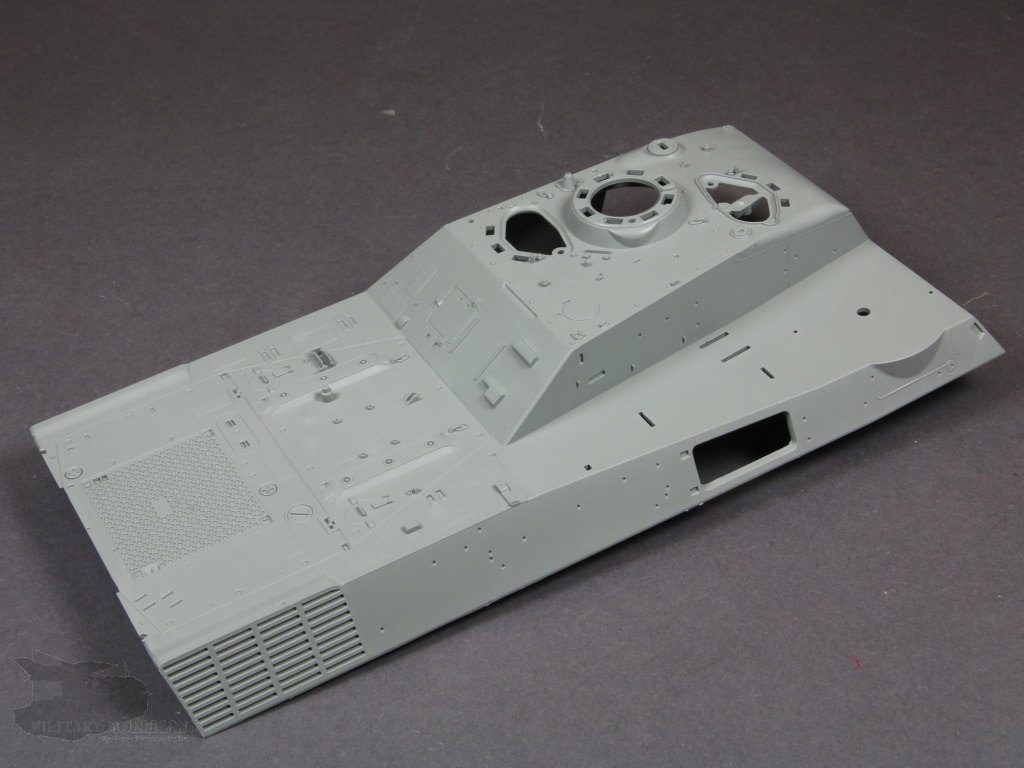
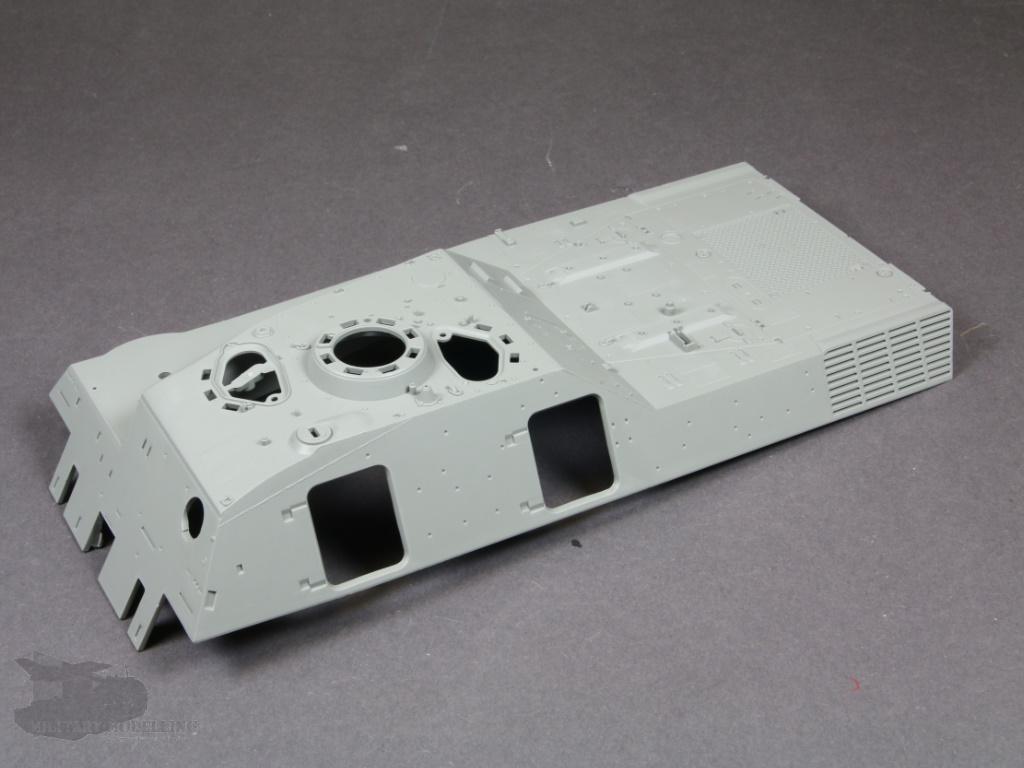
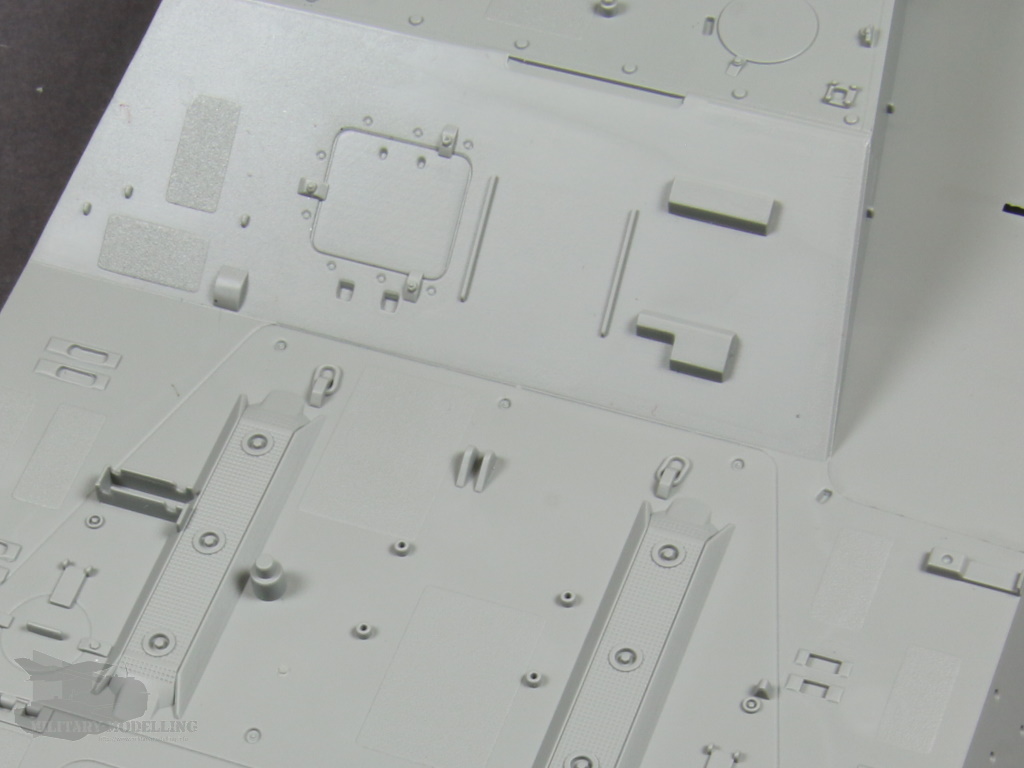
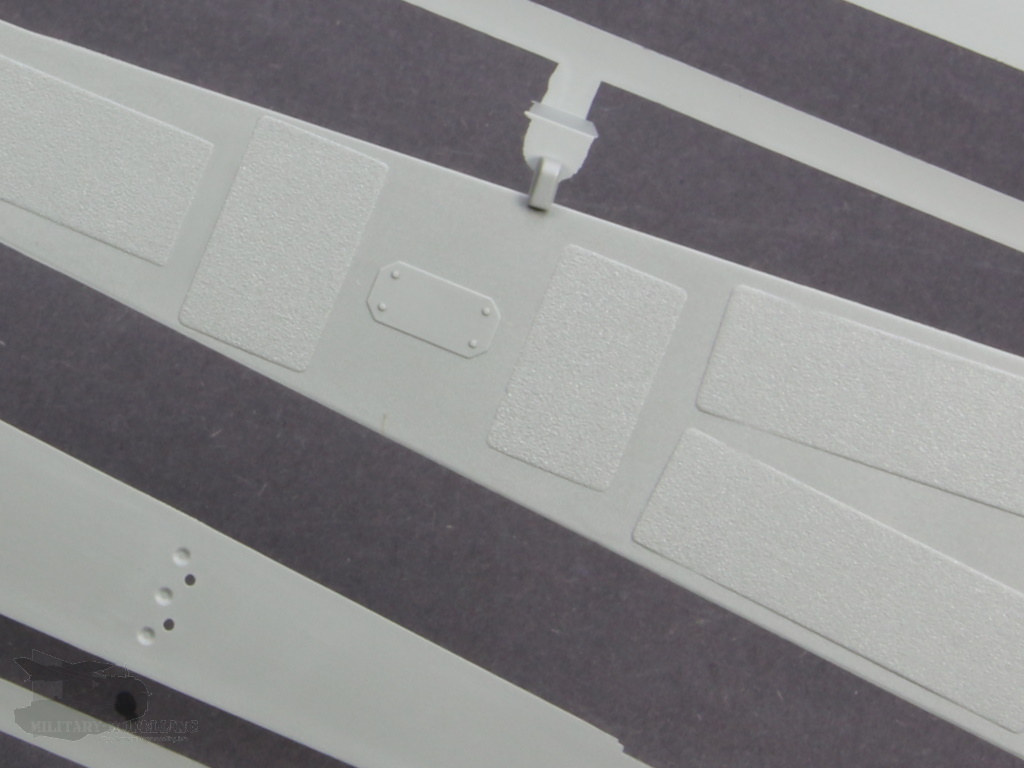
Now let us take a look at the upper hull. Here, too, is a significant, large, one-piece moulded component which really stands out with its details. Both shape and dimensions seem accurate. The details on the engine deck, the welds and the anti-slip panels, as well as eyelets and brackets, are really great. Side doors and hatches are moulded separately, so they can be posed in their openings. The cooling grille of the engine on the rear deck is already moulded in plastic with a remarkably fine structure. This is complemented by the PE grille as the top cover.
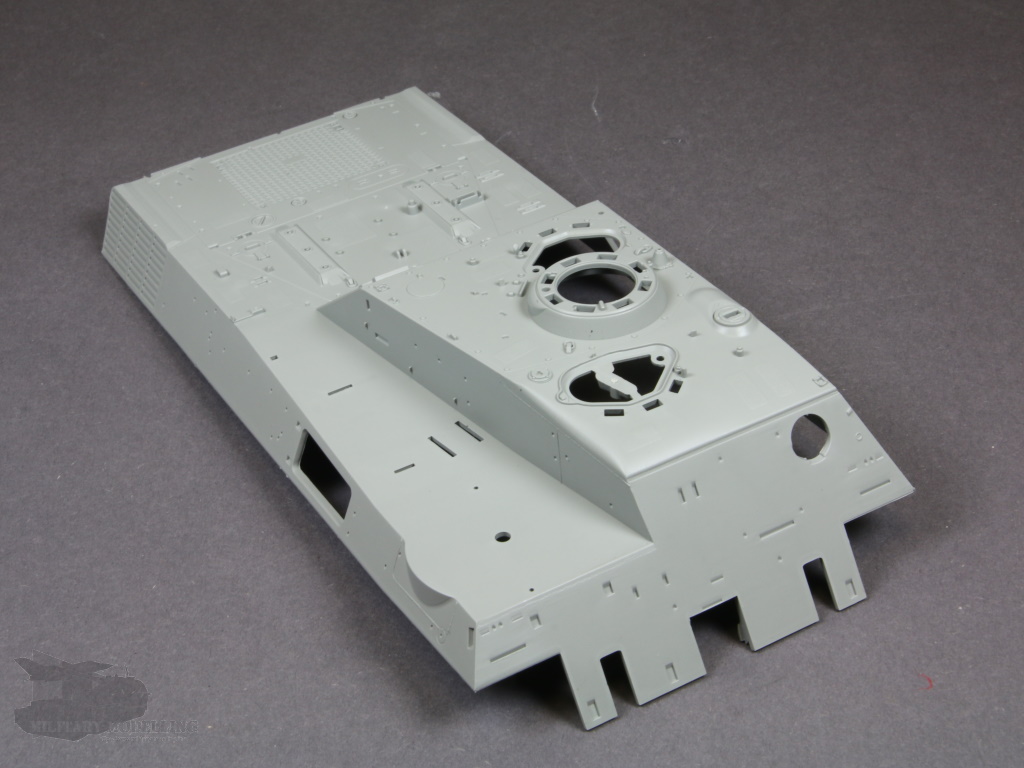
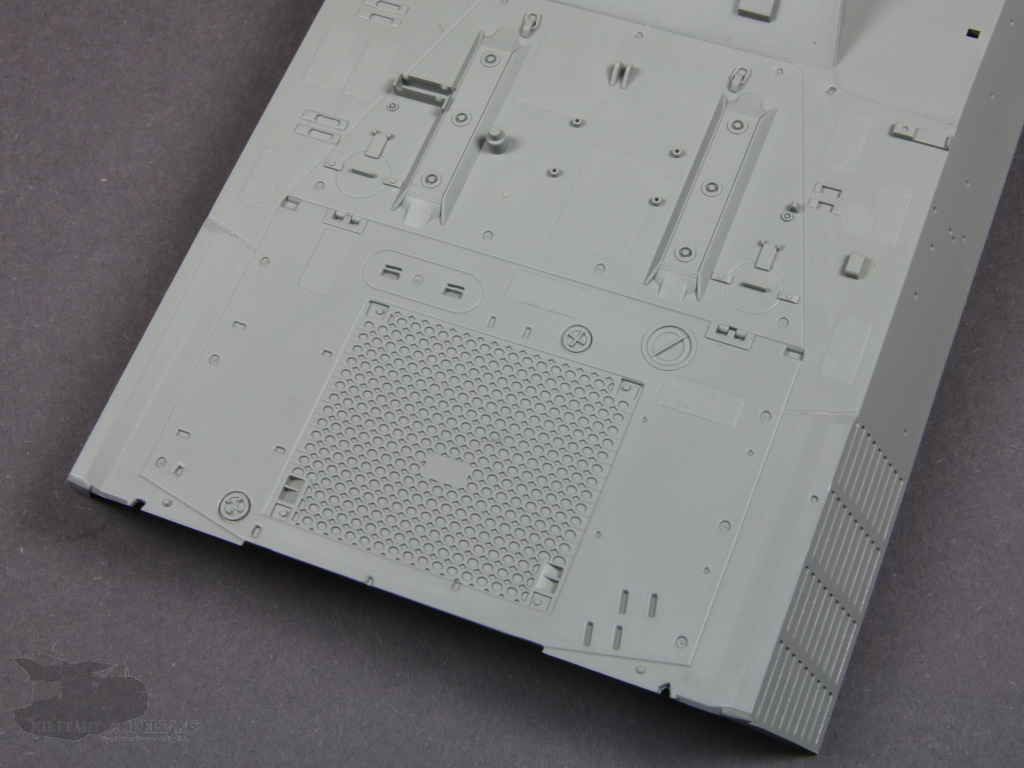
One thing should be noted, however: the obvious weld on the upper front, in front of the driver's hatch, is missing completely. Here is a groove that the modeller should use to model a weld, e.g. with Green Stuff, Milliput or a round plastic profile.
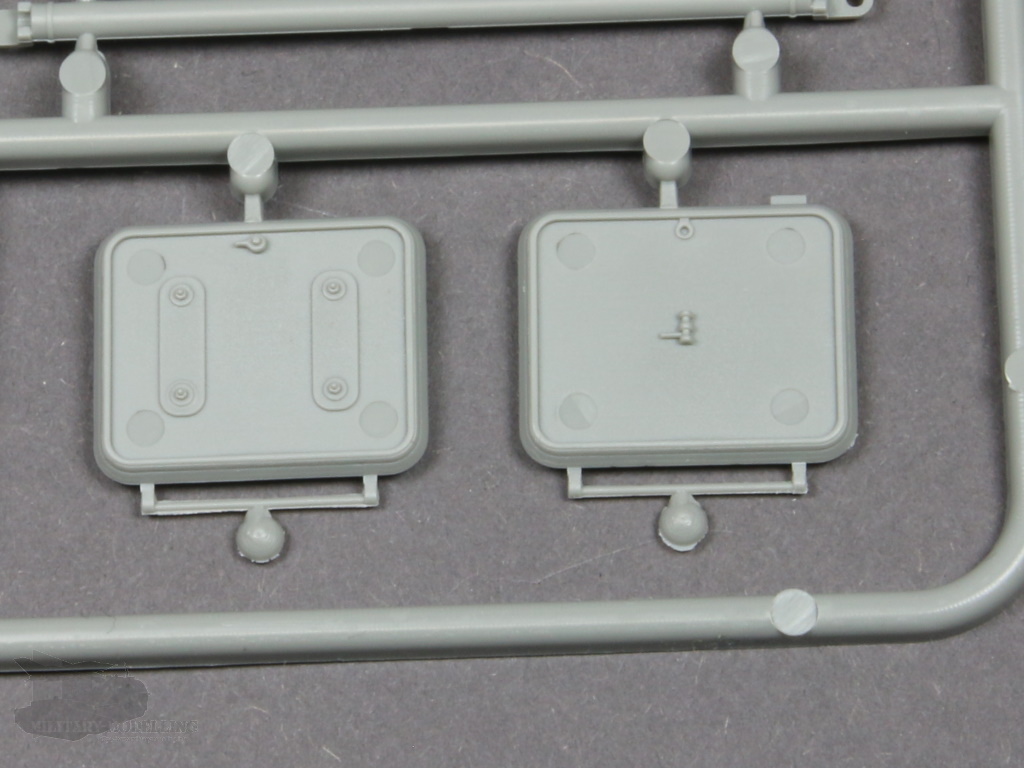
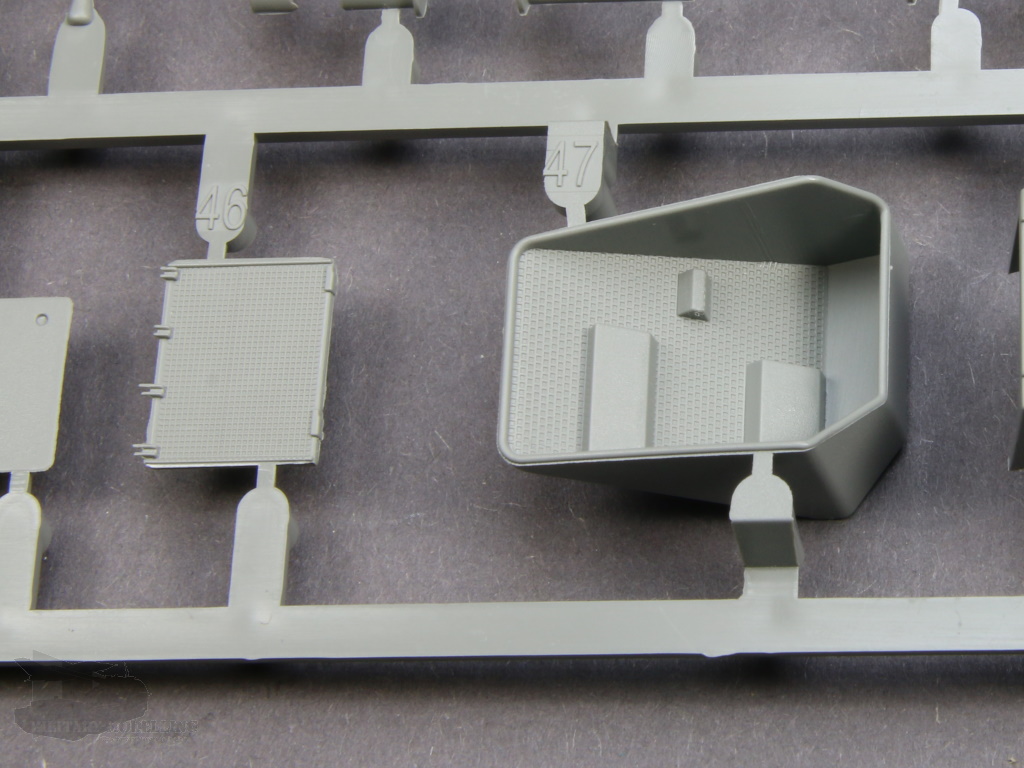
The side doors and the hatch covers are individually presented, as already described. However, the visible ejector marks on the inside of the doors are very ugly. Thus, all hatch/door openings can be presented either closed or open. Great for adding a crew. Open side doors definitely pay off if you install the interior of the new Perfect Scale Modellbau interior set, which is available as an accessory.

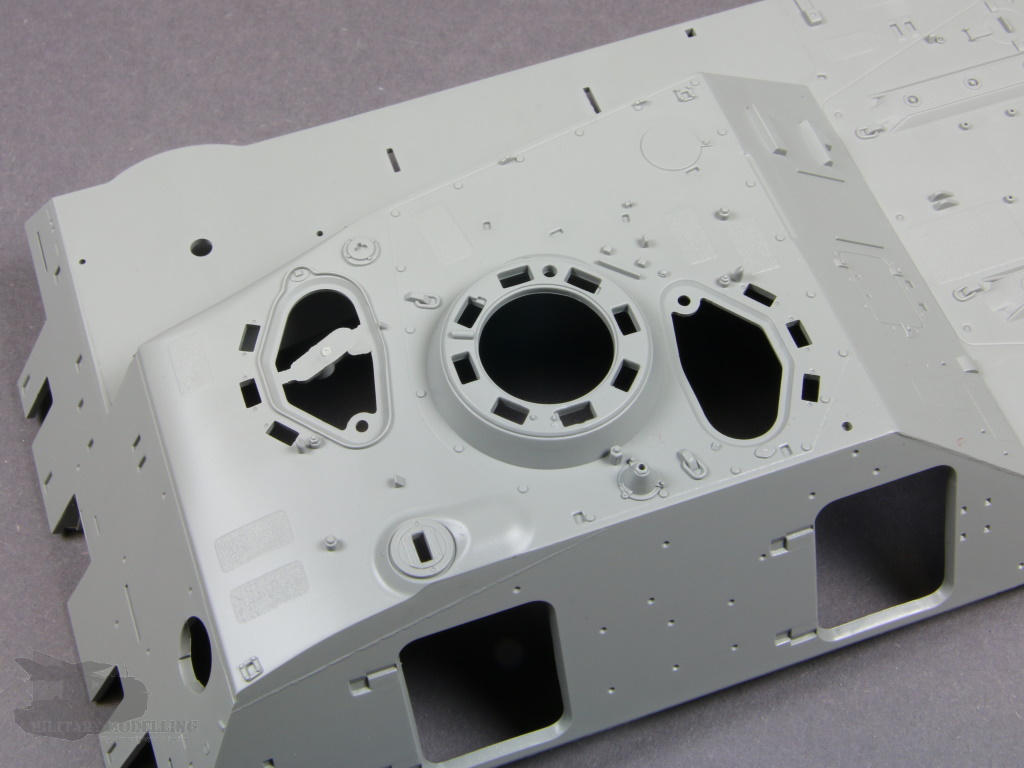
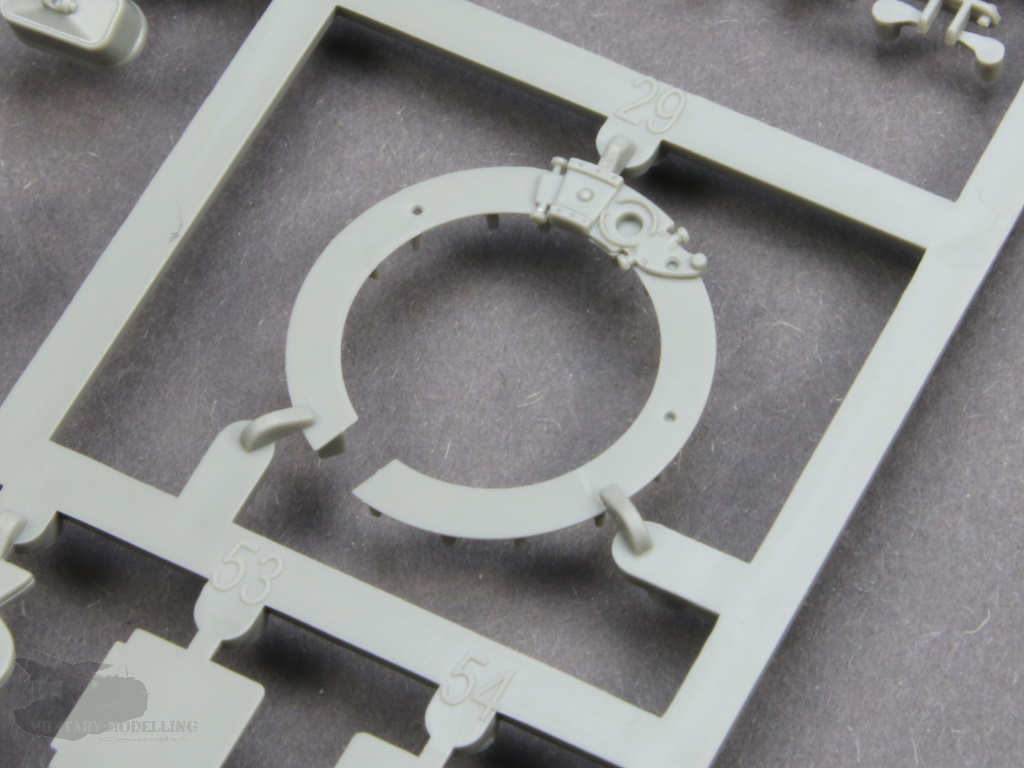
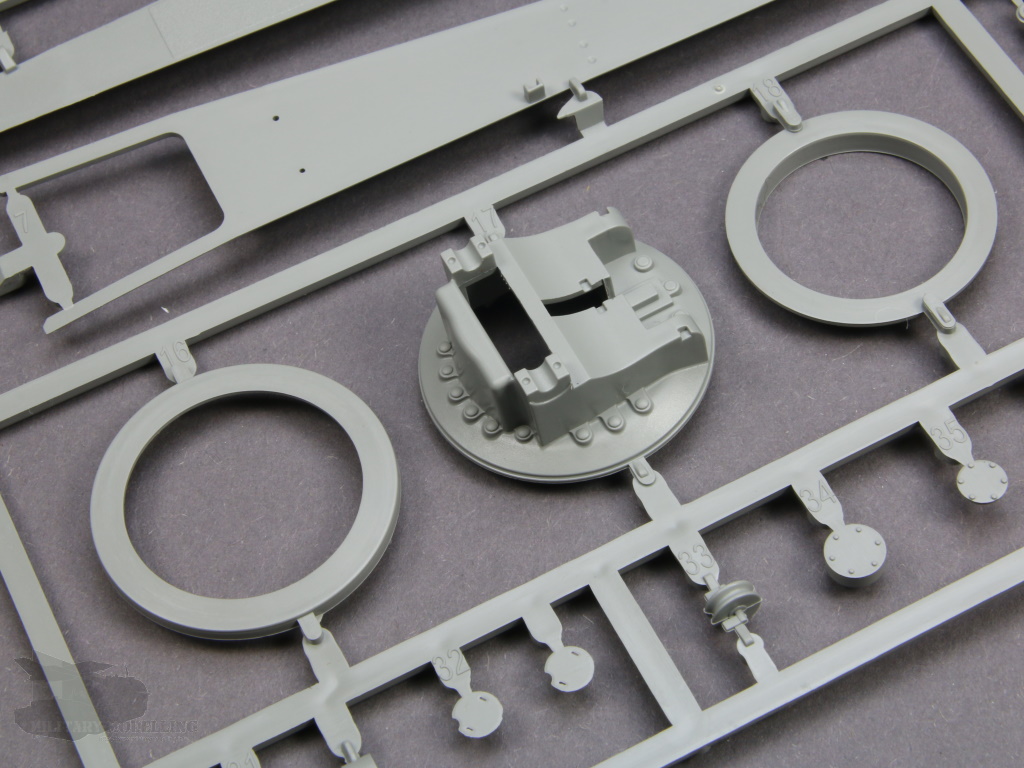
The commander's hatch is well done. On the hatch ring, the trolley for the anti-aircraft machine gun mount is moulded in place.
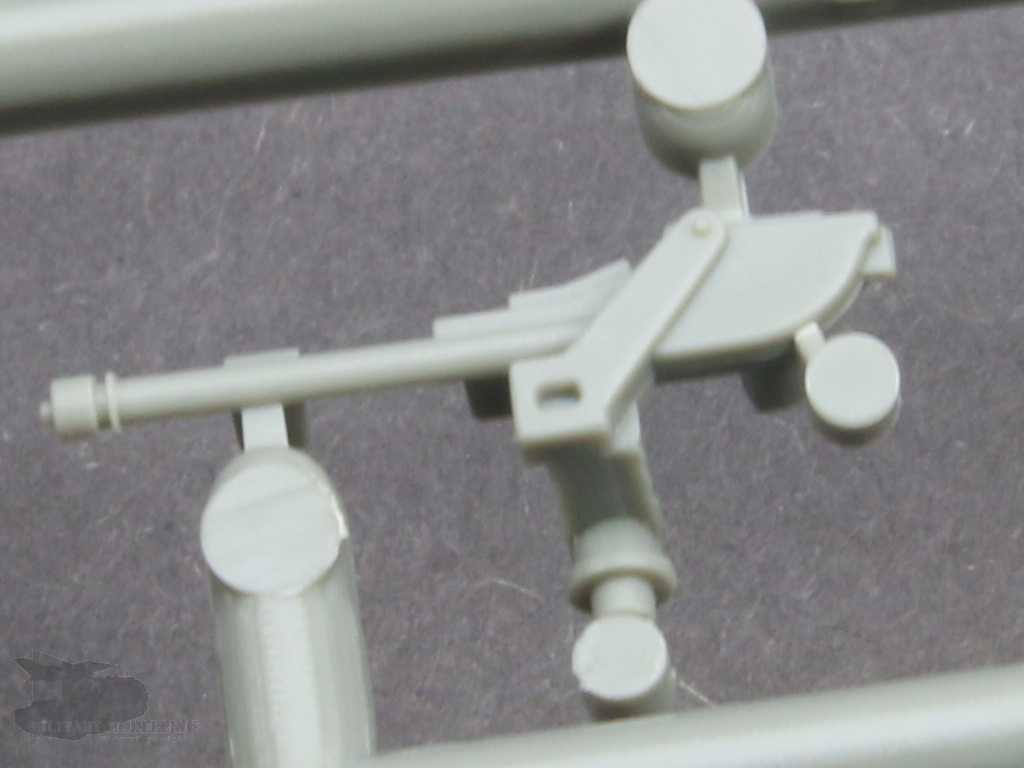
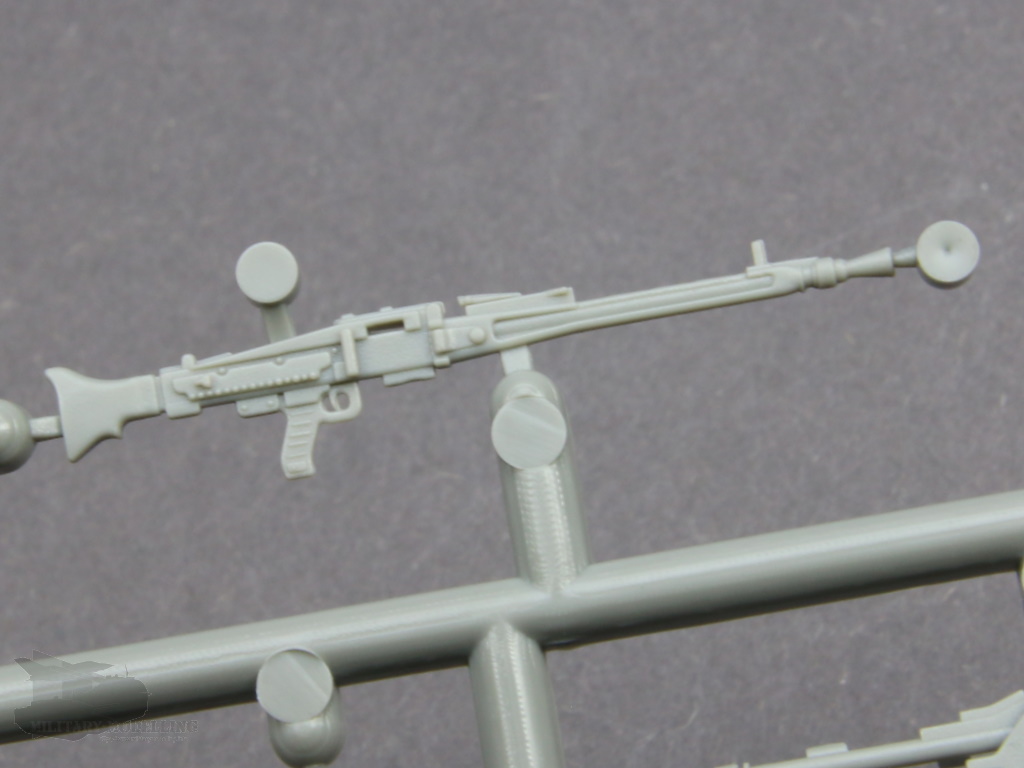
The matching bracket and the anti-aircraft gun MG are very nicely done.
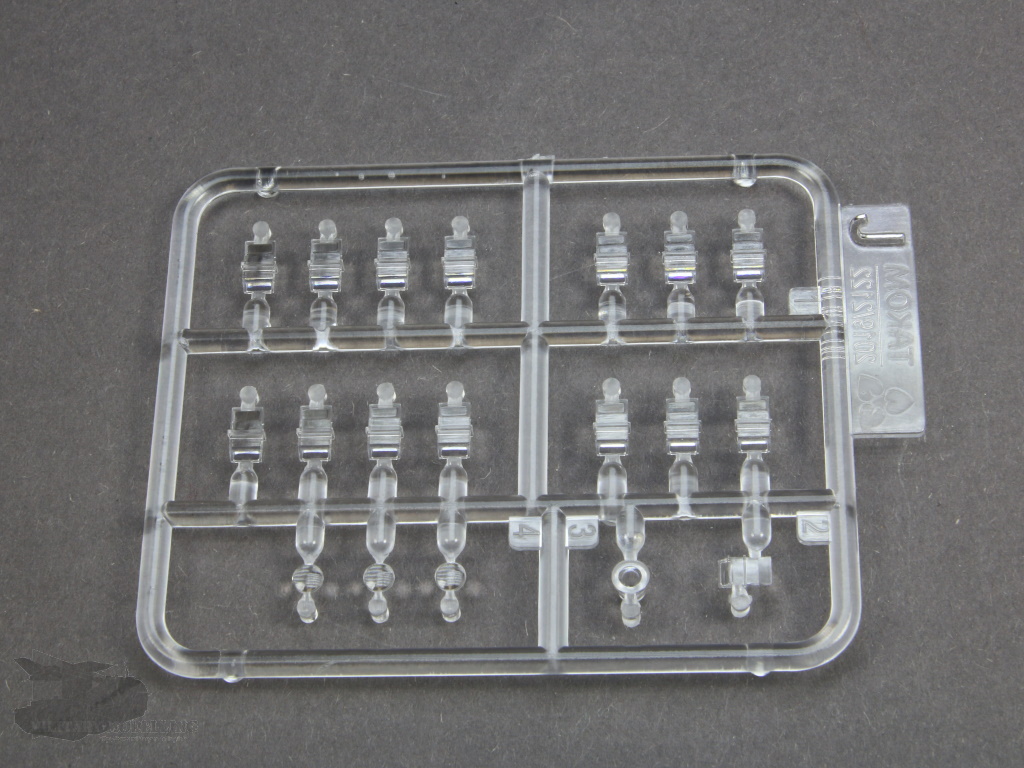
The periscopes and lights are available as clear parts. There is nothing to complain about here.
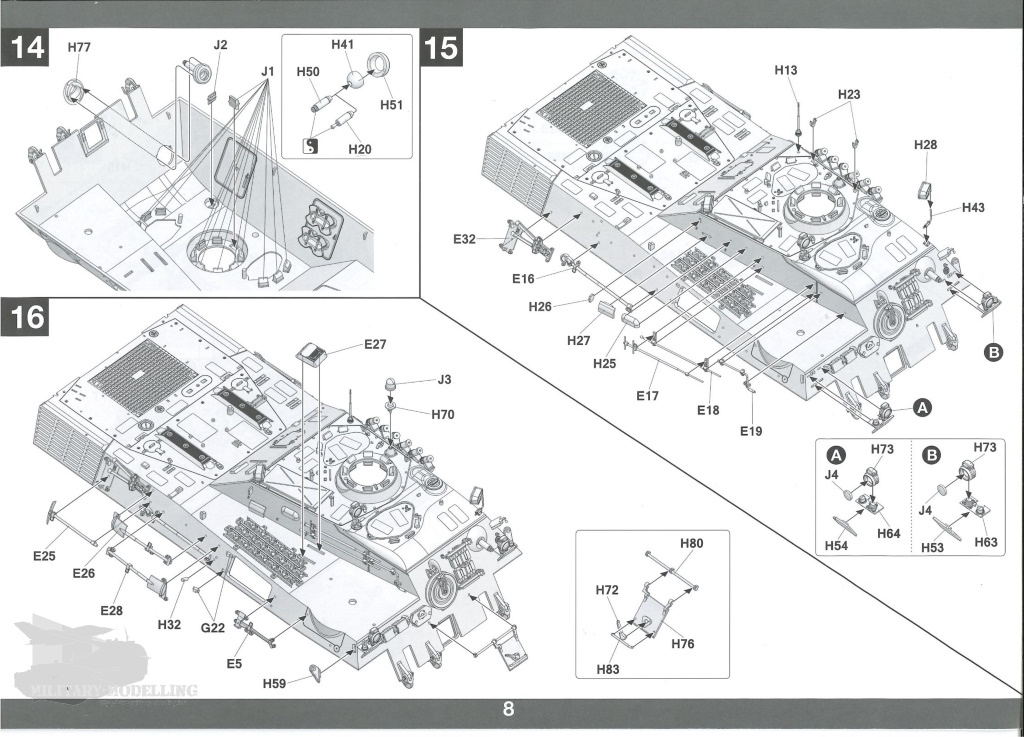
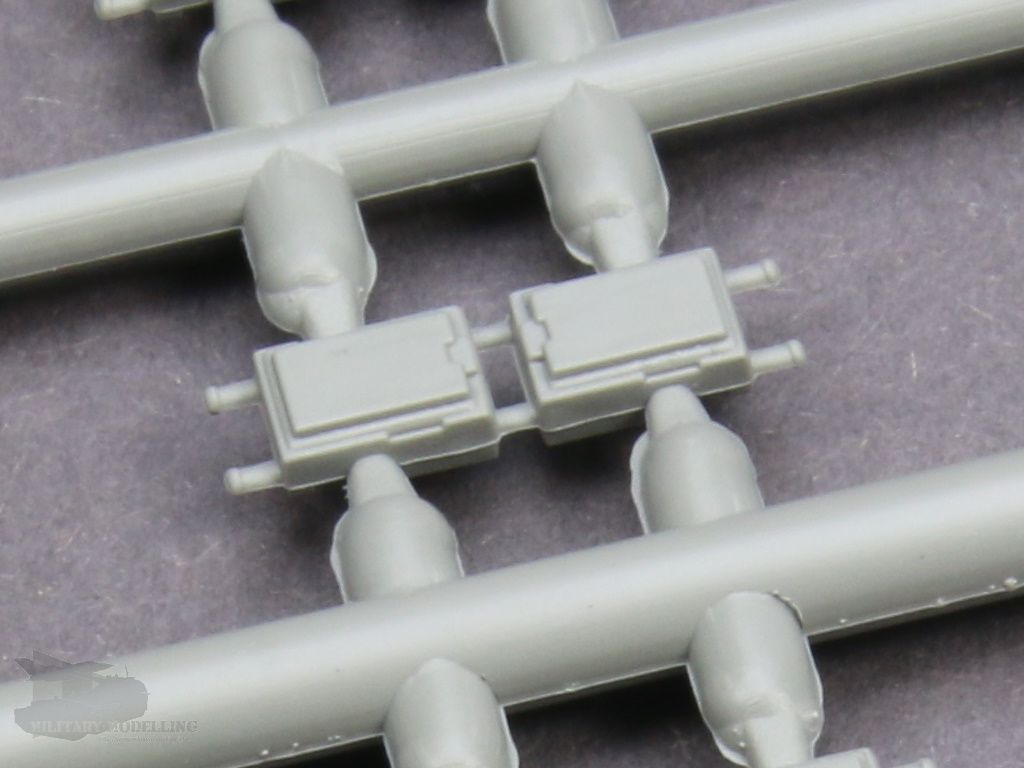
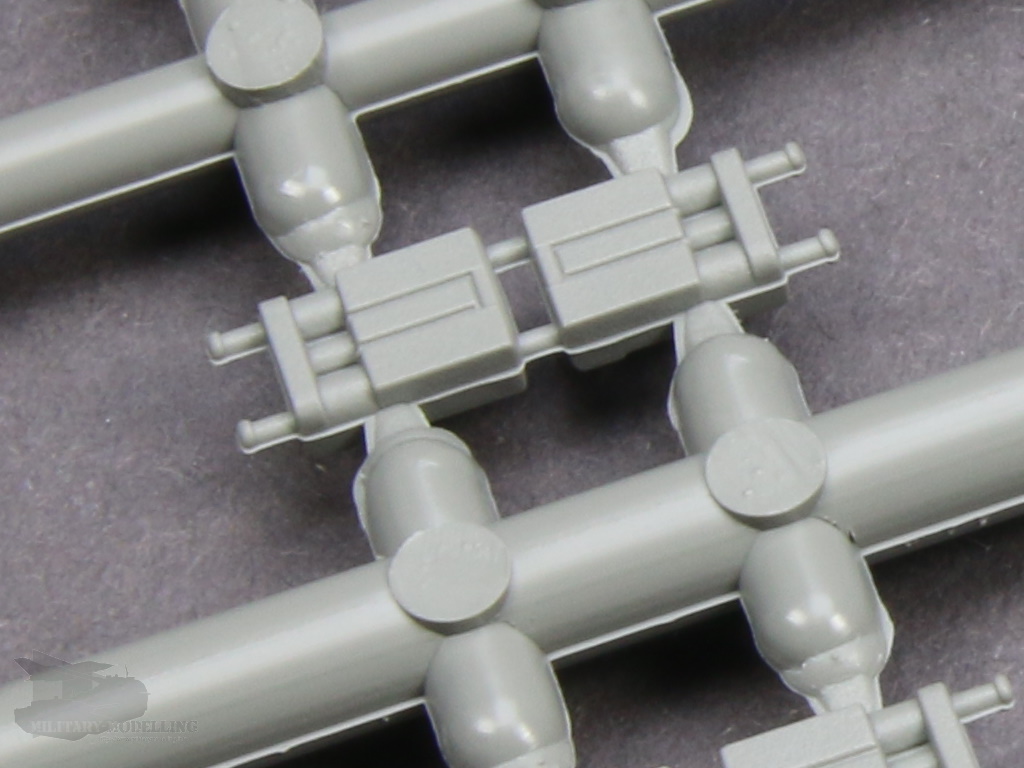
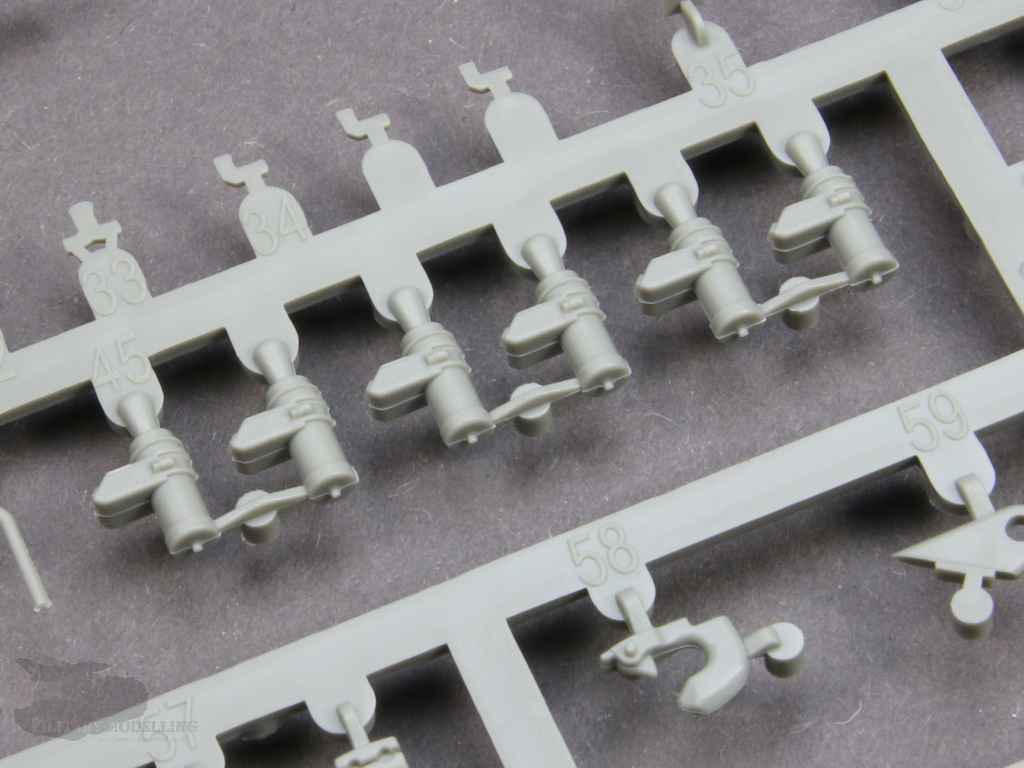
The other add-on parts of the upper tub, such as the striking snow grouser holder, smoke grenade launchers, the three shackles in between the crew doors, as well as storage baskets and other parts are convincing. However, the mirrors seem a little too thick?
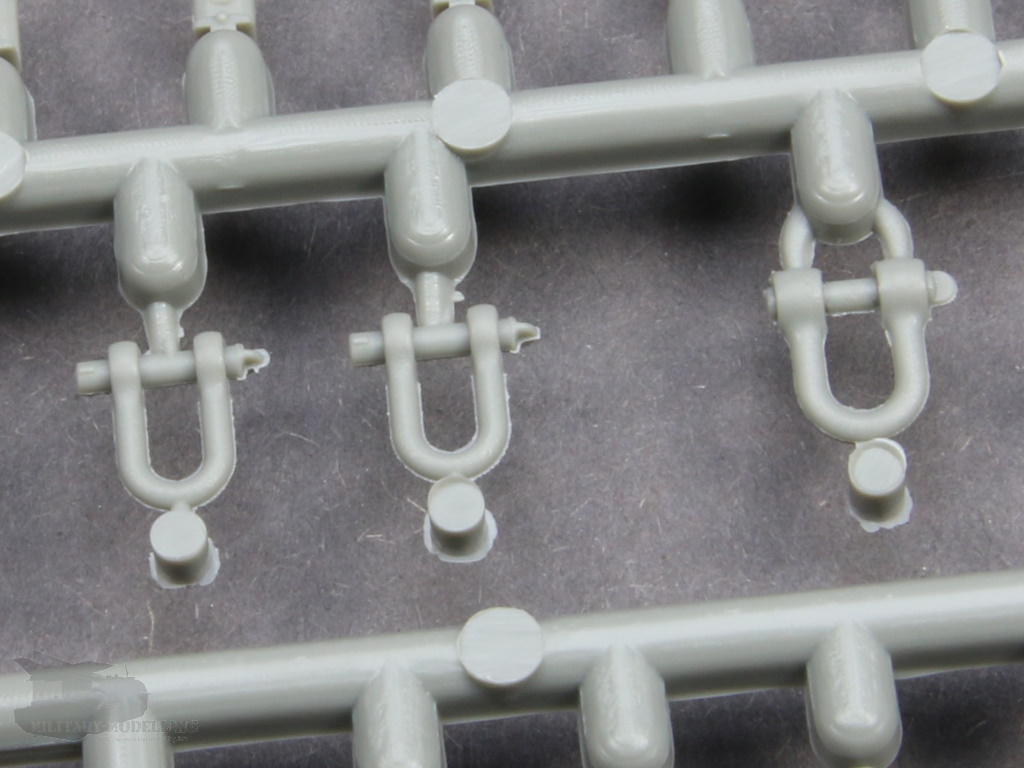
In the case of the smoke grenade launchers, there are unfortunately a few mould seams and as always - the small chains are not included in the kit. So here again we look to the accessory trade, e.g. Leopard Workshop LW026B.
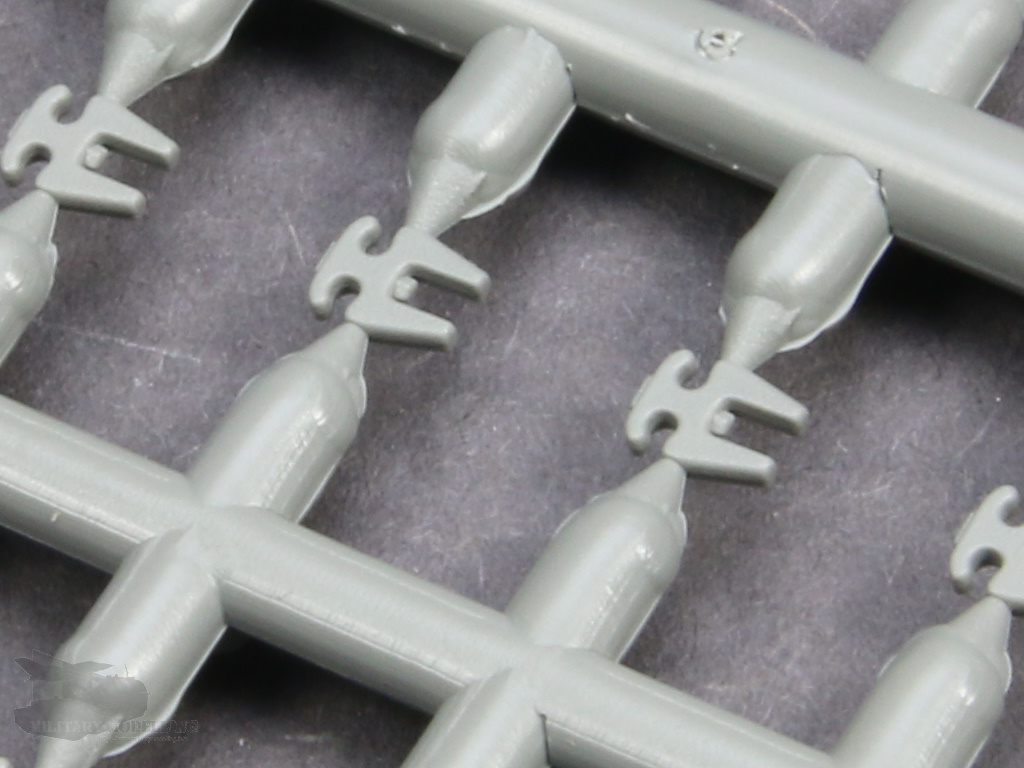
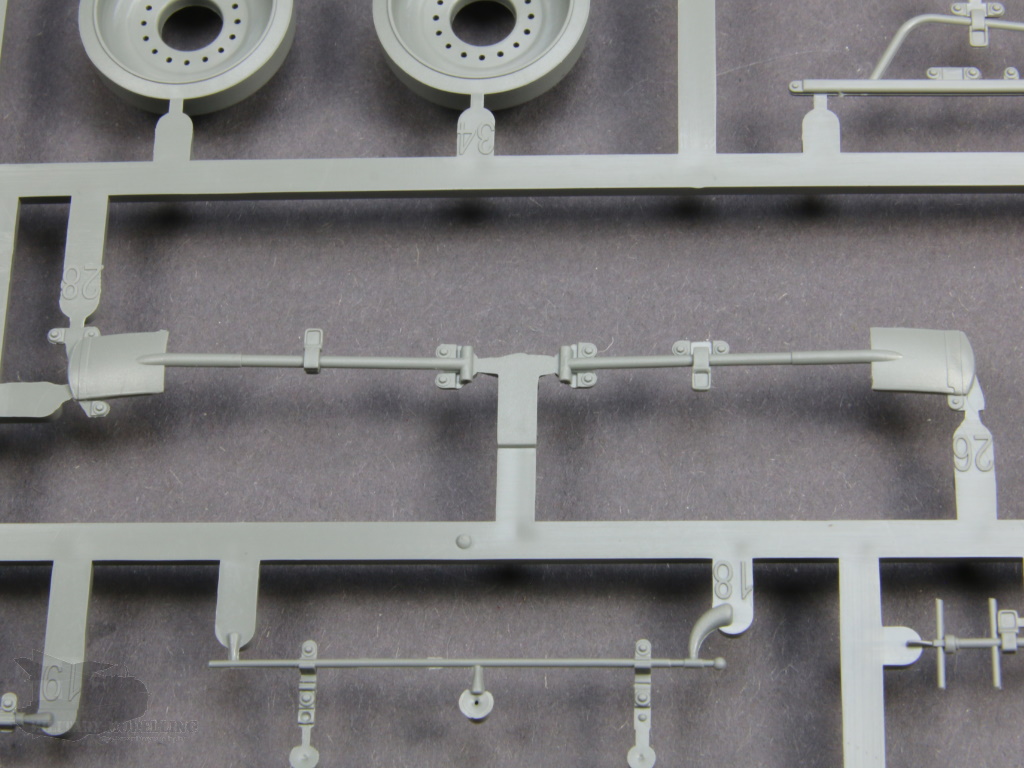
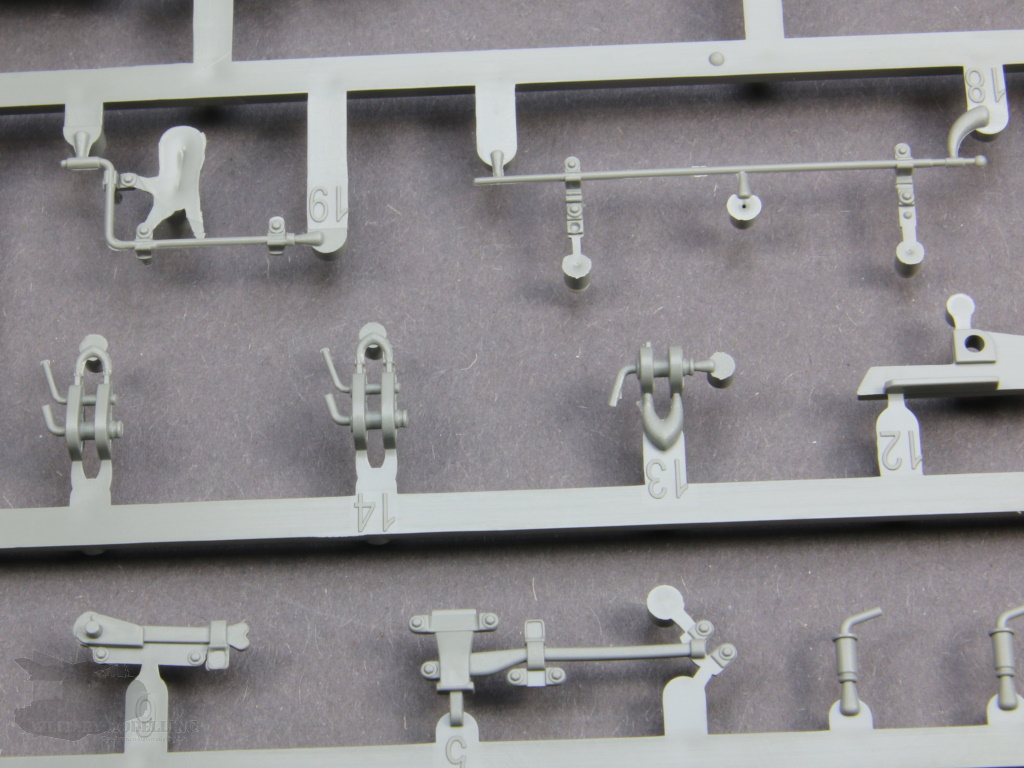
The tools on the sides of the upper tub are individually moulded. They make a good impression but, unfortunately, some had a bit too much flash on my example. The necessary brackets are mostly cast on the hull.

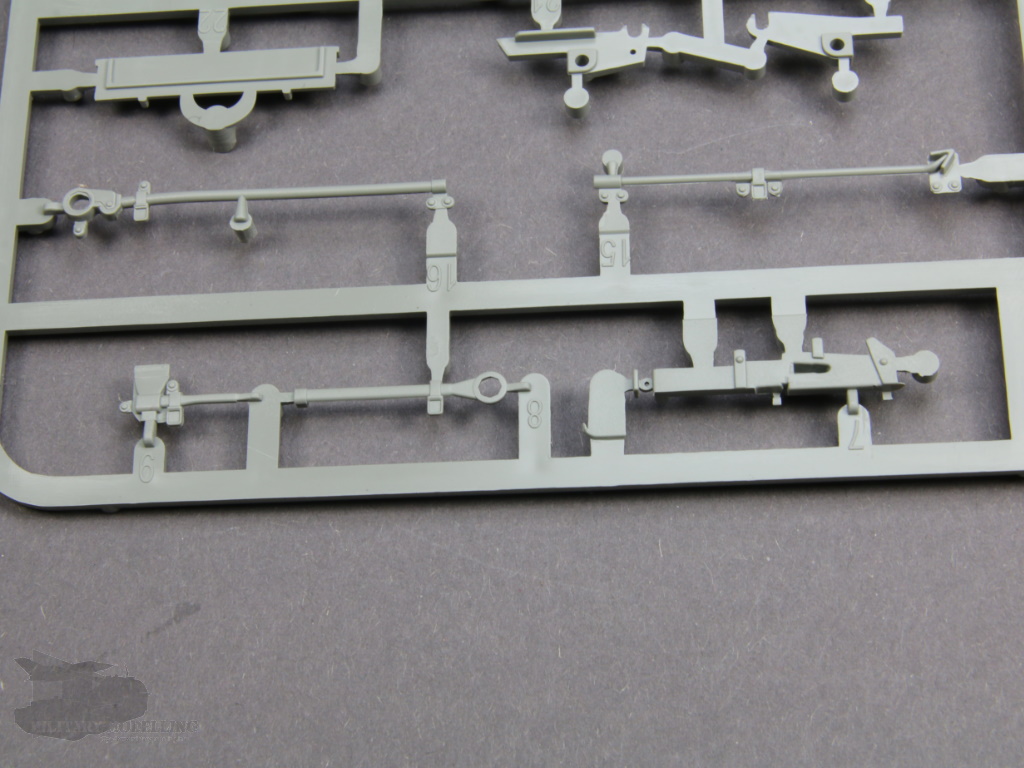
Attached to the rear is the tow and recovery A-frame equipment which is also nicely done but the connecting pieces and the shackles are, unfortunately, not included in the kit.
Leopard Workshop will soon find a remedy. LW048 and LW051 (to be announced).
Also, the spare wheels for the engine deck are included and make a good impression.
To carry a replacement engine, a travel mount is mounted on the engine deck. Although this is not as detailed as that from the accessory set of Perfect Scale Modellbau, it is good enough. At Perfect Scale Modellbau you can also get the finely detailed engine. One problem on the frame are the very visible mould seams.
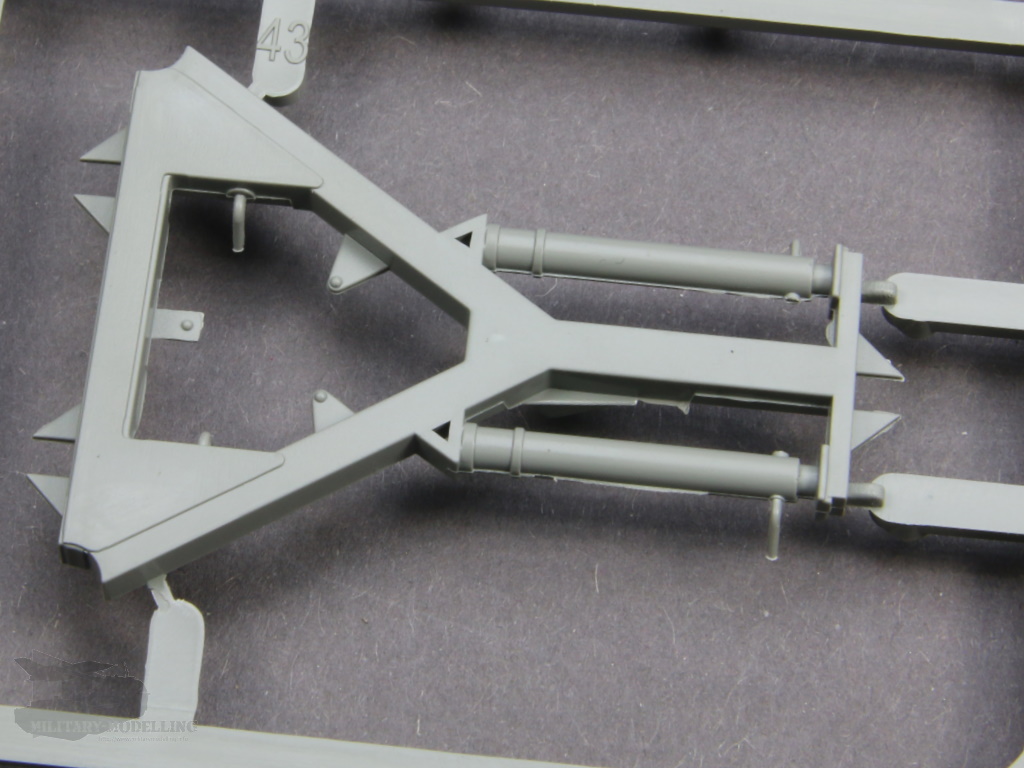
The lifting gear for the engine, on the other hand, can be described as successful and convincing. Well done. It is shown collapsed and cannot be unfolded without major modifications. That would have been the icing on the cake. Again, this is available in the PSM set mentioned above.
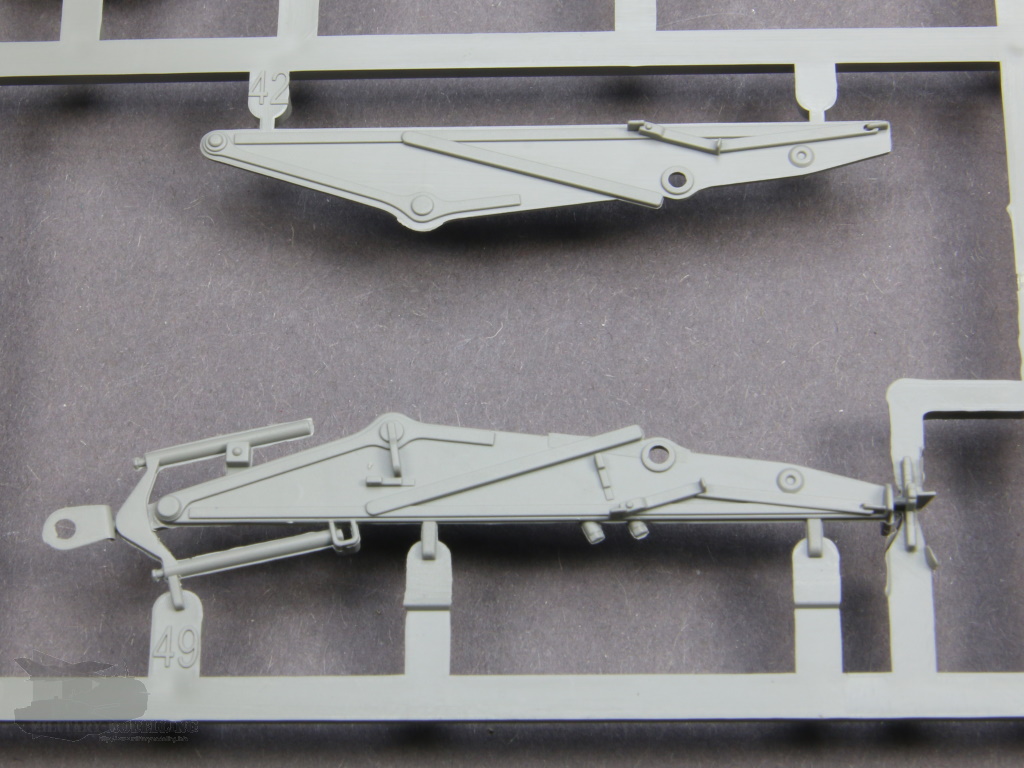
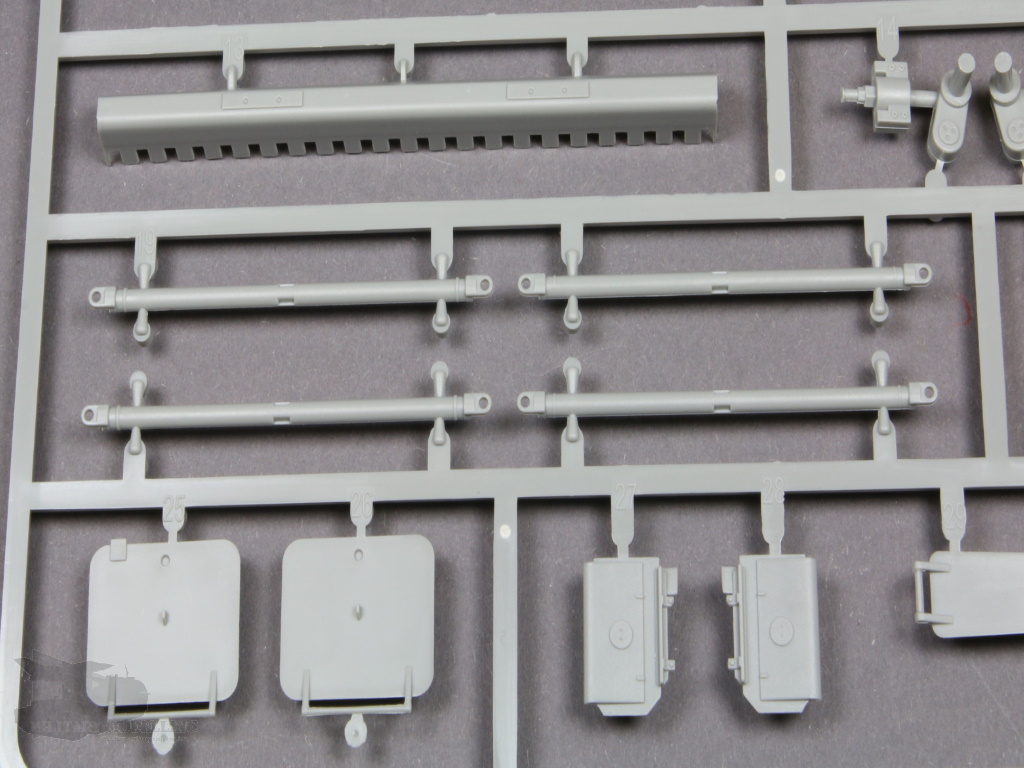
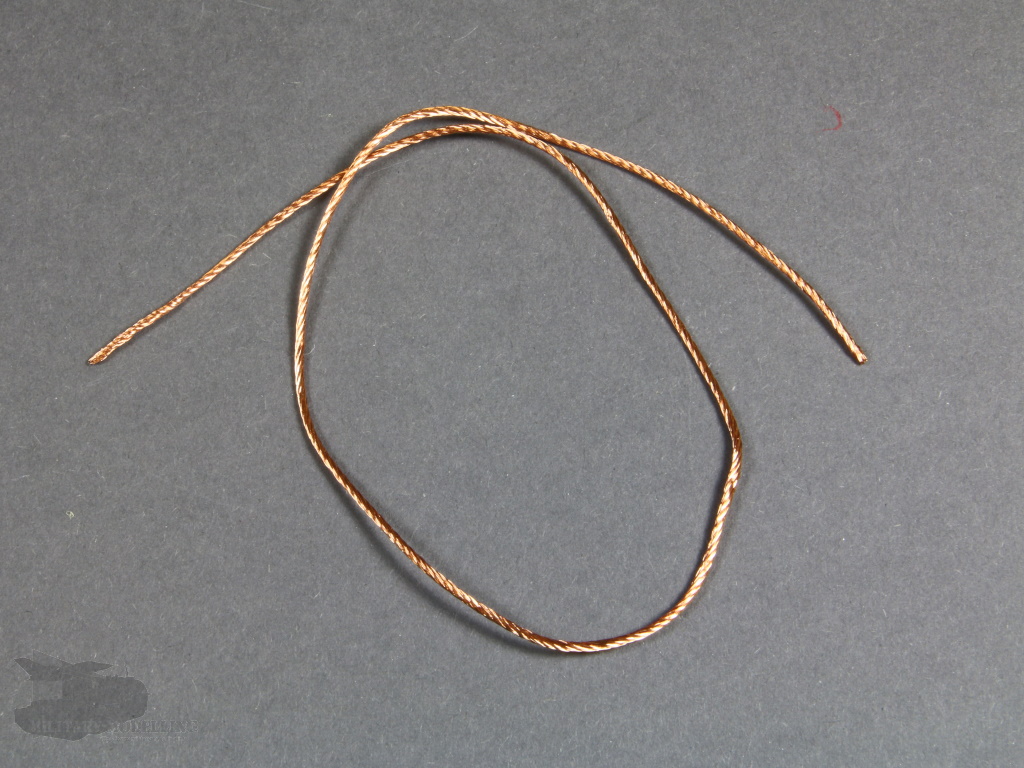
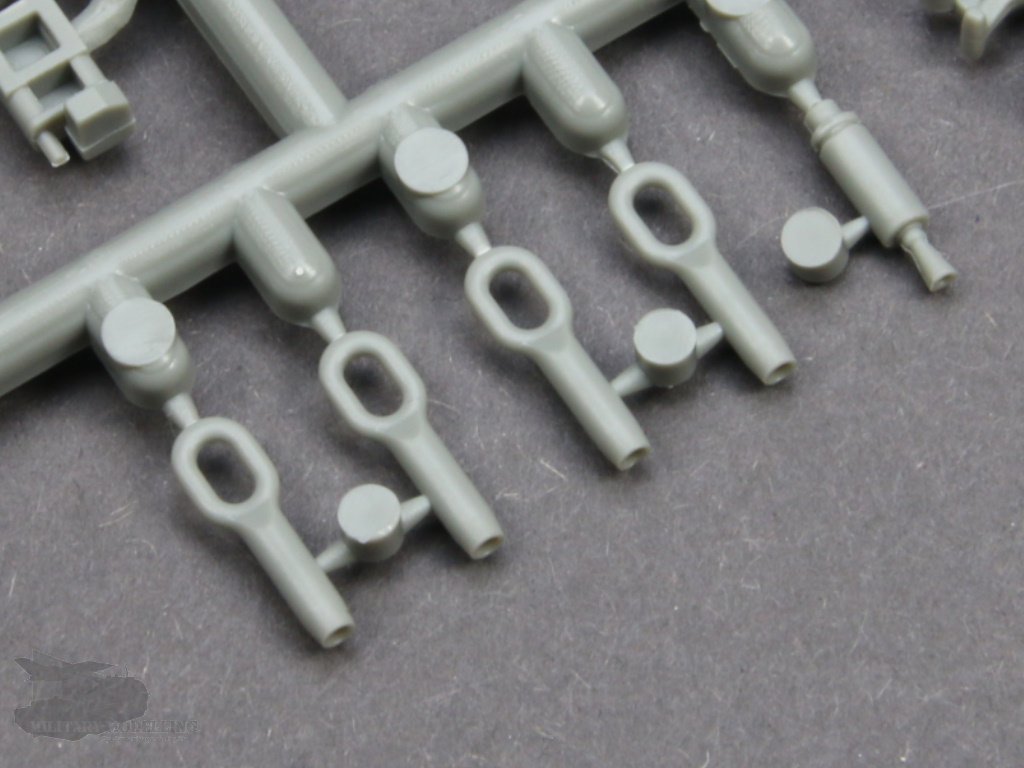
There is a well-sized length of copper wire for the tow cables as well as towing eyes with hollowed-out ends for easy attachment to the cable.
Last but not least is the crane arm. The turning platform for the crane arm has it all. Consistent and detailed, this is rotatable with some care - because the construction leaves a lot to be desired. Here you will need to study the instructions carefully, and caution should be used when gluing it together. Rotation is achieved by the careful gluing of several discs. Here, I would have liked a different and simpler construction.
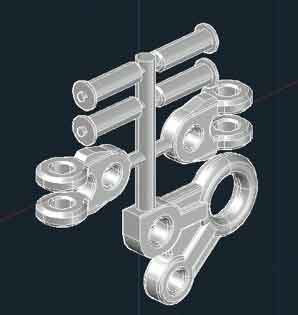
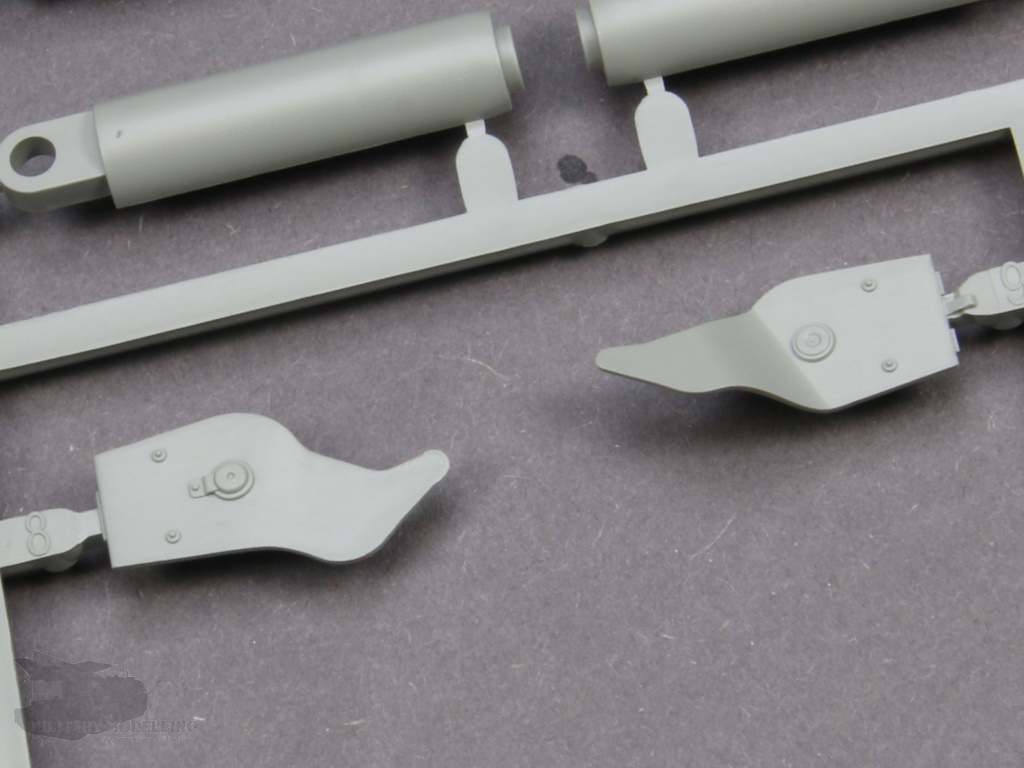
The cylinders for lifting the crane arm are unfortunately moulded in two halves and must be glued together. This requires careful gluing of the seams if the pistons inside are to remain moveable. However, this is understandable considering the components of the cylinder rods. The wider piston ends/stops (as in the photo below) remain inside the cylinder. Otherwise, there is no reason for complaint.

The crane body consists of two side parts, with upper and lower parts, also showing fine details. On the top are finely rendered anti-slip panels. Dimensions and execution are very good. Depending on the crane position, the load gauge is supplemented with photo-etched parts on the side panels.
Inside the crane body, the front pulley is installed. The lifting cable is supplied as nylon string.
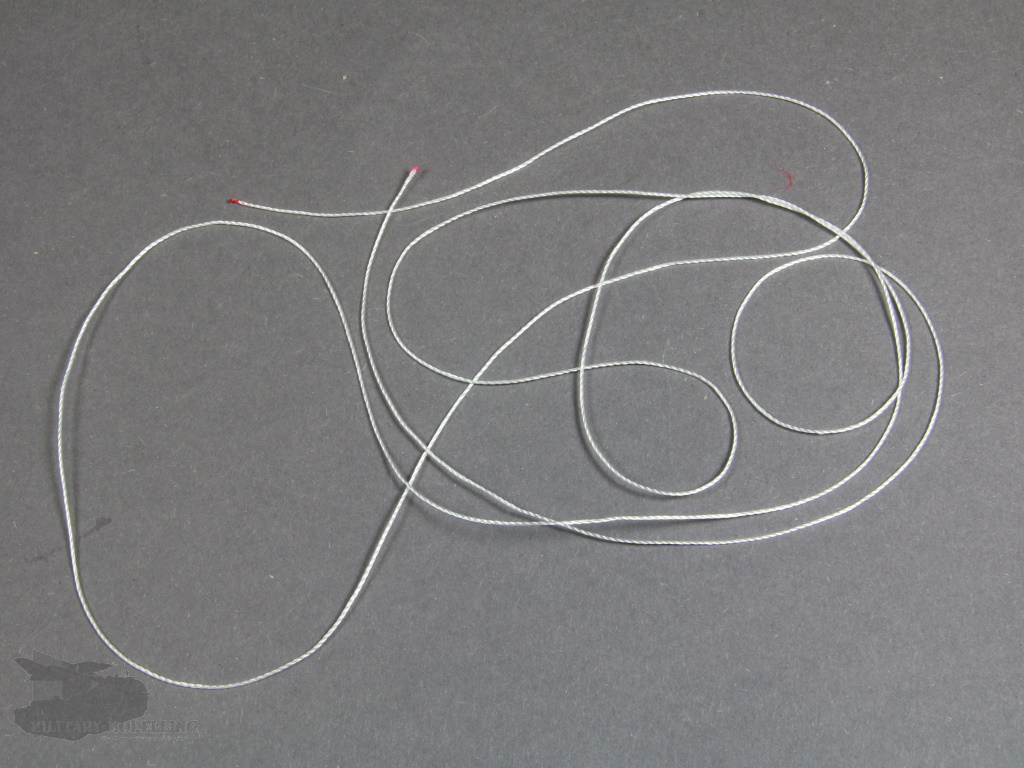
Even the striking crane hook housing is well-reproduced and is consistent in shape and detail. To attach the cable, careful study should be made of good references. Unfortunately, the modeller must decide in advance in which position he wants to represent the crane as the nylon string lifting cable prevents the crane from being lifted or lowered.
As usual, the primary reference source for the vehicle is the Internet. Mention should be made here of the pages of Panzer-Modell.de, ulrichwrede.de and Primeportal.
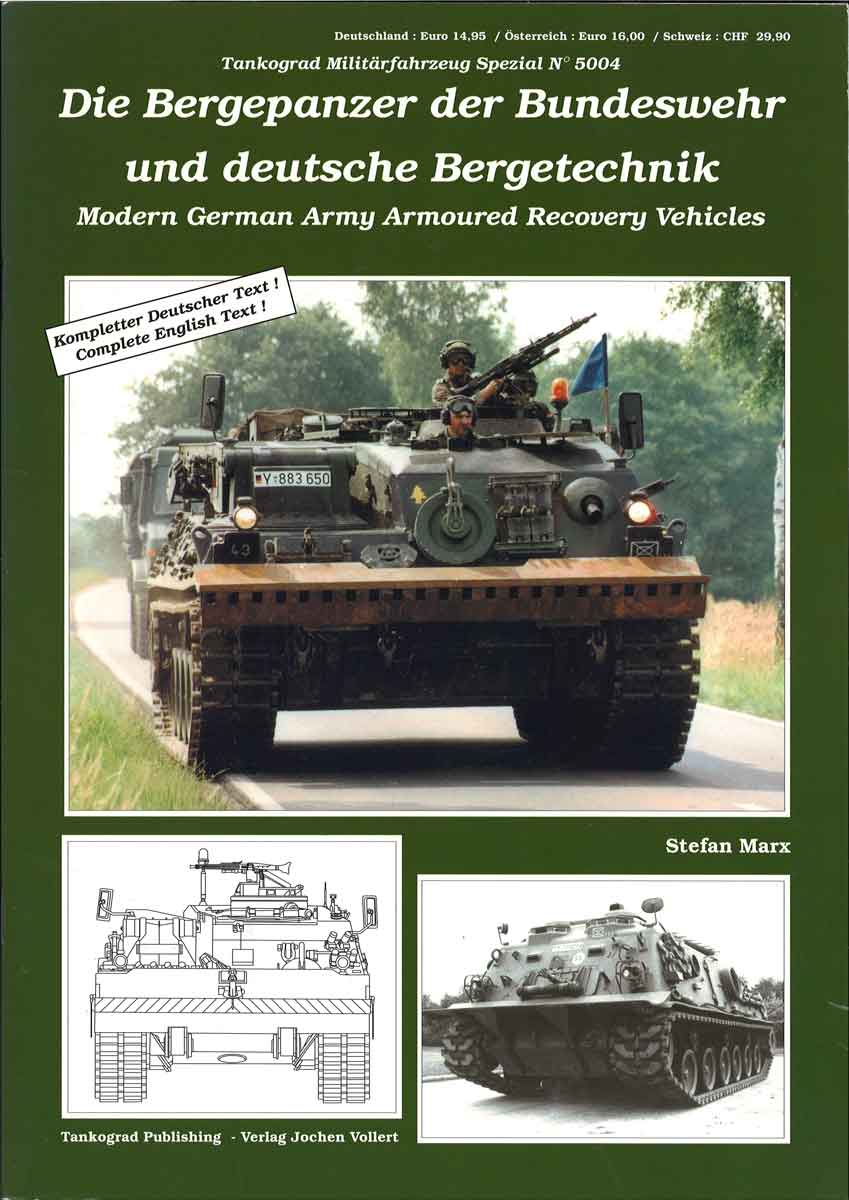
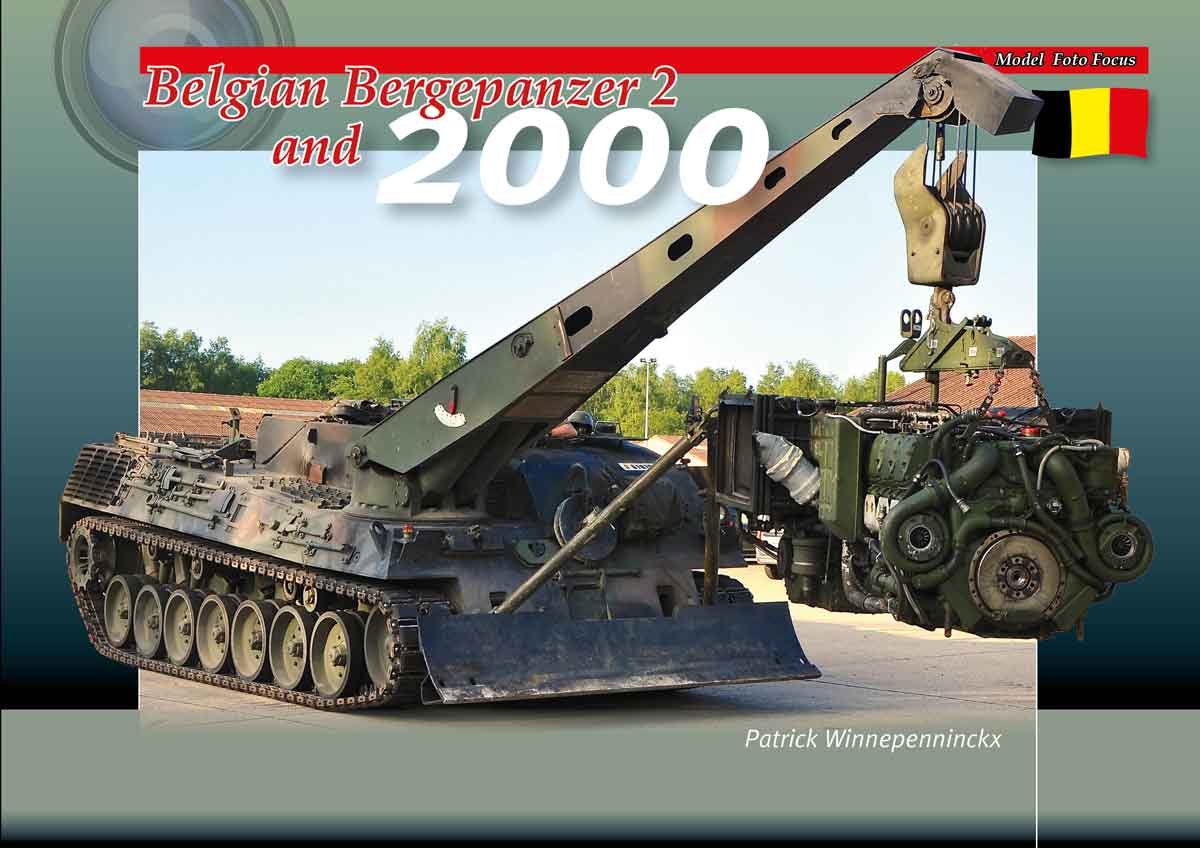
Literature can be found with the Militärfahrzeug Special from Tankograd Publishing (number 5004) or the Belgian Armoured Bergepanzer 2 and 2000 from the Model Foto Focus series from Trackpad Publishing.
This model of the Bergepanzer 2 Standard from Takom is a solid and beautifully detailed model of the Bundeswehr's recovery tank. Fans of Bundeswehr vehicles, like me, will be pleased to receive such a model in injection plastic. Both injection moulding and construction will make a convincing model. Nevertheless, the kit is not overloaded with components and should allow a reasonably fast construction. Here and there are a few mould seams on some components that will need careful clean-up, but this is not relevant. The biggest drawback in my opinion, however, are the single link tracks with vinyl end connectors. Here I strongly recommend a switch to an after-market track. Otherwise, it is a top model for a moderate price.
As a fan of modern German Federal Armed Forces vehicles, I am very impressed by this kit of the Bergepanzer 2 from Takom in injection plastic. Despite minor shortcomings, it convinces in both construction and the many well-made and fine details. For enthusiasts of Bundeswehr vehicles, the Bergepanzer 2 from Takom should definitely not be missing from the showcase. Almost a must have! Let us hope that more now comes.
© Leopard Club
![]() Contact us at leopardfibel@gmail.com
Contact us at leopardfibel@gmail.com