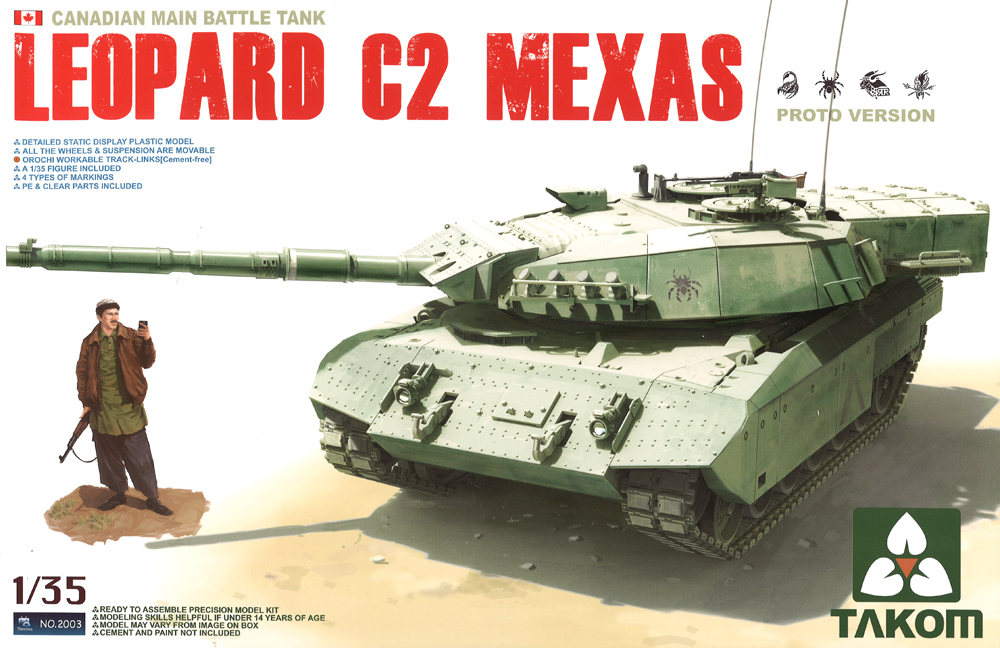
Catalogue number: 2003
Scale: 1:35
Media: injection molded plastic
Reviewed By: Michael Shackleton
The model was kindly supplied by Takom
A year ago, who would have expected two new injection-moulded Leopard 1 kits, let alone what is probably the most popular choice amongst Leopard fans, the Canadian Leopard C2 MEXAS? Two manufacturers have taken the bull by the horns, or should I say the cat by the tail!! Meng produced a 1A3/1A4 which left something to be desired (read the review), and now Takom have tackled this last version of Leopard 1 to see active combat. Have Takom done any better than Meng?
I have been criticised for being harsh in my comments of the Meng kit. It is only because us Leopard 1 fans have waited a very long time for a modern injection kit of this tank, and when it appeared it was obvious it could have been done better. My criticism only served to point out the errors to potential modellers, most of which were easily fixable, to produce a model that is, on the whole, a better kit than the older Italeri/Revell standard we have become so familiar with. I am going to be just as critical with this kit I'm afraid, so here goes! I will make comments / comparisons with the Italeri/Revell and Meng kits as I go along.
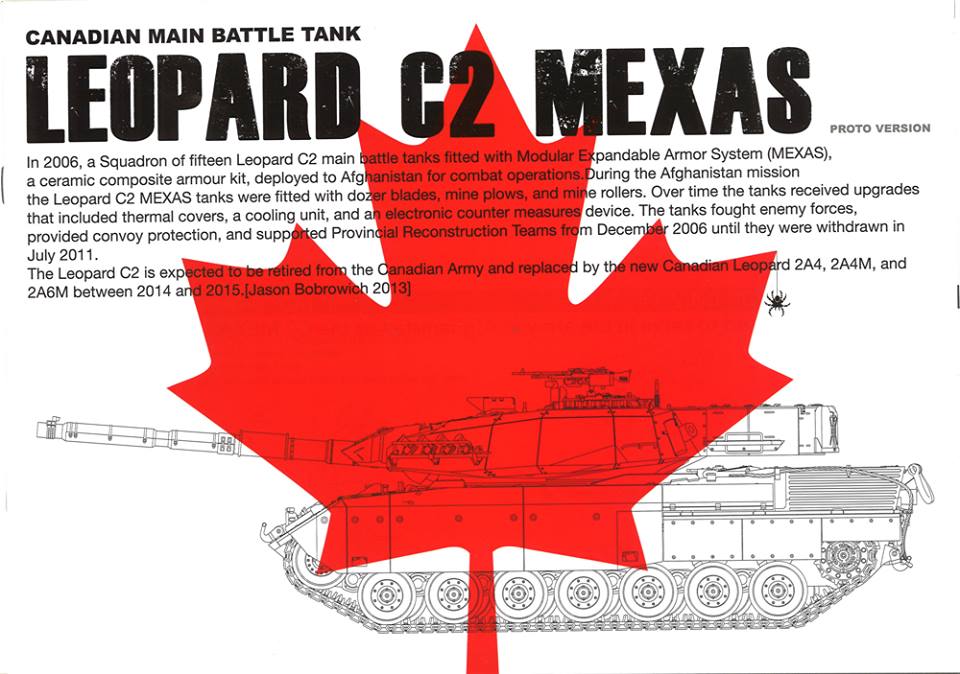
Leopard C2 was introduced in 1999 to replace C1 which had limited night-fighting capabilities. 123 Leopard 1A5 turrets were purchased from Germany, refurbished, and all but nine of them were mounted on the best hulls from the C1 fleet. After the experience of up-armouring their C1s for use in Kosovo in 1999/2000, the same principles were applied to C2 to become Leopard C2 MEXAS. The hull armour was identical to C1, but new modules had to be developed to fit the cast turret of C2. Seventeen were deployed to Afghanistan crewed by the 2nd Battalion, Royal Canadian Regiment Battle Group, from October 2006. Over the course of the Afghan deployment, the C2s were upgraded in the field workshops with, amongst other things, a crew cooling unit and thermal covers in an attempt to reduce the effects of the heat on crews and internal equipment after June 2007.
The mission for the Leopard C2 MEXAS ended with the arrival of Leopard 2A6M and 2A4M CAN in the Afghan theatre, and the number of C2s was reduced from 17 to 7 (2009/2010). The last seven received a mine kit and were tasked with the dirty jobs of mine rolling, mine ploughing and dozing. All C2 MEXAS were withdrawn from Afghanistan mid-2011 and the add-on armour removed.
The C2 has now fired it's last shots in live fire training in Canada and will gradually be decommissioned. The latest rumours suggest that they may be on their way to a South American army.
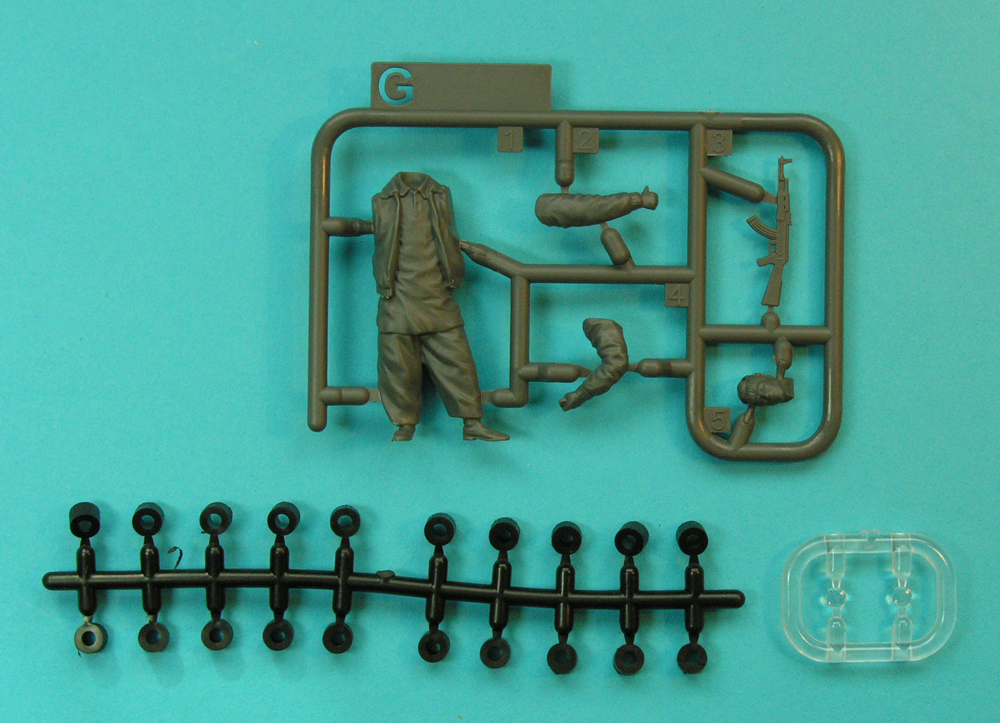
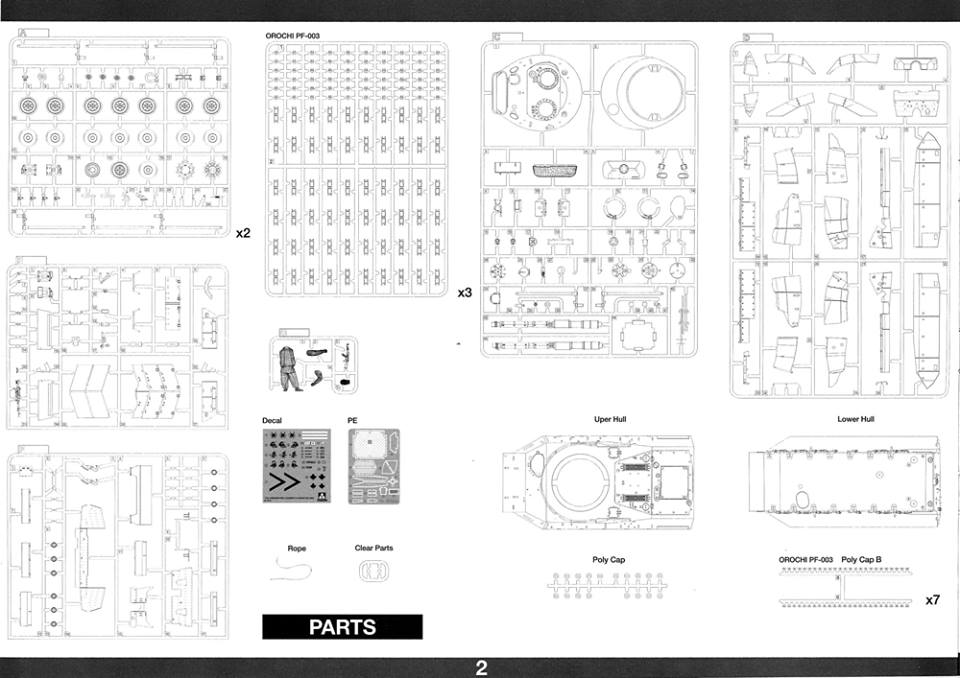
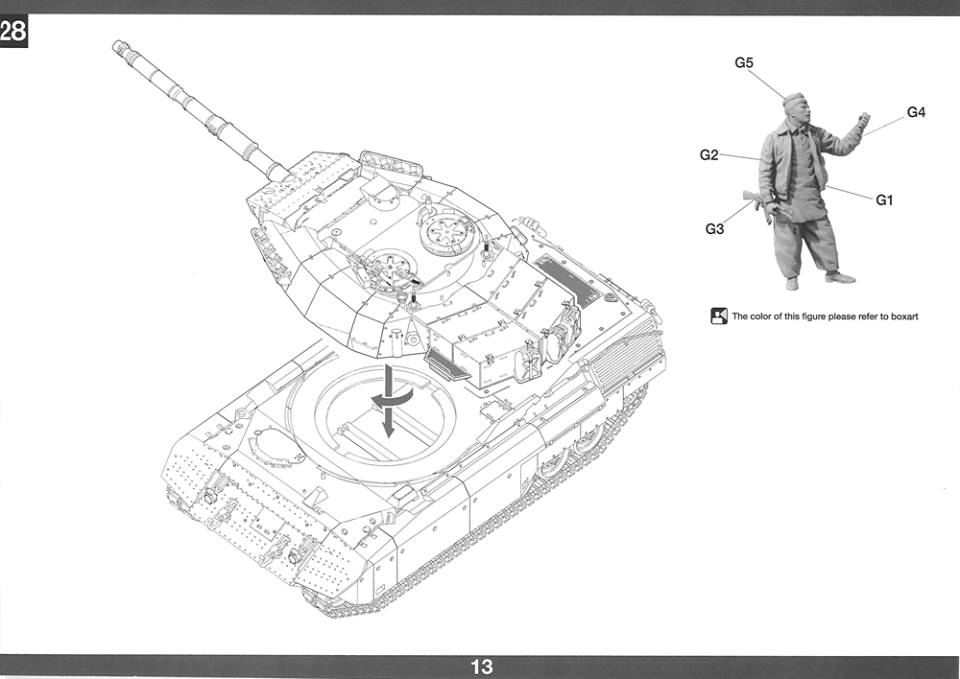
There was concern that the Takom kit would have some parentage from the Meng kit. Though both companies have tackled some parts in a VERY similar way, the Takom kit is completely different. The overall quality of the parts is very good with excellent moulding. Flash is almost non-existent. There is no sign of warping and no obvious sink marks. Once again we are witnessing crisp detail and an excellent fit of parts though some have been simplified compared to some other manufacturers. Rather strangely, two colours of plastic have been used - green for the basic Leopard 1A5 parts (with cast turret) and sand for the (mostly) Canadian'specific MEXAS parts, turret stow box and the exhaust grilles. In addition, Takom have included a figure, an Afghanistan/Taliban fighter with AK47 and mobile phone, dressed in traditional Afghan clothing.
This version of the C2 MEXAS is acknowledged on the box top as a 'Proto Version'. It is, in fact, the same version depicted by Legend in their conversion kit for the Revell Leopard 1A5. Both manufacturers depict the C2 MEXAS as delivered to Afghanistan - but before they went into action. Two small modifications should be added which will turn the kit into a machine that saw action: an APCM/ECM system was added under a shield on the left turret side just behind the loader's hatch; dust flaps over the front track guards. Legend actually released an upgrade set for their conversion to produce a combat version. This should be equally applicable to the Takom kit. I will confirm this when I build the kit after I have finished this review. The Legend update is available for sale from Leopard Club.
Anthony Sewards, something of an expert on this subject, has produced a list of numerous tweaks that need to be attended to with this model. I will try to deal with them as I go along.
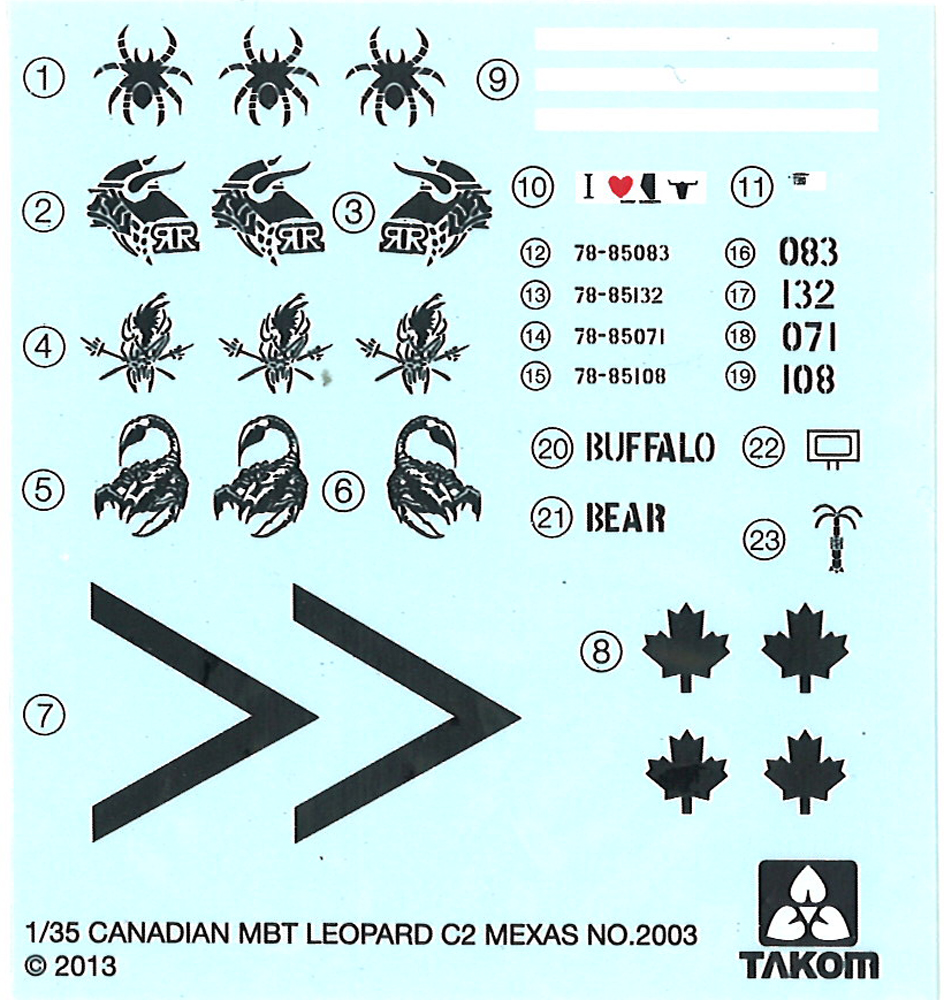
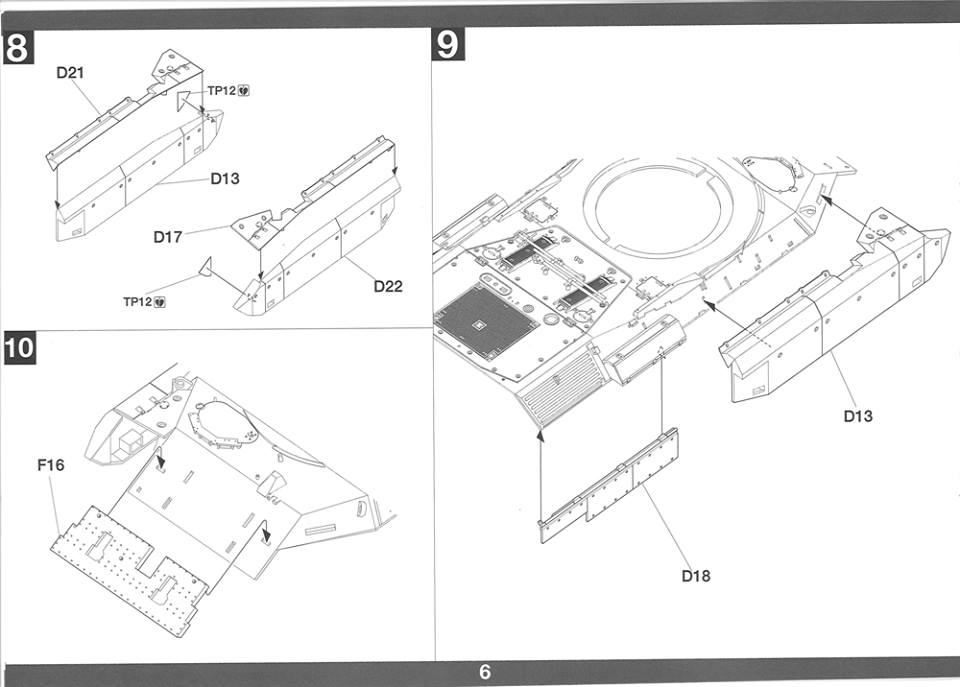
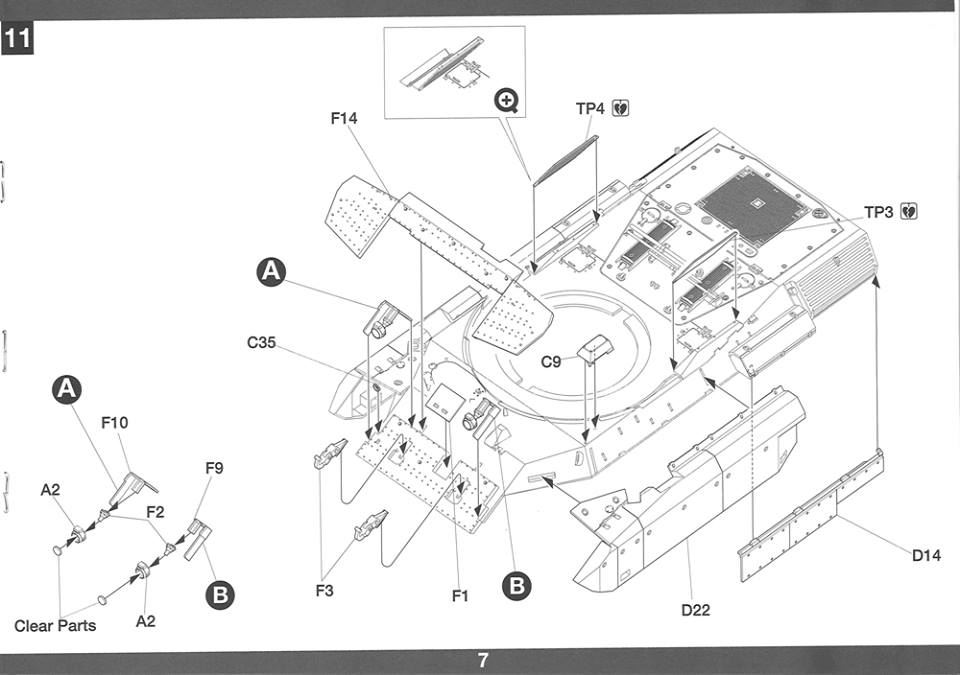
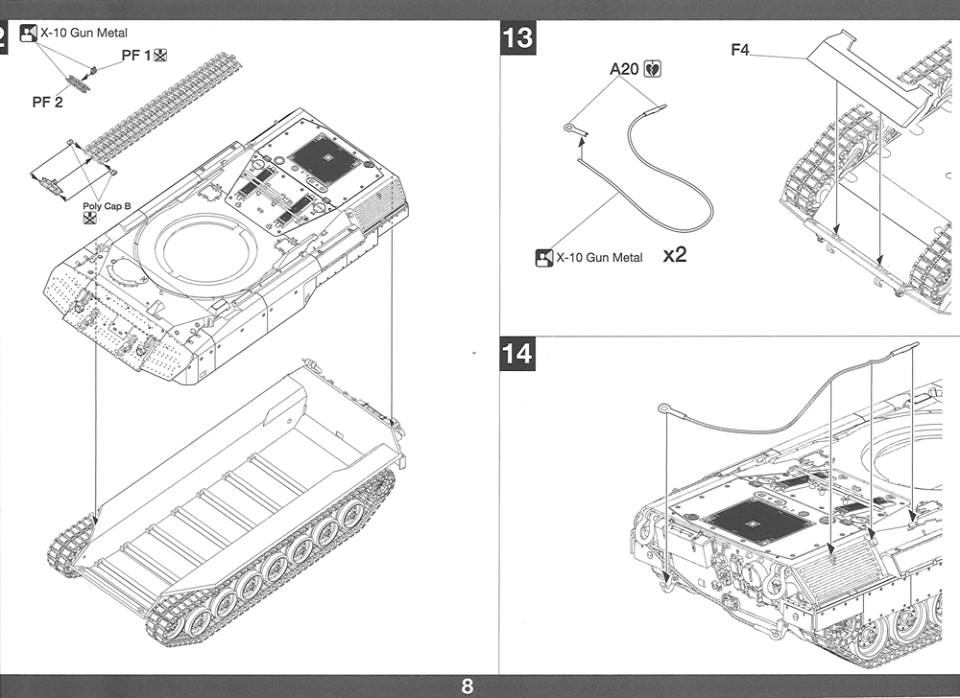
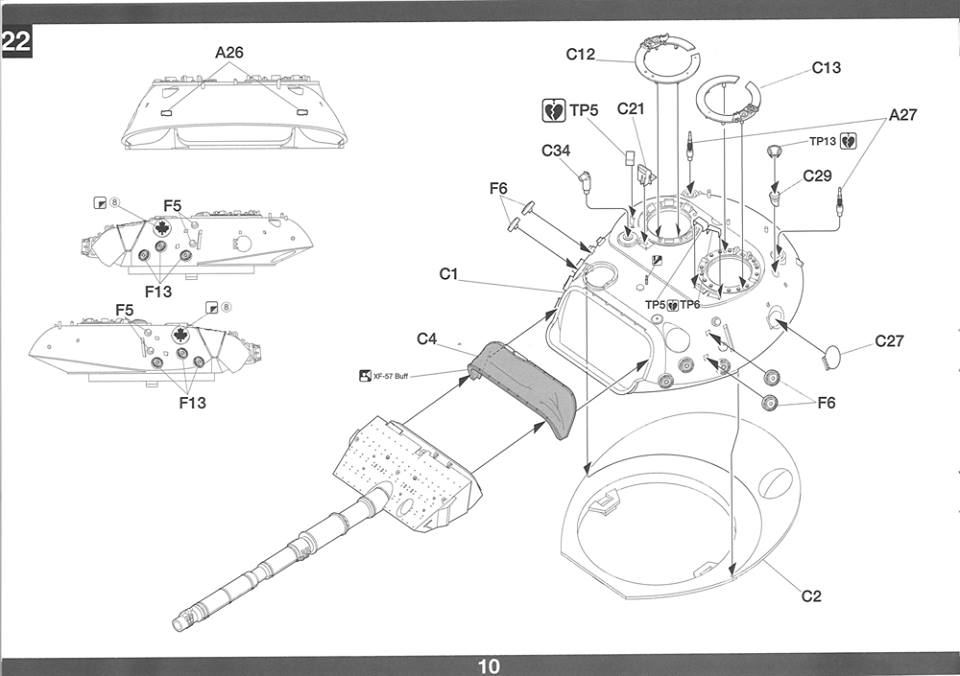
The instructions are presented as an 18-page, slightly smaller than A4, landscape booklet in BW with one extra colour on the outside covers - red for the Canadian maple leaf! Each step is illustrated in a logical order with clear and large black and white line drawings. There are 26 steps in the construction process. The cover has a 2-page gate-fold to show the marking options for four tanks. Scans of the instructions are on the Leopard Club Facebook page.
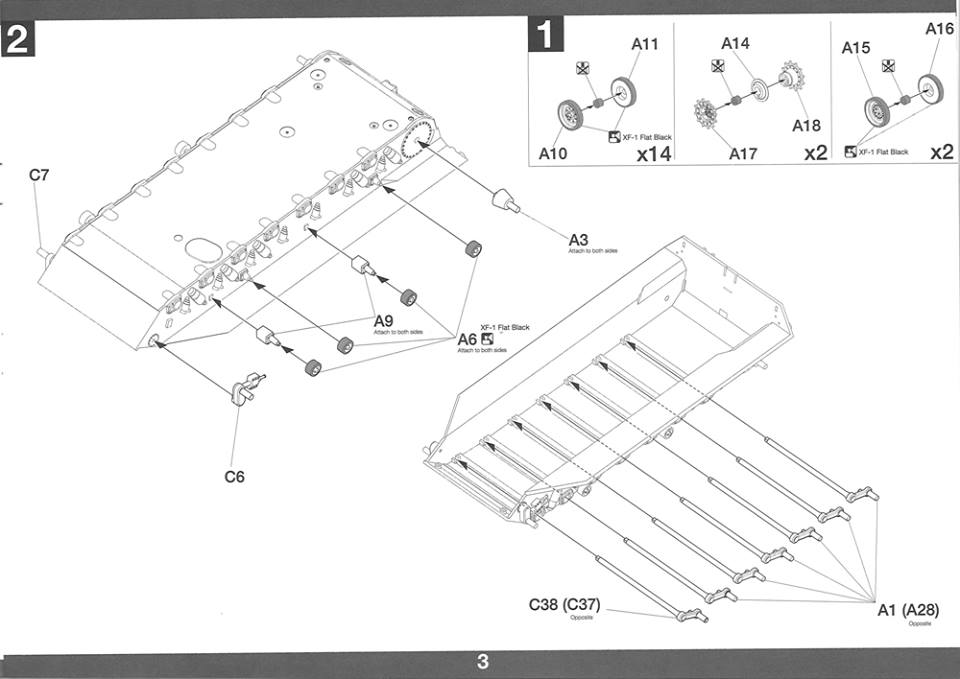
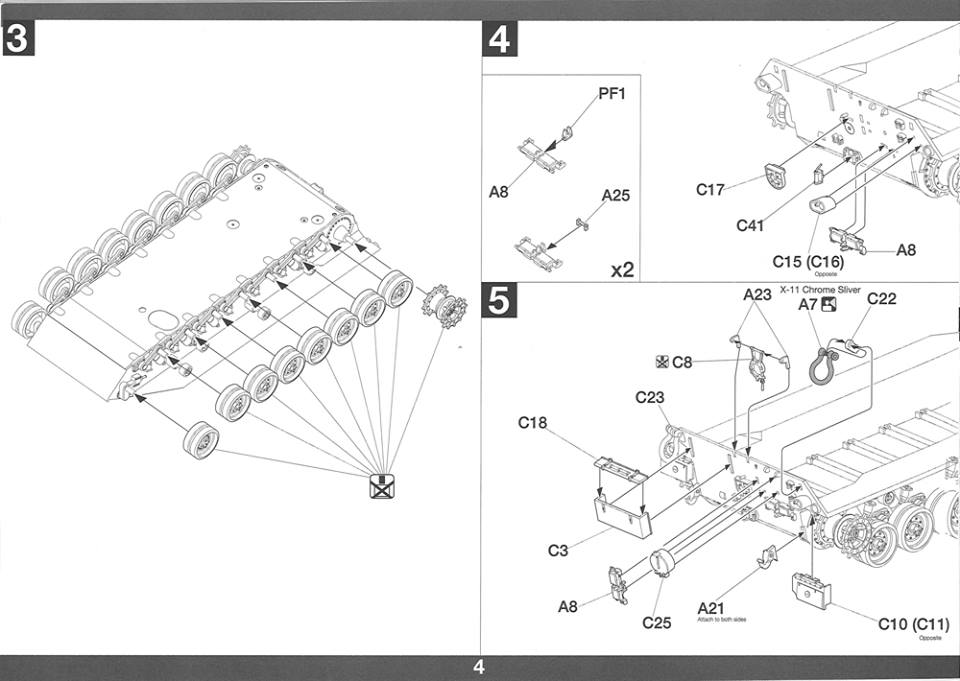


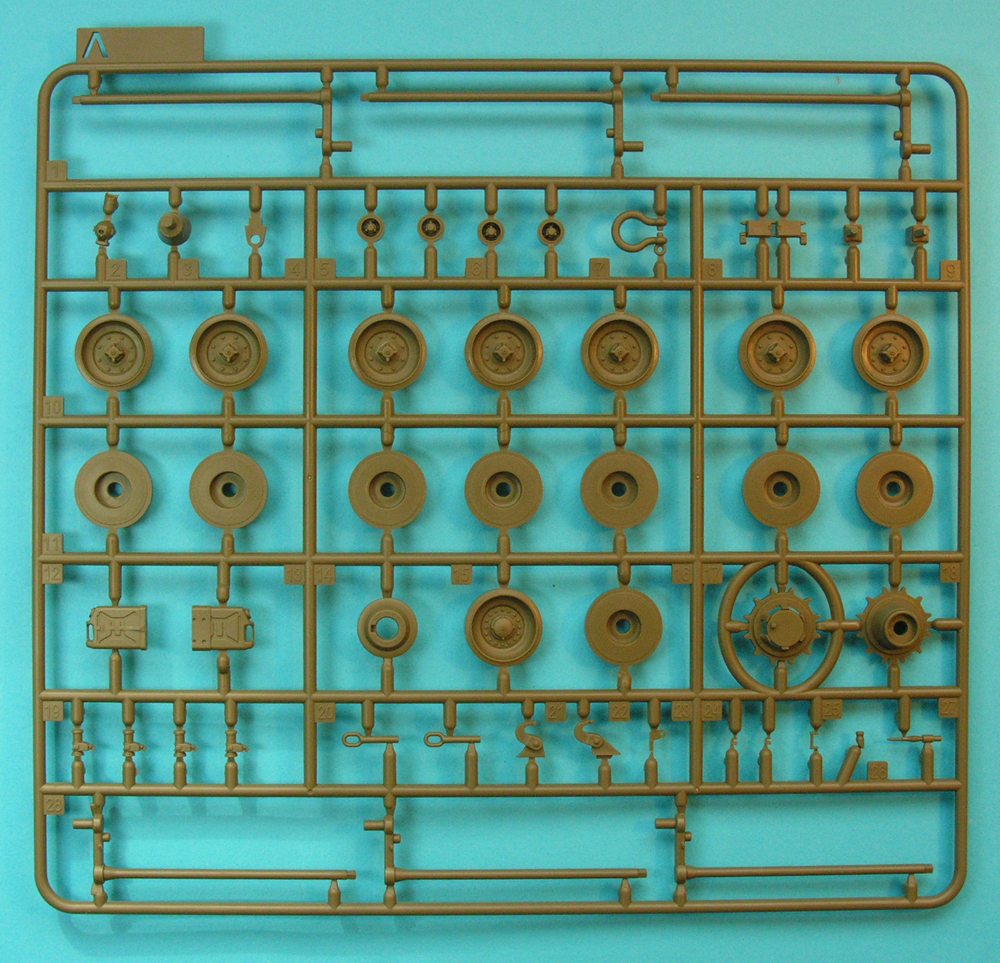
The current trend is to have working torsion bars and the Takom kit is no exception. The good thing here is that the bars are moulded onto the swing arms. Like the Meng kit, the swing arms have no detail whatsoever on their outer faces (but the Italeri arms were also incorrect). On the outside face, where they are bolted to the torsion bars, there should be a depression with a nipple in the middle. Leopard Workshop can furnish better options.
The shock absorbers, the bump stops and the inner return roller mounts are moulded directly on the hull sides. However, most of this is hidden away with the MEXAS armour in place. If you want better detail, then have a look at the suspension upgrade set from Leopard Workshop.
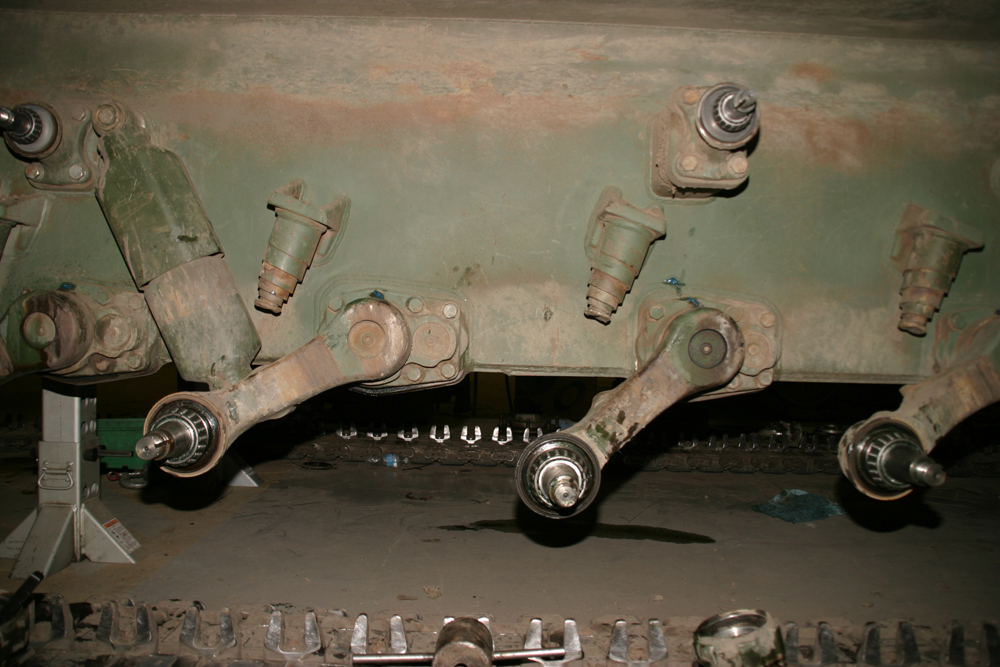
The most serious disappointment are the idlers and roadwheels. They all have polycaps. However, there is no detail on the reverse sides at all. In fact, they are completely the wrong shape with what appear to be huge drum brakes on them, very very similar to the Meng wheels. Italeri wheels had no detail either, but at least they were the right shape.
Thankfully, the front faces are much better and a big improvement over the awful Meng wheels. The hub is much better and the shape of the inner rim has a nice a gentle curve. The tyres do not have Italeri's trademark lateral grooves in them. Even better are the Leopard Workshop options LW001-1 and LW002.
The sprockets are nice!! We have here the later replacement sprocket which had 15 bolts. These were introduced at the time of the 1A5 modification programme and were retrofitted to many tanks after overhaul. The kit supplies a flange just off-centre (as per the Italeri kit) which was missing from the Meng kit. However, not all Canadian tanks had this flange. The tracks are the nice Orochi ones already reviewed here at the Leopard Club, so I won't repeat myself.
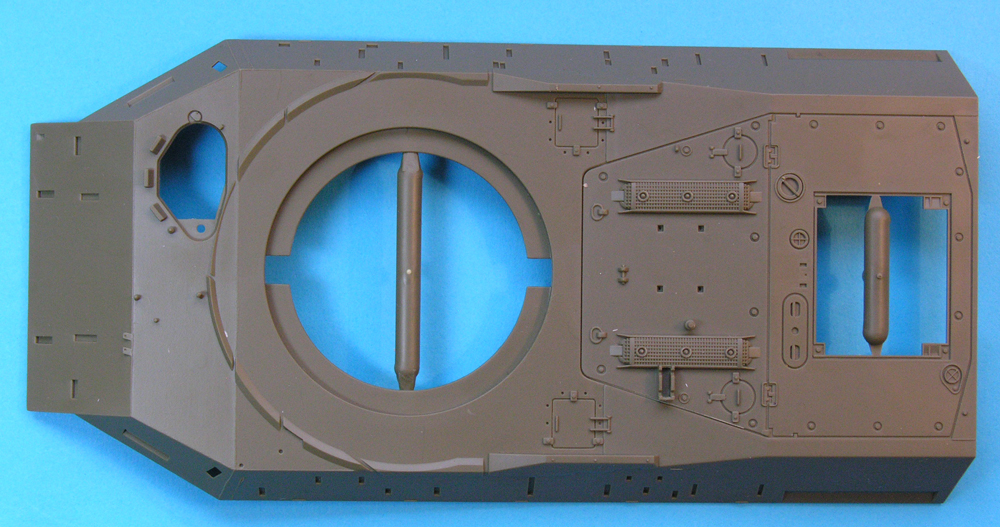
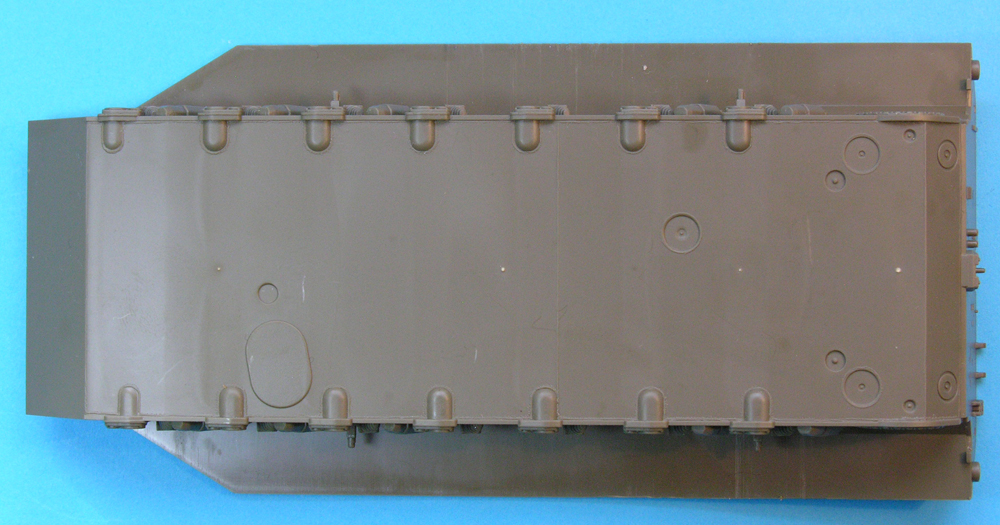
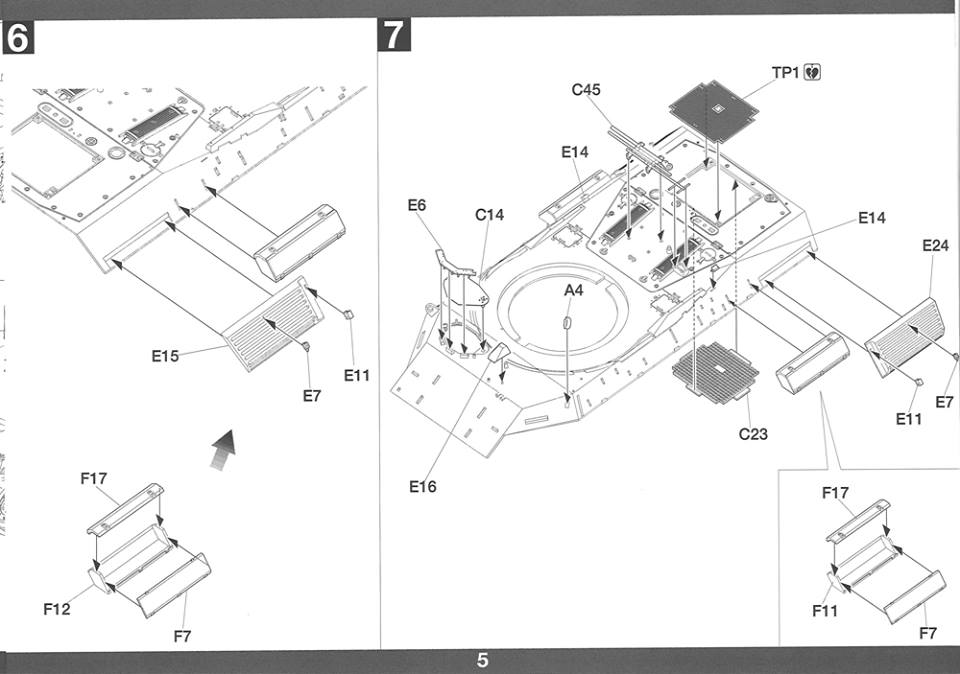
The hull is a conventional tub (including the rear wall) and top - nice and simple and the fit is excellent. Like the Meng kit, there are no welds on the hull to speak of. As I have said before, they are a significant feature of the Leopard 1 hull. The Italeri hull didn't have any welds either. One mitigating factor with the C2 MEXAS is that most of them will not be visible anyway under the armour blocks. I wonder if Takom will improve this on their follow-up Leopard 1A5/C2 kit. I doubt it.
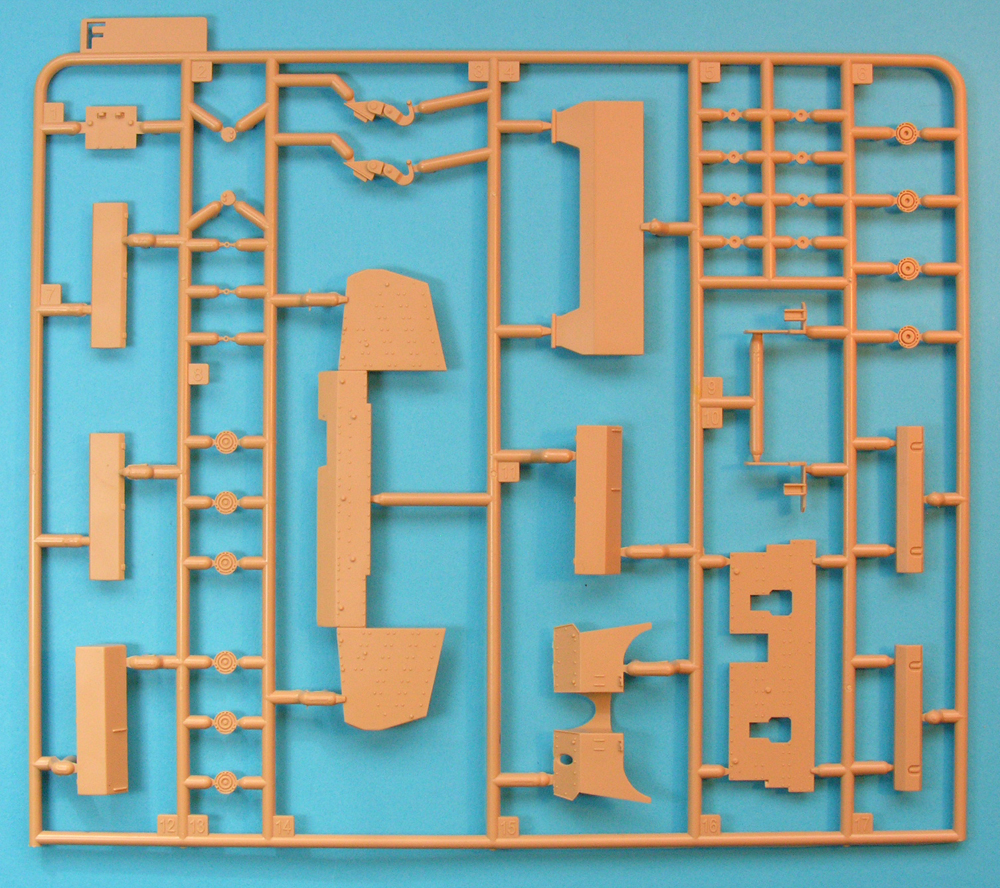
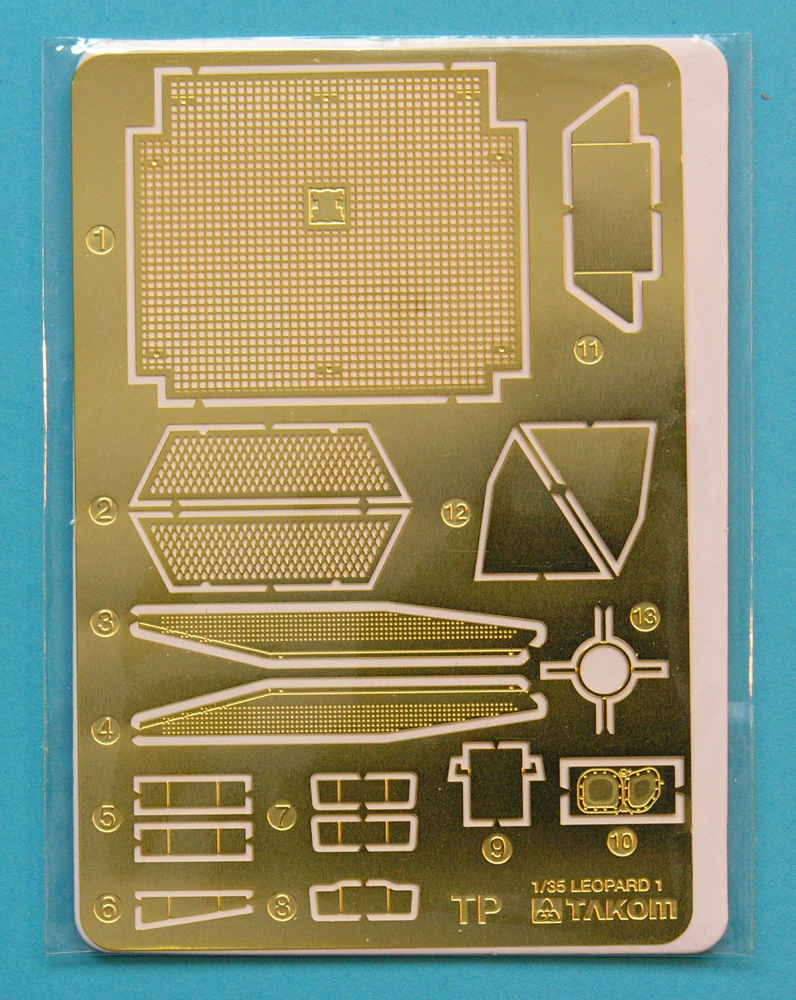
Takom have given us an accurate engine deck grille. The grille is a two-piece affair with the base layer cast in a kind of honeycomb. Here, Meng beats Takom with a cast grille with much more depth. This has a wire mesh etch grille to fit on top, supplied from the etch fret. Another nice feature are the air intake grilles along the sides which are also etch (Takom's are finer than Meng's parts).
There are four access hatches on the hull top with grab handles. Like Meng, Takom have done a Tamiya over'simplification here and we just have have four rectangles of plastic. These are best removed, drilled and replaced with wire. Comparing the rear deck grilles from both manufacturers, I would say that Takom has the edge with more accurate lock-down bolts (Meng's were too small), but the forward intake grilles and the coolant filler (the one with the large bar across it) are more accurate on Meng's kit. Further forward, the splash ring around the turret is more accurate on Takom's hull.
There are numerous location slots for the hull side tool stowage. If, at some future point, a version is built or converted with stowage boxes fitted instead of tools, there will be a lot of filling to do! This version of the tank, of course, has no tools on the hull sides so these slots will be hidden under the MEXAS blocks. One thing that is very 1970s is the handle moulded on top of the rear hull tool box when it should be separate - exactly as Meng did. Why oh why? It just looks so toy-like and crude. The same can be said for the engine exhaust grilles on the hull sides. They are better than Meng's awful renditions which had no depth at all, but Takom's aren't that great either. They are best replaced with the much nicer hollow Italeri ones which thankfully fit. Leopard Workshop has much better renditions of the grille.
Like in Meng's kit, I don't like the rear mudflaps and the only option here is folded up. The reason I don't like the folded flaps is that no effort has been made defining the fold from the sides. They are just blobs of plastic, again like Meng. Where the side skirts stick out at the rear end, there should be a C'shaped mount which has been overlooked, although an attempt at making it look right (poorly) has been made on parts D14 and D18. These are included with the Leopard Workshop welded (LW008) or cast (LW009) grille sets.
The rear lights are separate parts to be added to the rear hull. The armour surround is too thick and the overall shape is too squashed. They just don't look right. The main gun lock is a little on the small side as well.
Another short cut is that the tow shackles are moulded on the tow pintles. This severely limits the ability to pose them realistically when attaching the tow cables which is another short cut à la Meng. The four lifting eyes, once again, don't have any welds around them which are quite a significant feature of Leopard 1. Italeri didn't either! The headlights are hollow with separate clear lenses, the only clear parts supplied. All of the periscopes are moulded in place - no transparent parts - and the guards are also plastic, not etch like Meng supplied. The driver periscopes has the correct guard over the top but no cable down the side which drove the periscope wipers.
The string supplied for the tow cables is best replaced with cable as the weave is too coarse. There is also no suggestion in the instructions about the length to cut them to. A much better choice would be to use the Eureka Leopard 1-2 tow cables.
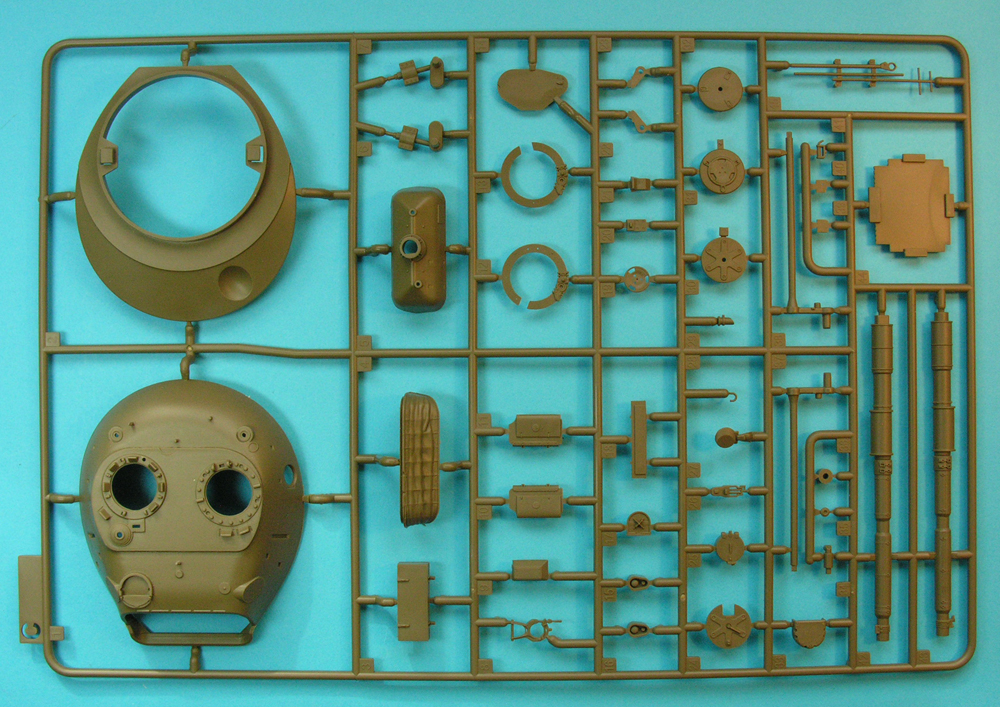
The turret here is, of course, the cast version. Comparing it to the the Italeri/Revell turret, which was always too long in the snout, the Takom turret is a little longer still. Strangely, the Italeri turret base fits almost perfectly into the Takom upper turret - and vice versa. Comparing the turrets to factory drawings, the difference is about 2 mm too long, 70 mm in reality. Not that great a difference really. The difference is down to the angle of the side walls behind the mantlet edges pushing the lower edge of the nose of the turret too far forward.
The gun, which is no improvement over the Italeri one, is in two halves. The Leopard gun is quite a complicated affair with its thermal jacket fitted. It is supplied the good old-fashioned way in two halves with a vertical split. This means a lot of very careful cleaning but any competent modeller won't mind this. Maybe we've been spoilt with metal barrels in recent years? The muzzle has no rifling in it. The collimator on the muzzle is too small. The mantlet has no provision for movement. Like the Italeri kit, the mantlet is a solid mount onto the front of the turret.
Thankfully, like Meng, the Takom kit has corrected a long-standing problem with the Italeri kit. The commander's cupola now has the right number of periscopes! Again, these are all moulded in place (no clear parts). The cupola rings are quite thin, certainly compared to the thick offerings from Italeri. The commander's hatch has the circular locking wheel moulded to the bottom of the hatch (same as Meng). Italeri did this separately, but it is barely visible with the hatch open as it is located underneath.
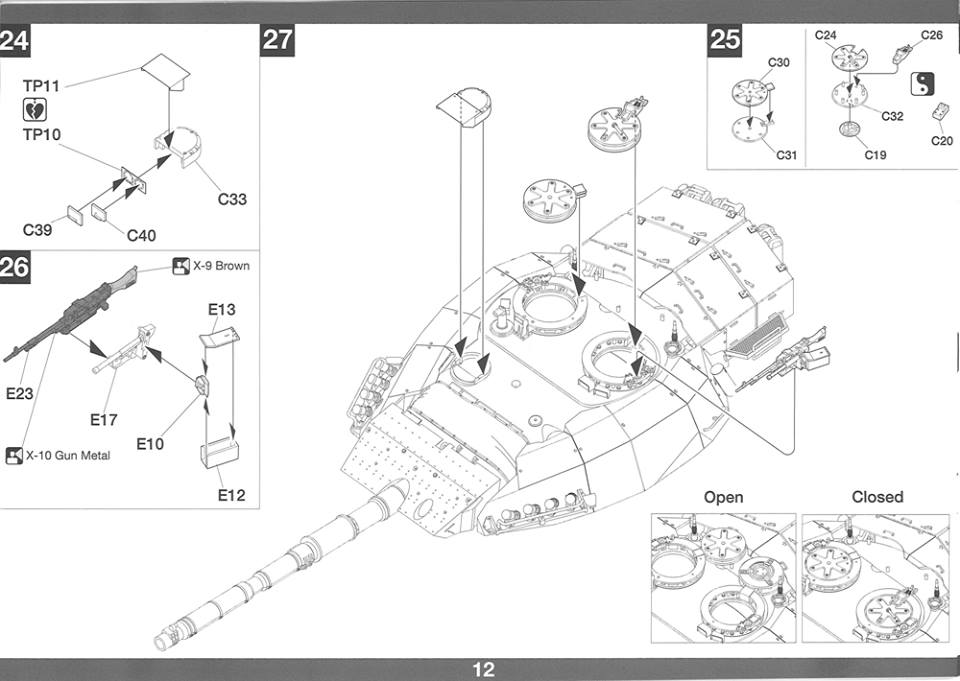
The aerial mounts are not quite correct with no bolt detail on the bases or the mount beneath the sprung aerial base. The smoke launchers do not have any etch chains on their caps, but are better detailed and proportioned than Meng's. The guard around the GPS receiver is flat photo-etch where it should be tubular. Finally, we have quite a good rendition of the C6 FN machine gun and its mount. However, neither of the machine gun trolleys have travel locks for the MGs. These are ALWAYS missing from both Leopard 1 and 2 kits and they are horrible things to add from after-market etch.
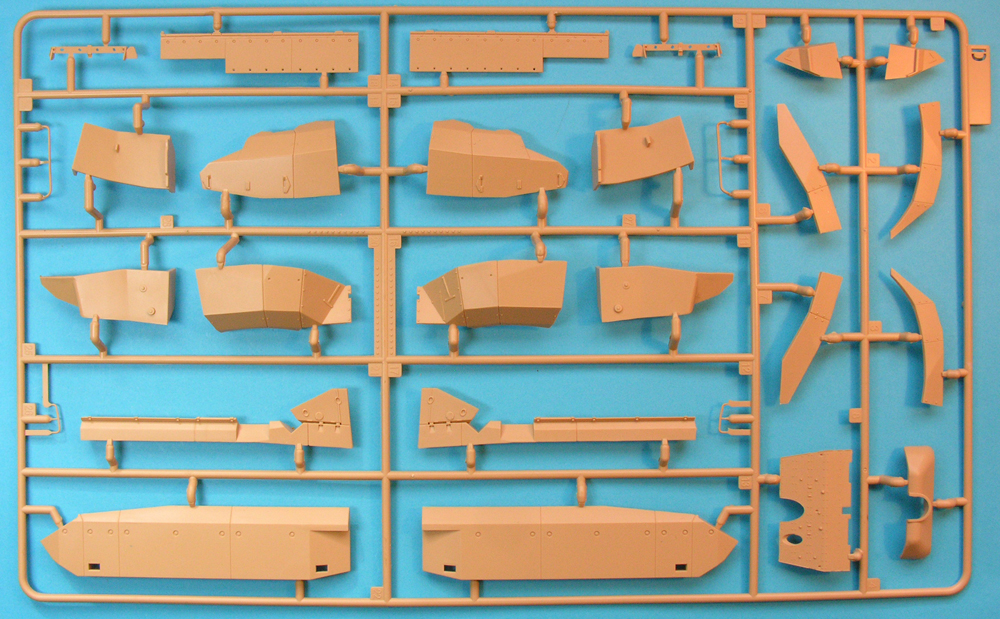
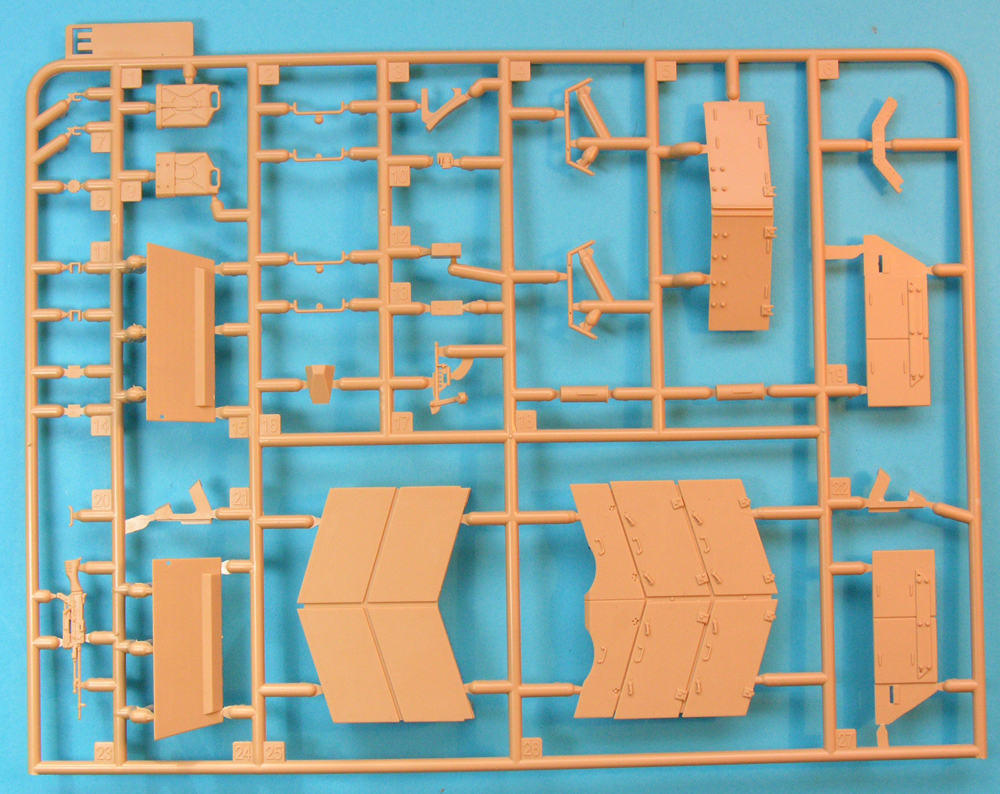
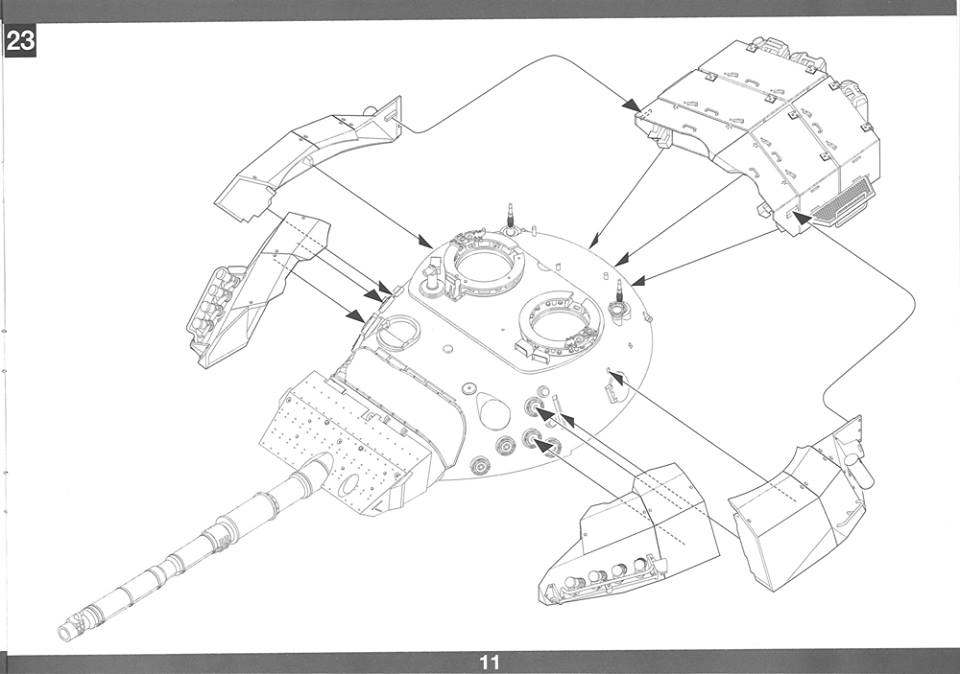
I have said nothing so far about the Canadian modifications, concentrating on the basic 1A5 tank that is hidden underneath. The most obvious feature of the Canadian Leopard C2 over the 1A5, on which it is based, is the huge turret stow box. This is an interesting six'sided box which has to be skinned with separate side panels. This way all of the various latches, hinges, tie downs and mounts are nicely moulded on. One thing lacking is a non'slip surface on the lids. The box even has the mounting brackets like the real thing so there are no compromises on fitting this box to the rear turret. Two different style of jerrycan are provided which have been moulded into their racks with moulded-on straps. It would have been nice if these were all separate - as per the Legend update set.
Like on the stow box lid, a non-slip surface will have to be added to the turret top and the bridging plates on top of the armour blocks. Talking of which - finally - these are made up from two parts each, two blocks per turret side. An addendum instruction sheet is included which advises cutting off the teardrop mouldings of the bolt heads on the angled sides (these are due to moulding limitations). Plenty of replacement heads are moulded onto the sprue trees. The front portion of the MEXAS blocks can be shown removed in a maintenance situation, if desired. Mounting points can be added to the turret walls (they have to be anyway to mount the MEXAS blocks). To quote from Anthony's tweak list - the bottom rear ones should be tear drop shaped. The front pads should have additional ladder type brackets. With the MEXAS armour removed, you can see the attachment mount that would be fitted to the turret (metal ladder bolted onto the turret side, to swing the armour away from the turret for engine maintenance). This is not included. The gun brush container (part E18) and signals wire drum (part C36) on the left rear of the turret were not fitted to all C2 MEXAS. If the combat upgrade is done to this kit using the Legend upgrade, the portion of armour block these are mounted on will have to be cut away to accept the ECM unit and it's shield.
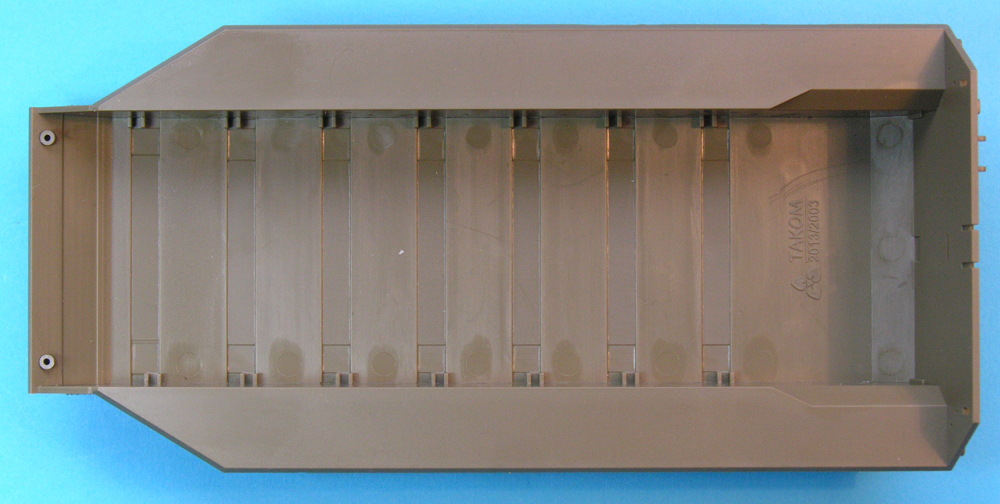
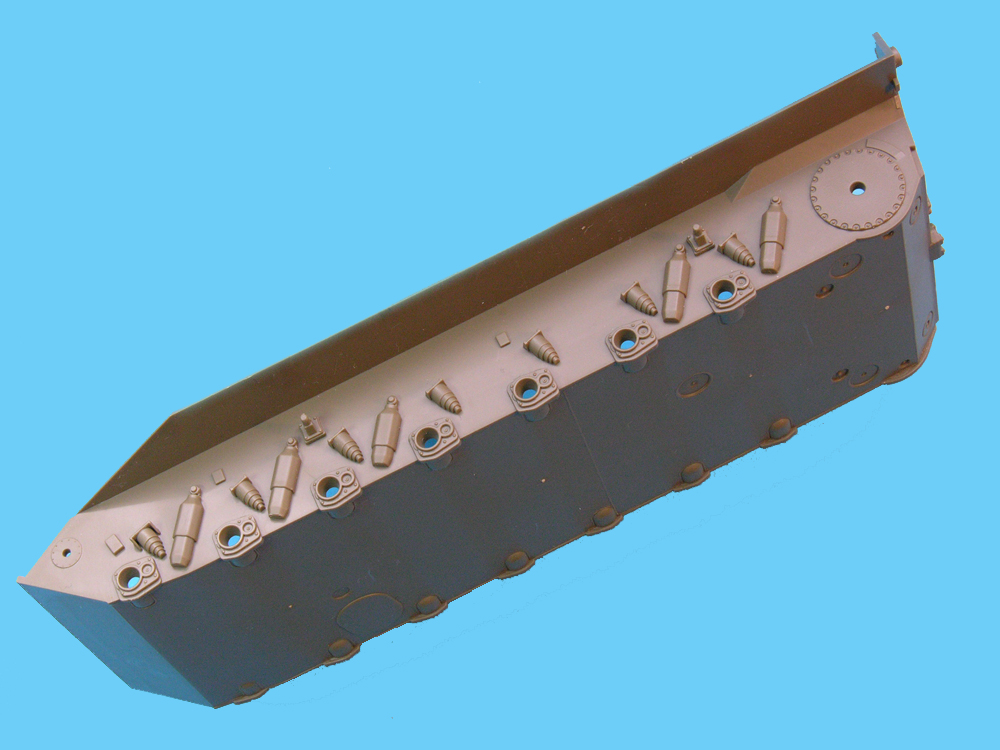
Finally, we come to the hull armour. The construction of this kit is interesting in that the instructions suggest adding all of the hull armour to the upper hull before mating it to the completed lower hull, running gear and tracks. This, of course, will make painting much easier. Just three pieces make up each side armour module plus a further three for each tool box. Note that the mounting bolts are depicted as circular and not hexagonal! They could be drilled out and replaced with nuts from a punch and die set. The nose armour is made from two plates so if would like to source a mine roller set from Perfect Scale Modellbau or a dozer blade from Mouse House, the lower plate will have to be left off. Leopard Fact Files LFF04 and LFF05 will help you here. There is no Leopard'specific mine plough available at the moment. Another excellent reference is Anthony Seward's book Canadian Leopard C2 MEXAS in Afghanistan and Leopard Fact File LFF03 Leopard C2 MEXAS in Afghanistan. which has a complete timeline of all vehicles and all modifications. Putting all of this MEXAS armour together and mounting it on the kit is certainly a lot easier here than with any of the resin conversion alternatives.
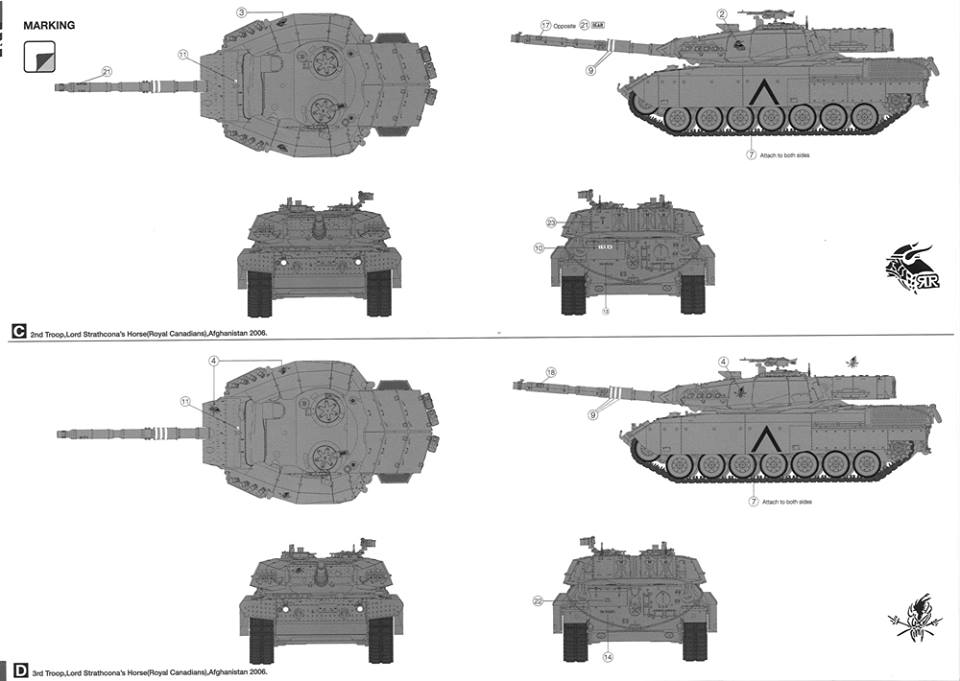
There are four decal options, only two of which are correct. The first correct one is the SHQ choice (Option A). The other markings are for a combat-deployed C2 MEXAS (which this kit does not depict). The troop markings were applied in March/April 2007. The markings for 2nd Troop (Option C) are incorrect for the kit. The rear marking (the tool box sticker) are from Anthony's C2 MEXAS which was a dozer tank. The Canadian Forces Registraion (CFR) number just below the tool box is incorrect - it should read 78-58132 (not 85132). 3rd Troop (option D) never used a troop symbol (the Metallica logo is wrong). Only one vehicle used this marking and it was applied to the mantlet. Anthony reckons 3rd Troop never had chevrons, but I have plenty of photos that show they do.
The barrel markings show the CFR last three and squadron names. By the time these C2 MEXAS entered into combat (which this kit does not depict) they were crewed by another tank squadron and almost all of these names had been erased. Maple leaf decals are supplied, but none are needed. Stage 22 in the instructions shows them on the rangefinder blanking plates, but photos from Afghanistan don't show any in place.
As I've reviewed in these website pages, there are several options now for building the C2 MEXAS. All of these options are resin-based conversion kits:
I will let you read the reviews to make your own decision, but it has to be said that the Takom option is the quickest, easiest and cheapest option for building this version.
Takom have quickly built a reputation for accurate and interesting kits. This is why I was excited when I heard about the Takom release. I assumed that it would uphold their previous reputation, but I'm afraid that this Leopard 1, once again, could be better. There are inaccuracies and over-simplified moulding in places, but it looks like it will build fairly quickly into one of the most dynamic versions of the Leopard 1.
I am sorry if I have been critical of this kit but isn't that what reviews are for? Having said that, it is in some ways better than the Meng kit - though, of course, it is a different version. What Meng does better than Takom is the rear deck grille, gun travel lock, rear lights and possibly clear periscopes (though some won't be too bothered about these). The Meng and Takom kits are overall better than Italeri's good and venerable kit. The Takom and Meng Leopards both have their positives and negatives, but I would say that the Meng kit just edges the Takom kit which hasn~t quite got the same sophistication in some areas. Against that, both kits have various crude details in places .
The ultimate injection-moulded Leopard 1 is still awaited eagerly, but where will it come from? And how long do we have to wait?
© Leopard Club
![]() Contact us at leopardfibel@gmail.com
Contact us at leopardfibel@gmail.com